Some of you will recall that my most common complaint is that I am not experienced enough at this detailing lark. So far I've only cleaned mine and my wife's' car and these are in pretty good nick, so there is not much to challenge me…..
….. and then along comes this basket case.
![Image]()
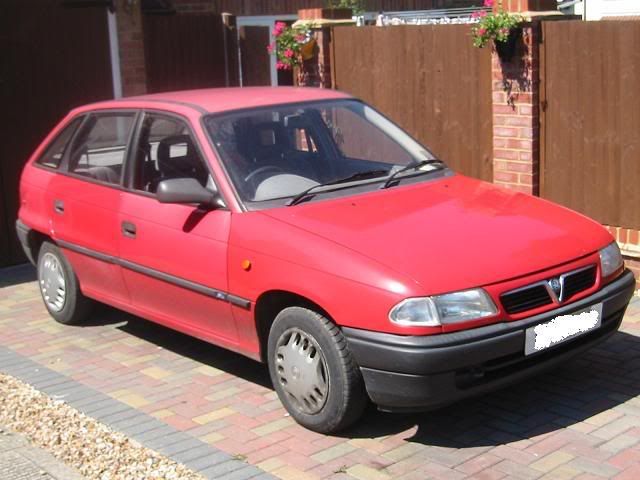
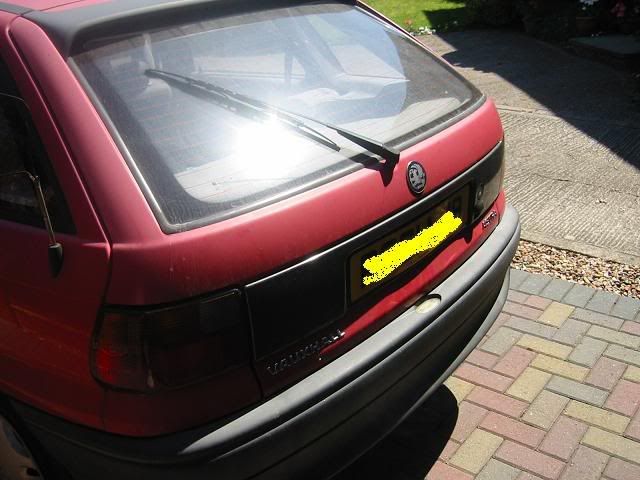
This is a 1998 Vauxhall Astra 1.4 Expression in Flame Red. This car is not just sun-faded, it's been abused. It's absolutely filthy inside and out, has probably only been washed 4 or 5 times in it's entire life, has scratches and dents all over it as well as bird-lime burns and the wheel trims have severe kerbing. The interior has some pretty awful staining and the car has bits hanging off it.
This is my Bro-in-laws car, and after 10 years of faithful service, he's decided to PX it in for something newer……..only any garage will probably laugh him out the door if he were to ask for a PX value on it. To be fair to him, he has been living on a building site for the past 3 years and cleaning the car is just not a priority for him, neither is it practical when the car is parked on sand and is used to take all sorts of rubbish down to the dump every weekend.
So how did I get it? Well allegedly during an excellent barbeque when the weather was good earlier in the year (remember then?) after one to many Stella's, I volunteered to sort it out for him.
So, for a period of 2 weeks whilst my Bro-in-law in on his hols, I have the car to try and get it back to a half decent condition, whilst using it as a test-bed to practise new techniques on that I have read about but don't dare try out on the brace of BM's that we have.
I have a lot to learn.
Lesson number 1. Never offer to do stuff when you are drunk.
As the car arrived
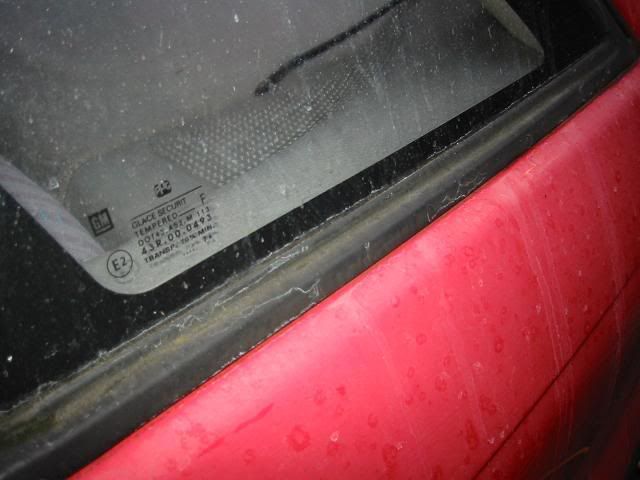
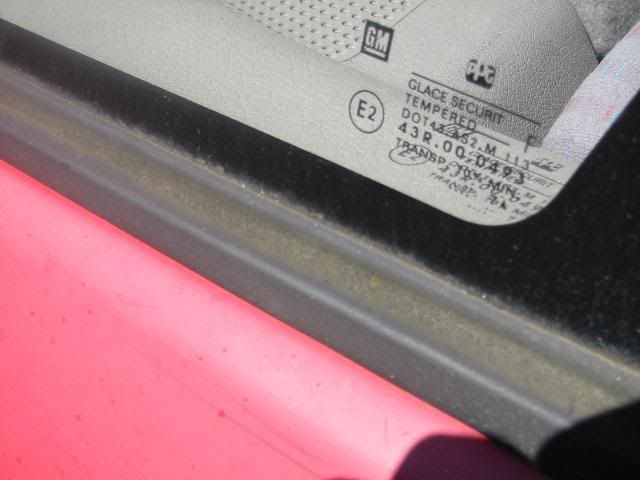
Notice then algal build up on the window rubber.
![Image]()
![Image]()
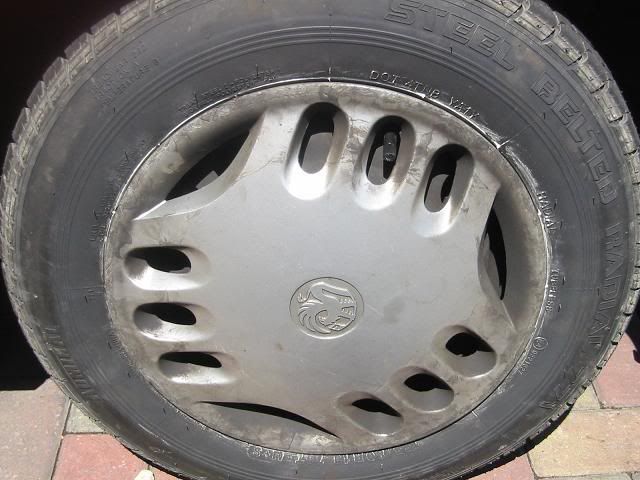
Badly kerbed wheels
![Image]()
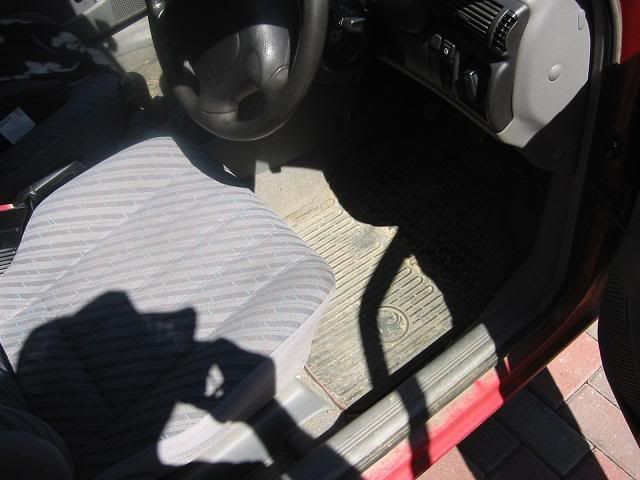
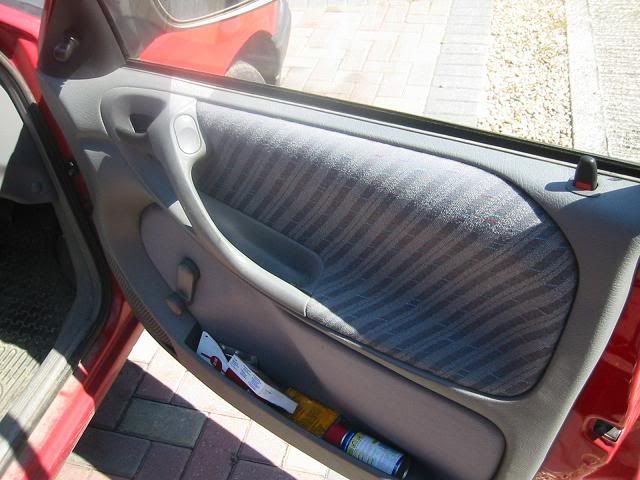
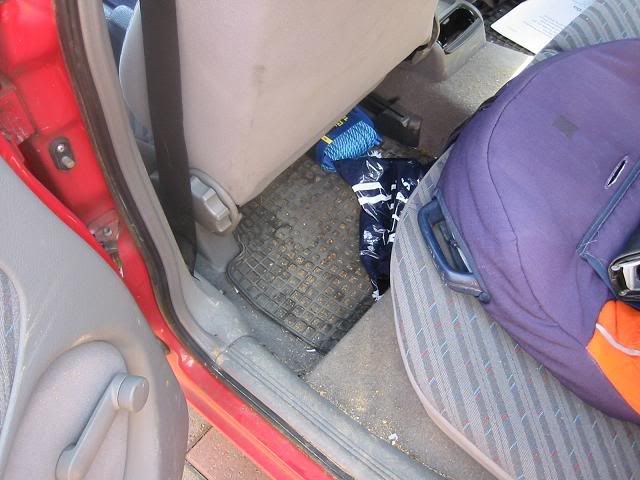
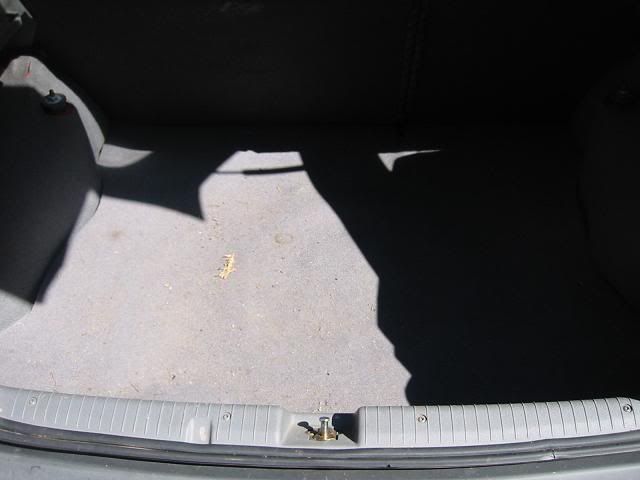
Interior
![Image]()
![Image]()
![Image]()
![Image]()
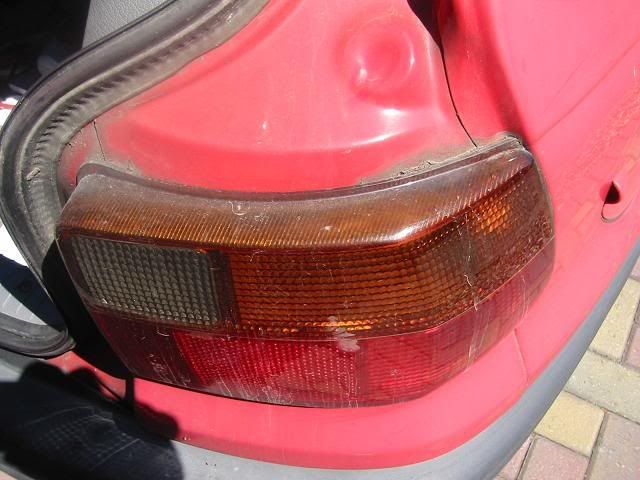
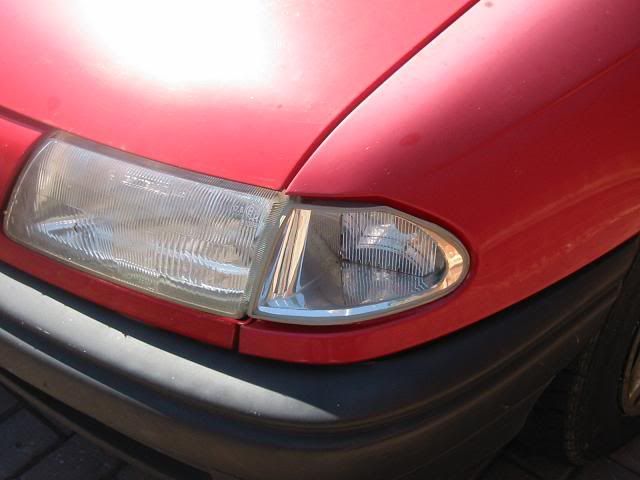
Broken NS Front indicator
![Image]()
Broken OS repeater
![Image]()
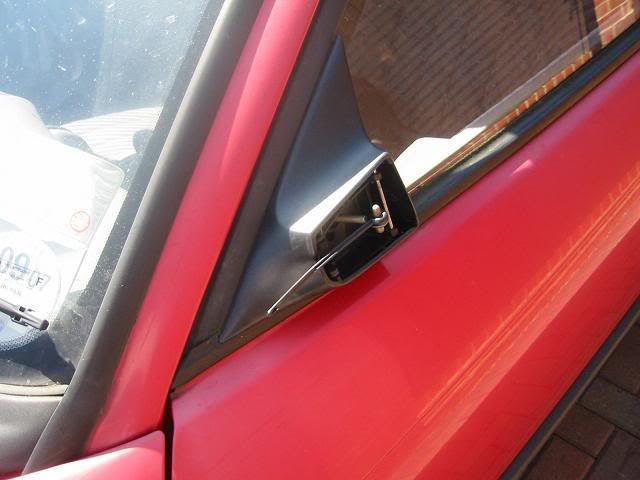
Missing NS Wing Mirror (allegedly caused by a car wash!)
![Image]()
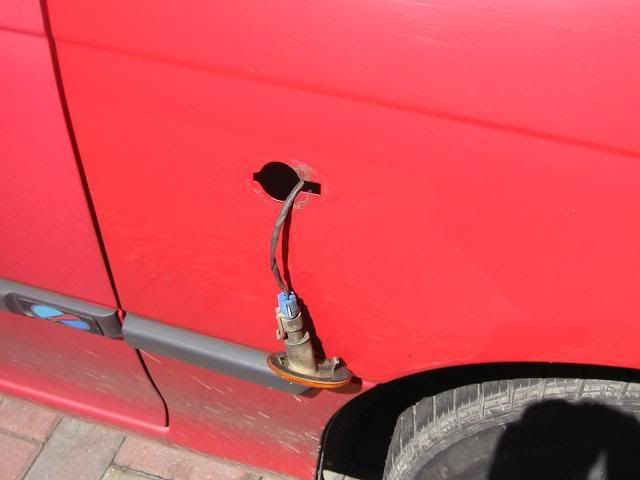
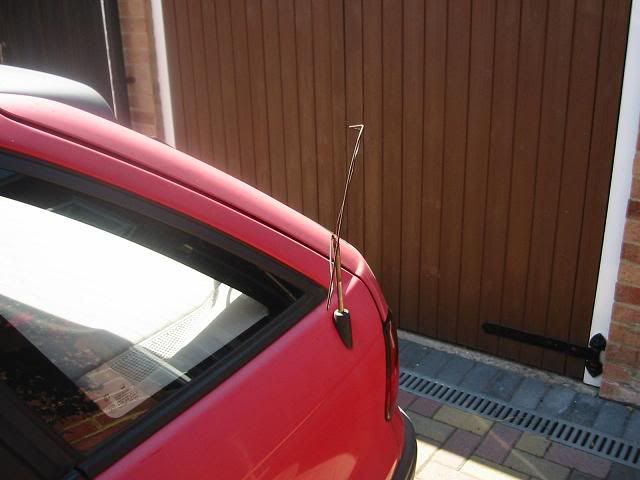
Missing Aerial (note the rusty coat-hanger!)
![Image]()
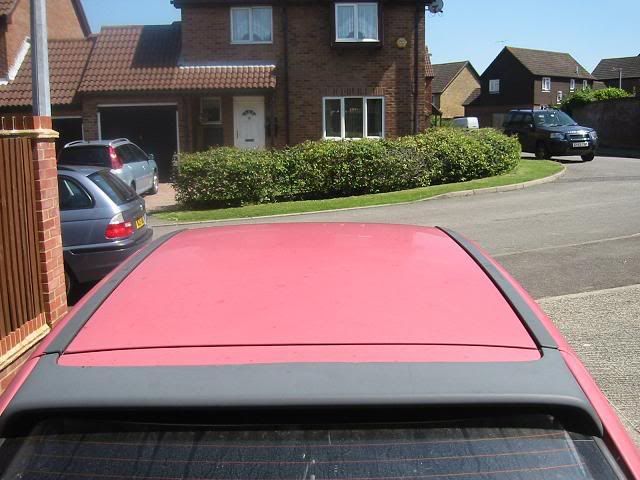
Oxidised paint.
![Image]()
![Image]()
![Image]()
Note the dirt build-up in the crevices
![Image]()
….. and then along comes this basket case.
This is a 1998 Vauxhall Astra 1.4 Expression in Flame Red. This car is not just sun-faded, it's been abused. It's absolutely filthy inside and out, has probably only been washed 4 or 5 times in it's entire life, has scratches and dents all over it as well as bird-lime burns and the wheel trims have severe kerbing. The interior has some pretty awful staining and the car has bits hanging off it.
This is my Bro-in-laws car, and after 10 years of faithful service, he's decided to PX it in for something newer……..only any garage will probably laugh him out the door if he were to ask for a PX value on it. To be fair to him, he has been living on a building site for the past 3 years and cleaning the car is just not a priority for him, neither is it practical when the car is parked on sand and is used to take all sorts of rubbish down to the dump every weekend.
So how did I get it? Well allegedly during an excellent barbeque when the weather was good earlier in the year (remember then?) after one to many Stella's, I volunteered to sort it out for him.
So, for a period of 2 weeks whilst my Bro-in-law in on his hols, I have the car to try and get it back to a half decent condition, whilst using it as a test-bed to practise new techniques on that I have read about but don't dare try out on the brace of BM's that we have.
I have a lot to learn.
Lesson number 1. Never offer to do stuff when you are drunk.
As the car arrived
Notice then algal build up on the window rubber.
Badly kerbed wheels
Interior
Broken NS Front indicator
Broken OS repeater
Missing NS Wing Mirror (allegedly caused by a car wash!)
Missing Aerial (note the rusty coat-hanger!)
Oxidised paint.
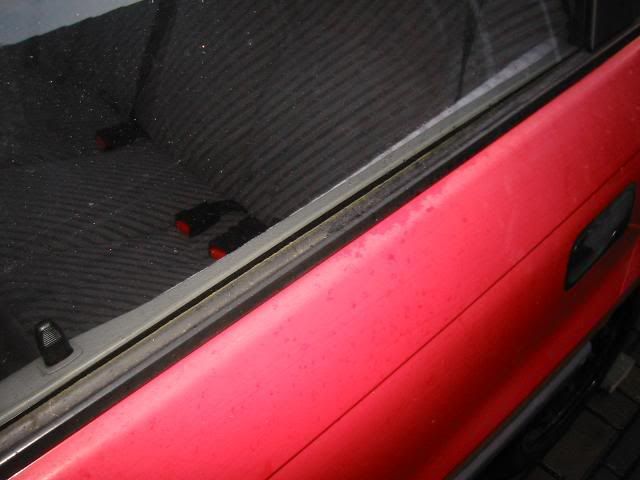
Note the dirt build-up in the crevices