Been wanting to do this job for a while, and finally got time to get it done this weekend. I decided the cam covers on my Alfa Romeo 156 GTA were badly tarnished and rather than try and polish them I decided to paint them. The alloy has not been anodised and corrodes too easily in this country. I've seen various finishes on the cam covers on the V6 156, painted, polished and chromed. But I decided on painting the coil cover in red wrinkle paint, and the cam cover in black wrinkle paint. Might be a bit of a Maserati rip off and not to everyones taste, but I like it, decide for yourself…..
I went out and purchased the following:-
Assorted polishing tools from Toolstation suitable for DIY drill
1 can of black Hycote wrinkle paint
1 can of red VHT wrinkle paint
Tub of Meguiars Metal Polish
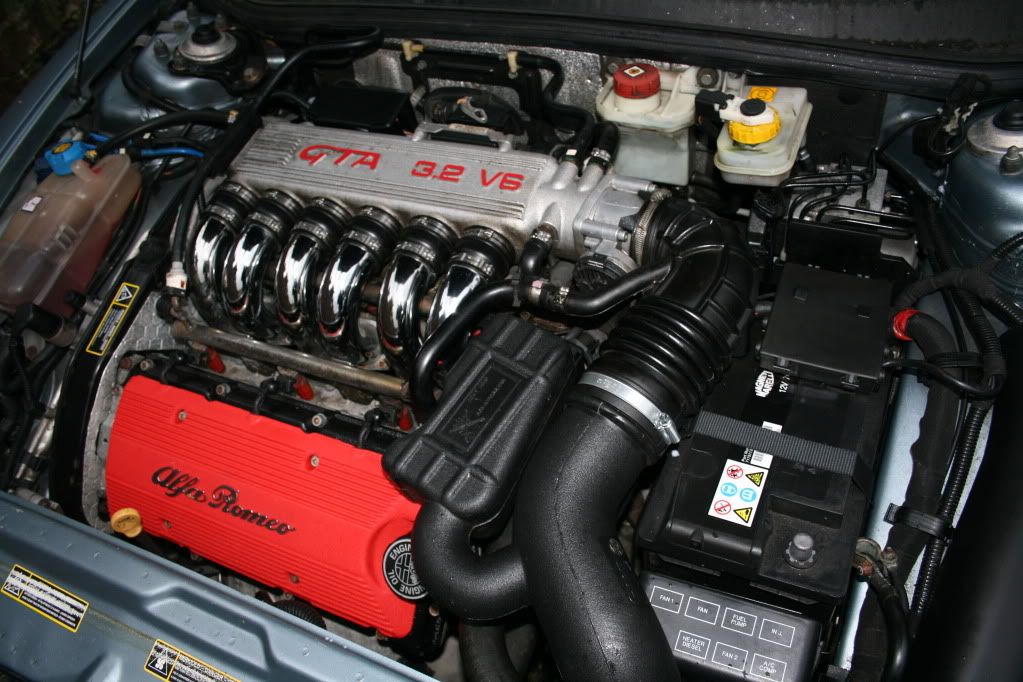
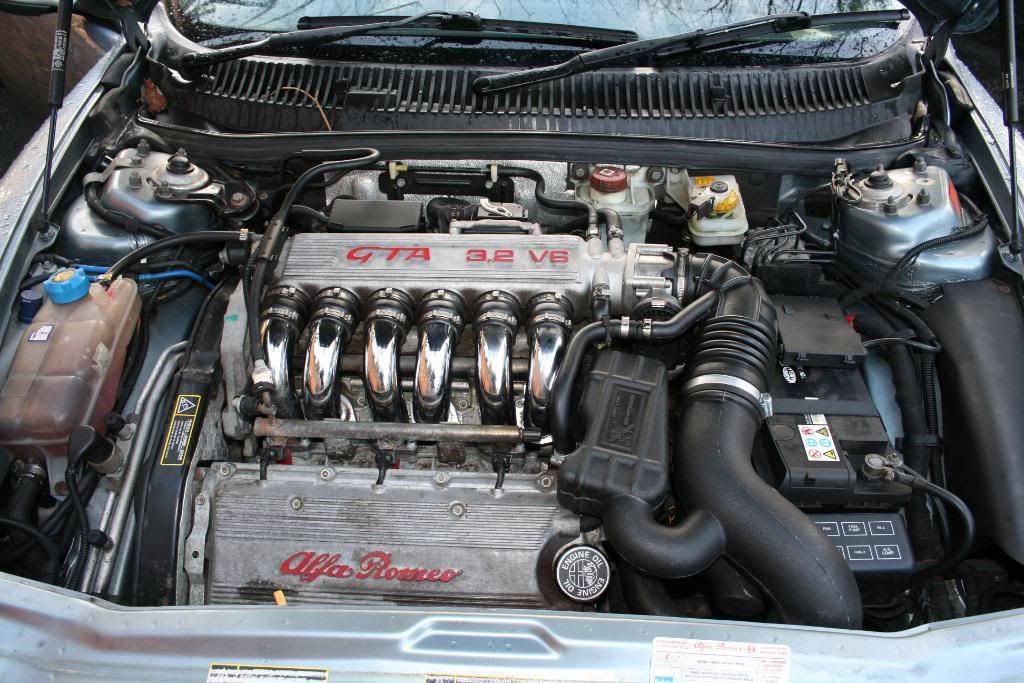
Here's the engine bay before I started, front cover is a bit grubby…..
![Image]()
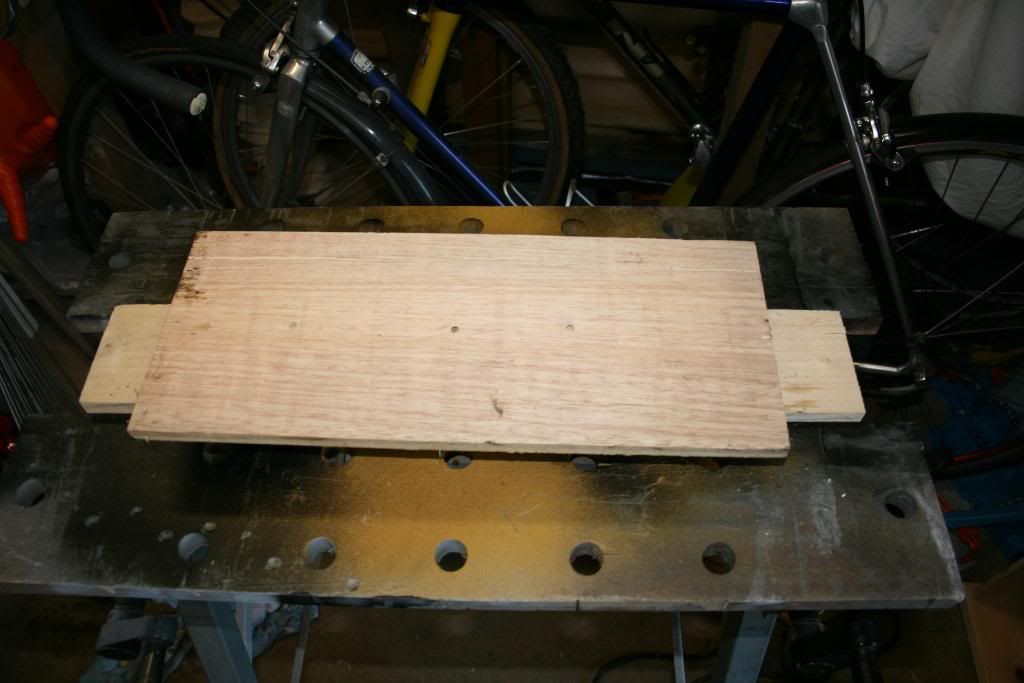
I started by making a bracket out of plywood to hold the coil cover while it was being polished back…..
![Image]()
Then fitted the coil cover to the plywood using a couple of wood screws
![Image]()
Here's a shot of the polishing tools, under a tenner from Toolstation
![Image]()
Couple of shots during the polishing stage
![Image]()
![Image]()
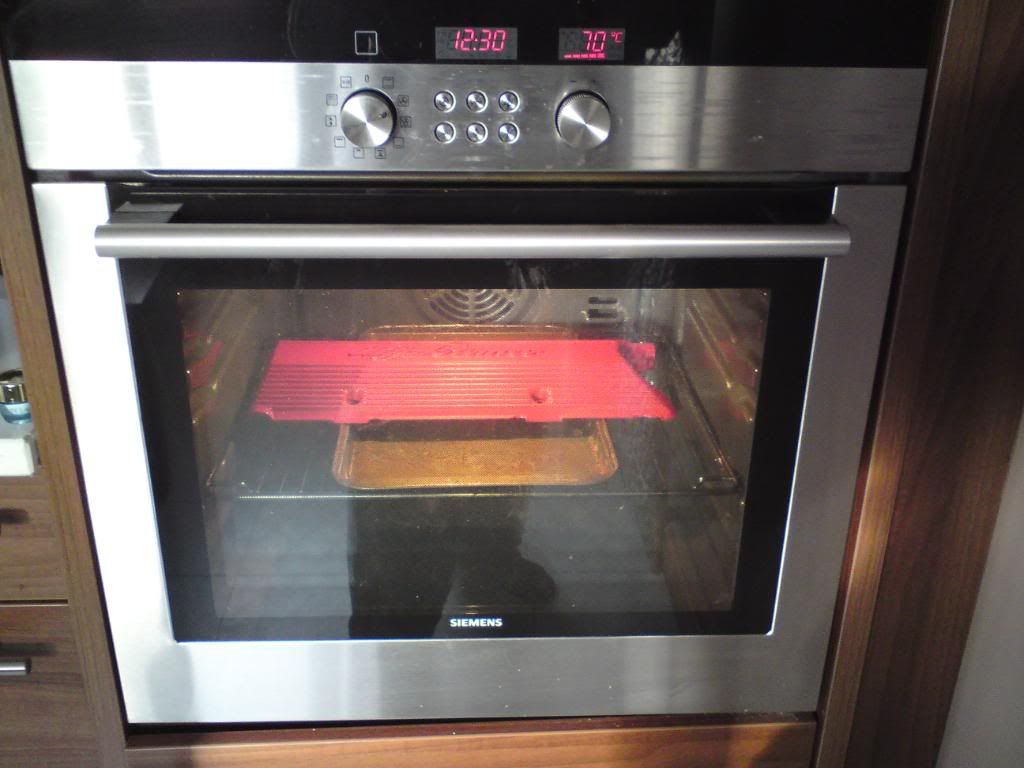
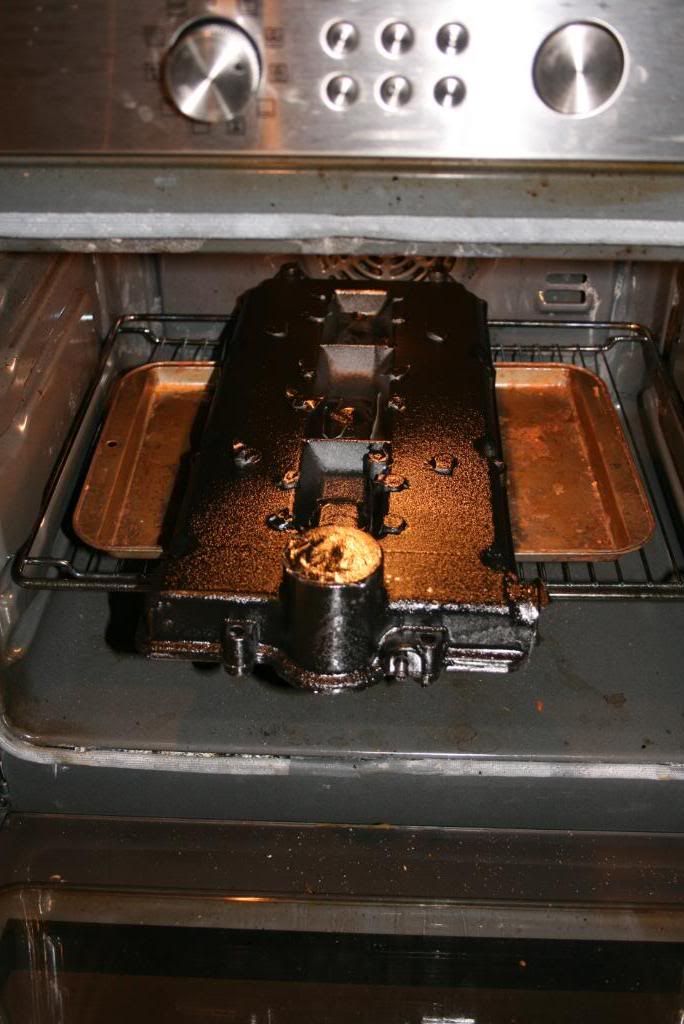
Then it was time to paint it. A word of caution, to get the wrinkle effect, it has to be warm, and you need to apply 3 coats in quick succession, say 5-10 minutes apart. I was doing this in the shed and left it overnight, for my first attempt nothing happened. So I then decided to use a heater in the shed, and accelerate the drying with the mrs hairdryer, mind you it's got some overspray at the back of it now, hope she doesn't notice. The hairdryer worked well, and after 3 coats I put it in the oven, well seeing the mrs was at a safe distance in New York for the weekend.
![Image]()
I'm no Nick Nairn but I'd say that is cooking nicely...
![Image]()
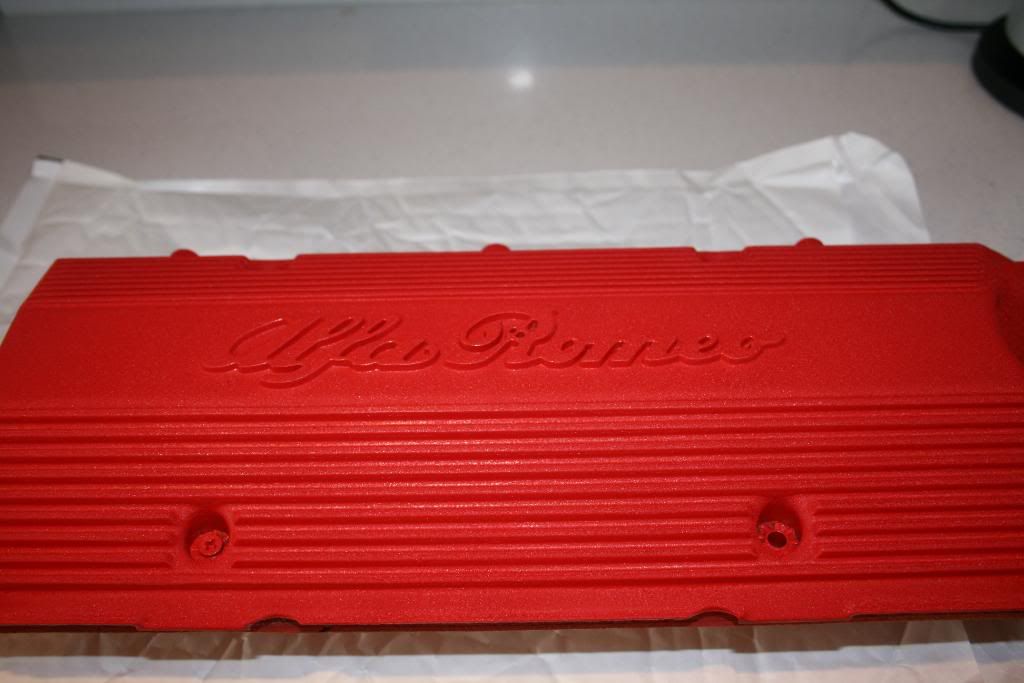
Just out the oven….
![Image]()
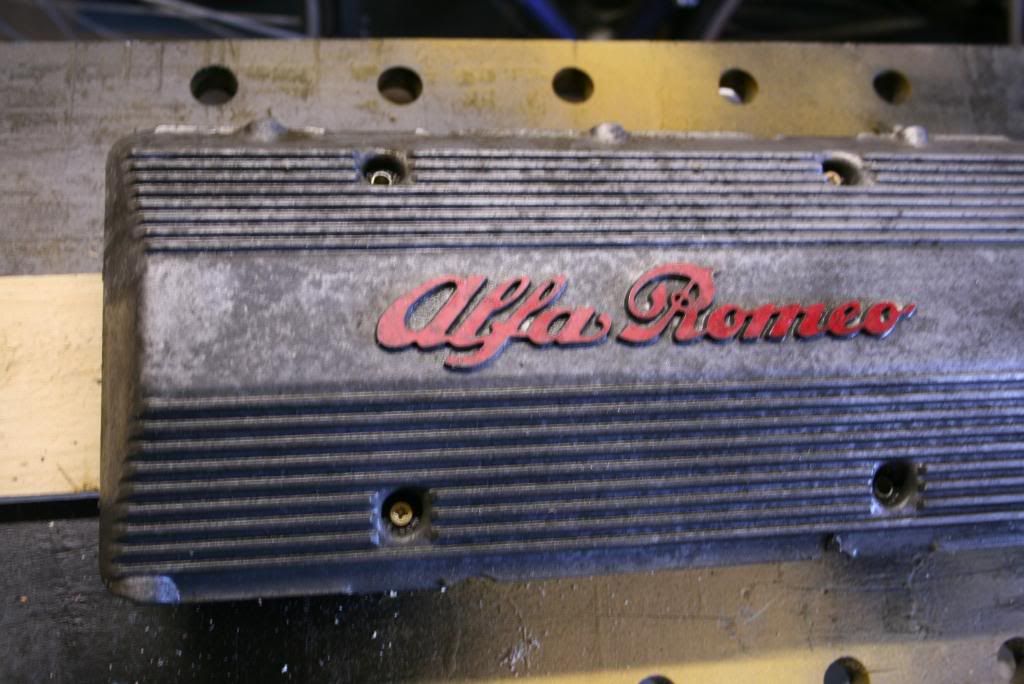
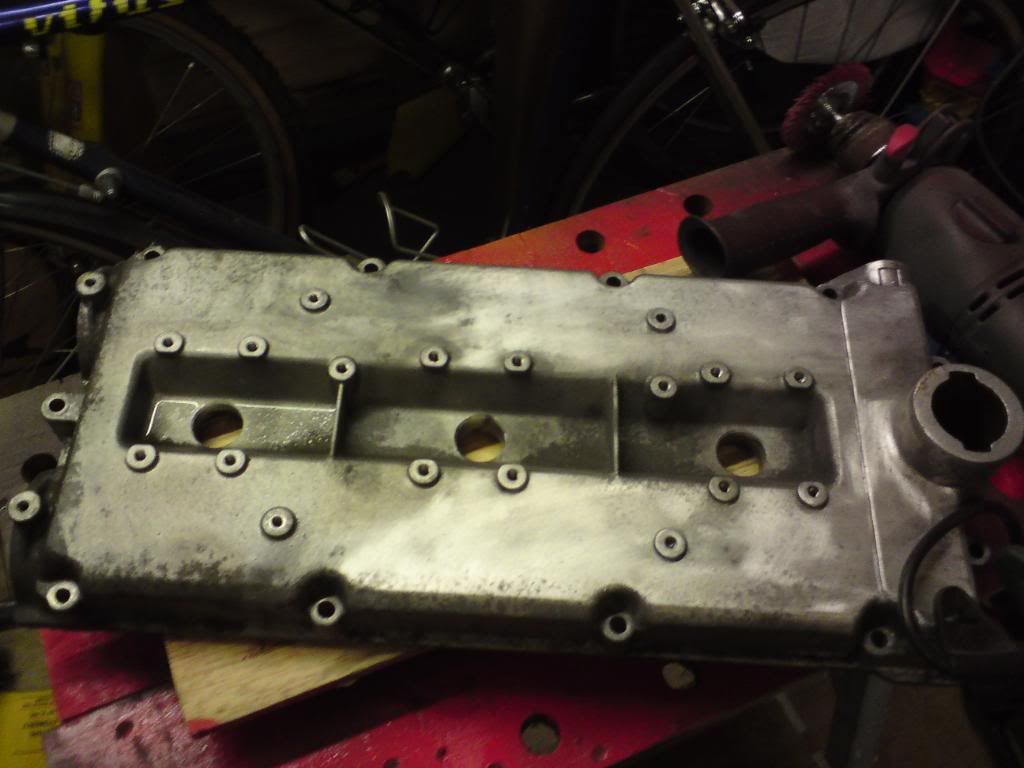
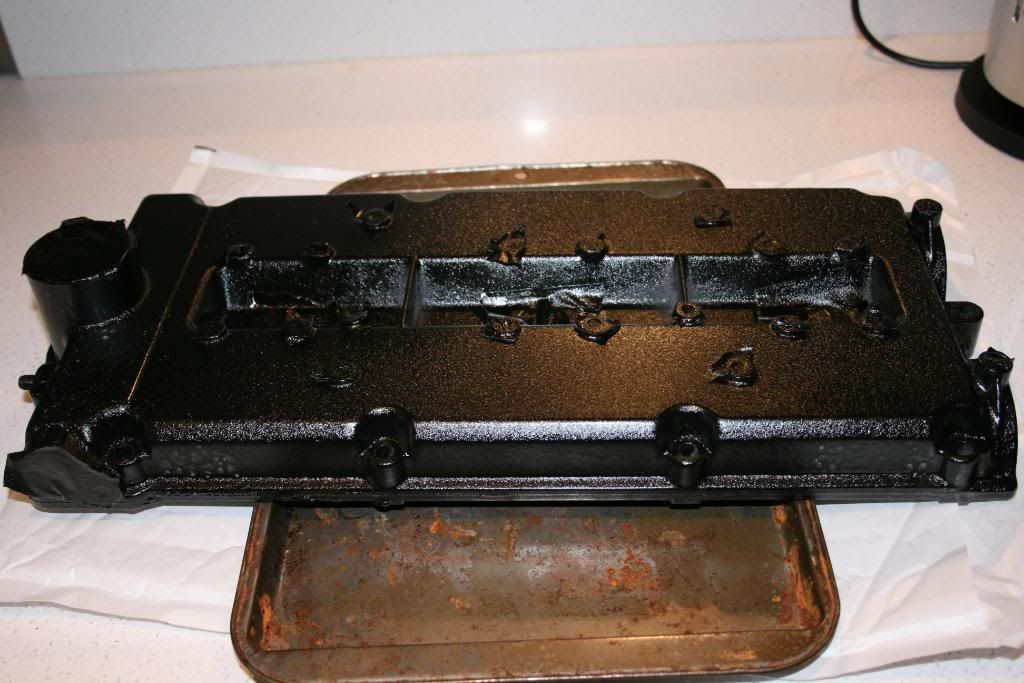
And on to the cam cover itself, a good part is hidden by the top coil cover so it wasn't necessary to fully prepare the complete surface. 50/50 shot….
![Image]()
![Image]()
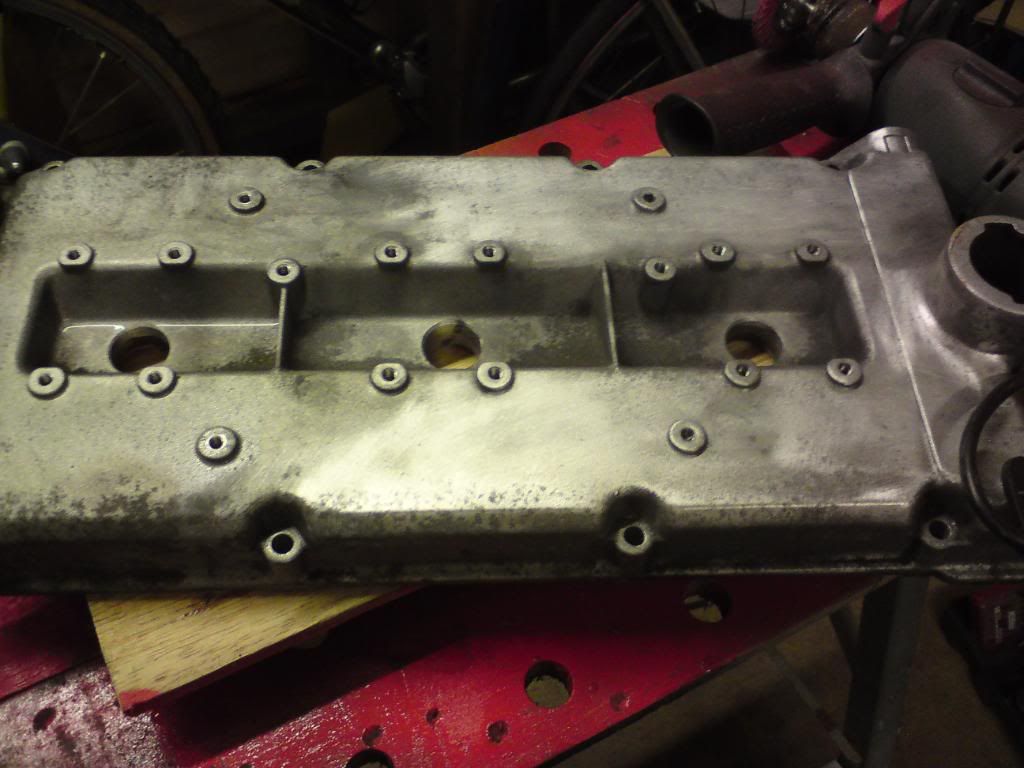
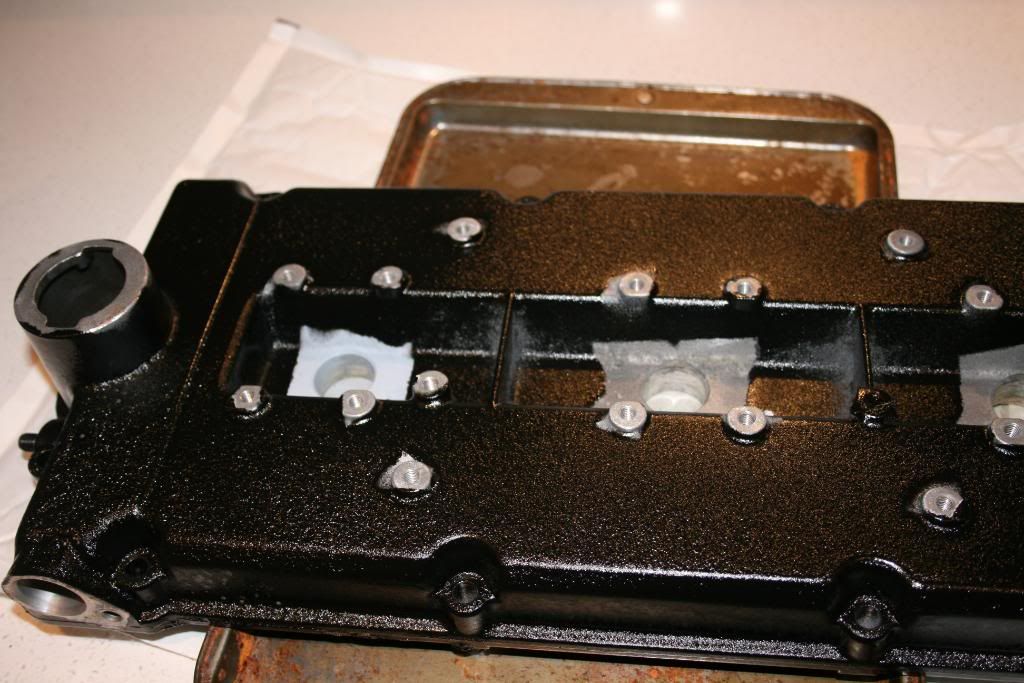
Threaded holes masked off…..
![Image]()
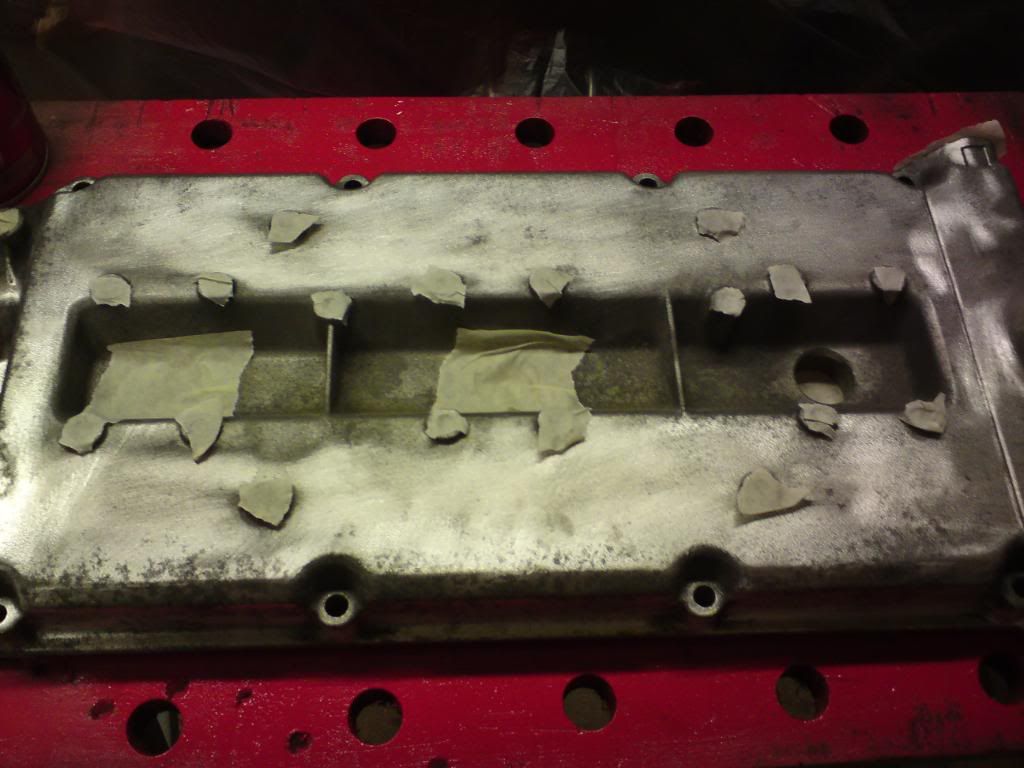
Same process applied….
![Image]()
And finished
![Image]()
![Image]()
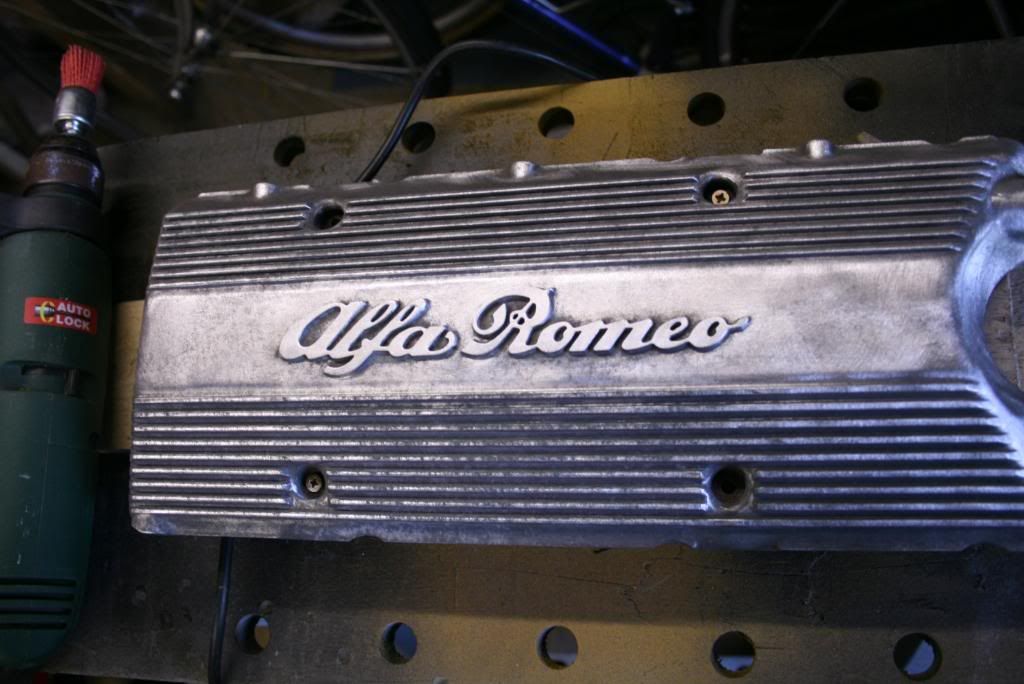
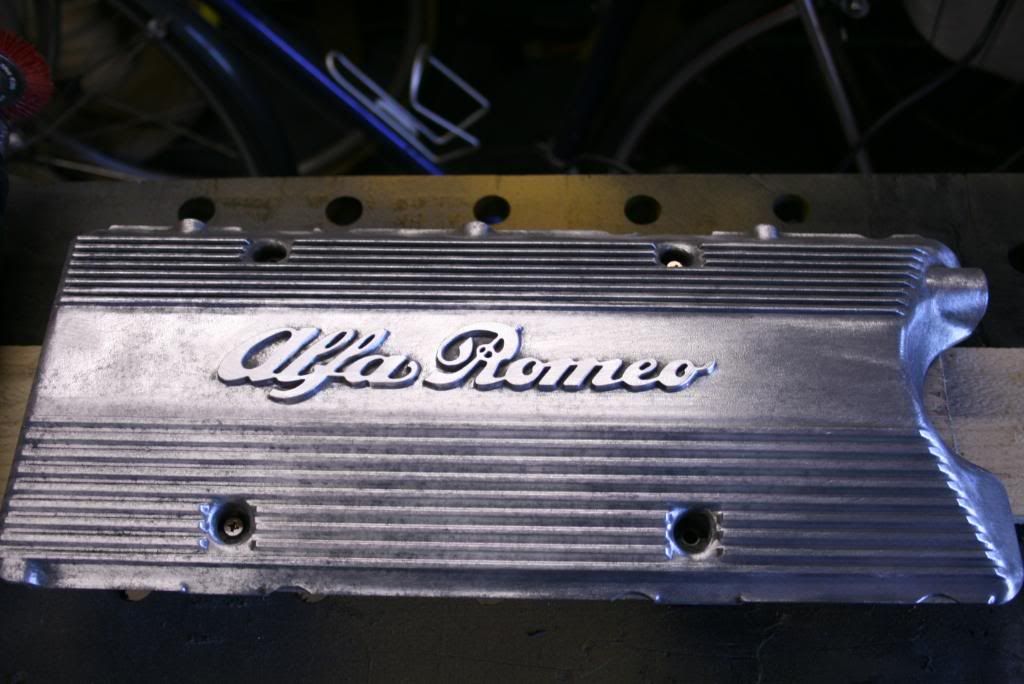
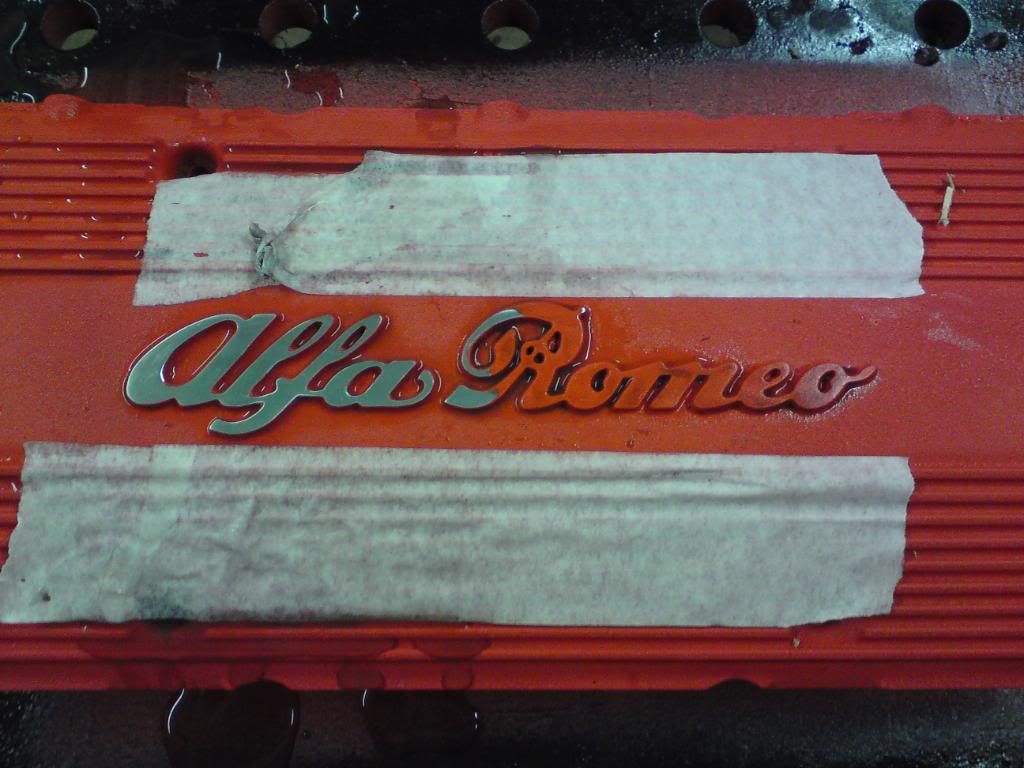
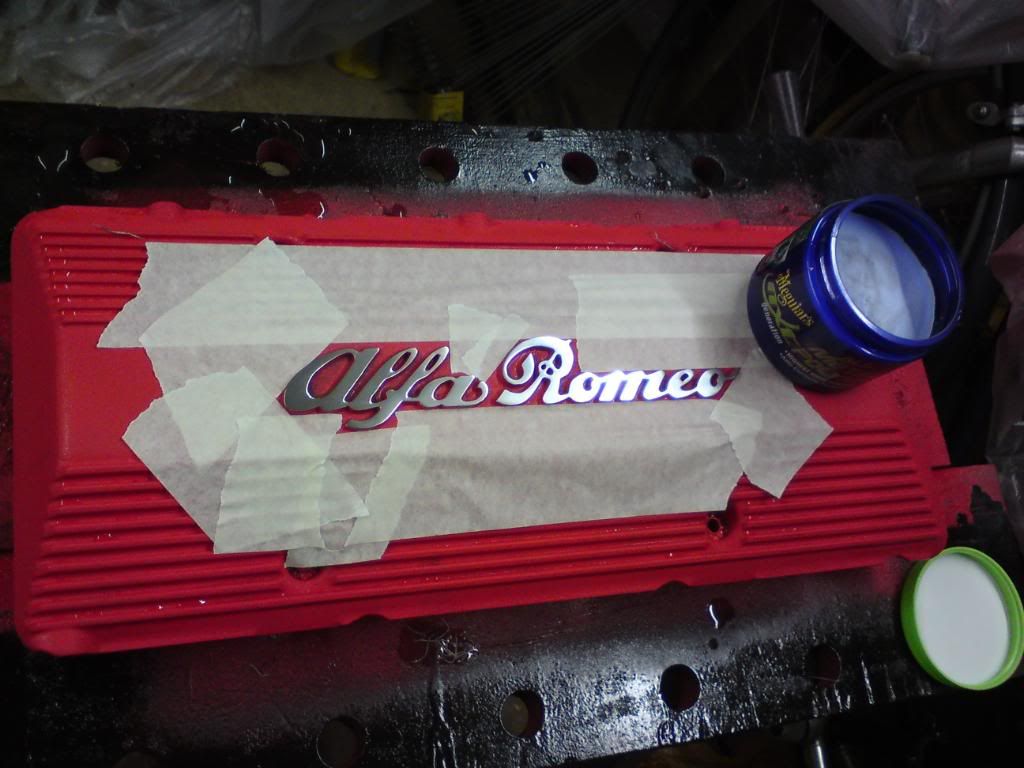
Now the most difficult part, to wet sand the Alfa Romeo logo back and then polish it, without damaging the finish. For this I masked off around the badge and used 2000 grit soaked in water for 10 minutes. Carefully rubbed back using a cork sanding block, this is better than a flexible Meguiars type, as you are not trying to follow contours, a hard flat surface is needed.
50/50 shot…..
![Image]()
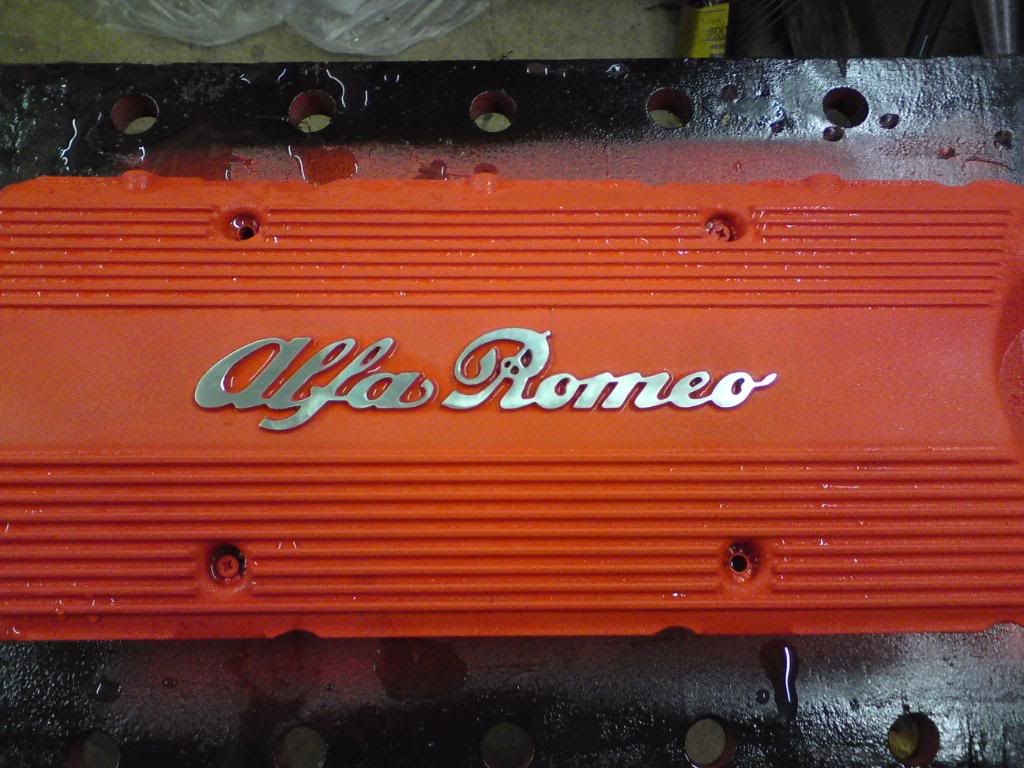
Finished and ready for polishing….
![Image]()
And the hard part, trying to keep the black stains away from the paint…
![Image]()
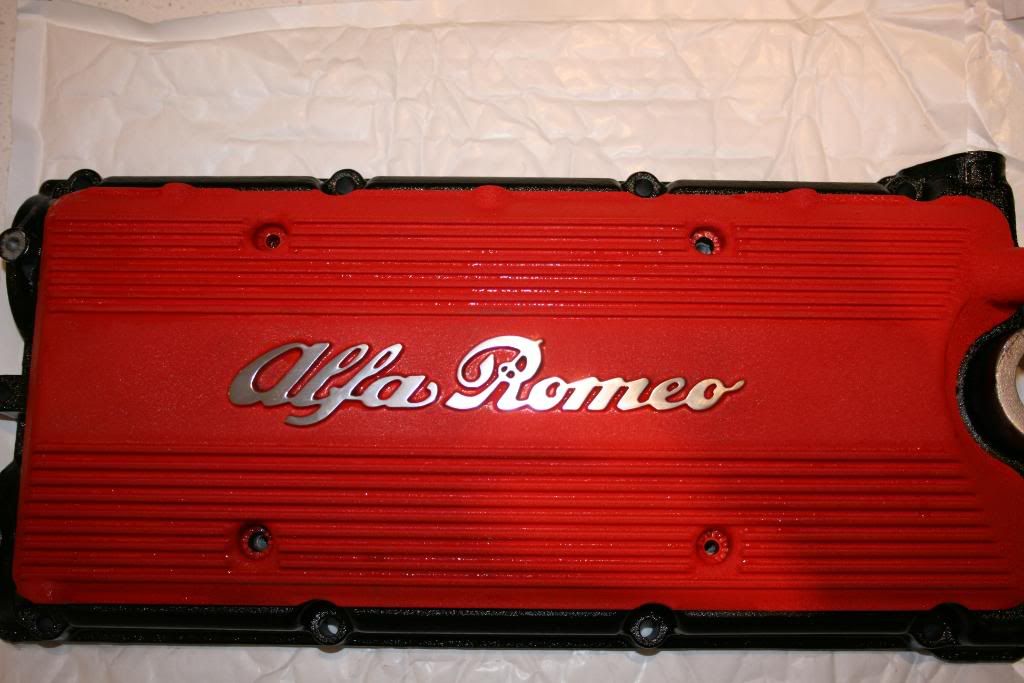
So after about 7 or 8 hours work, excluding refitting as I've not had a chance yet to do that, here's the final result, enjoy :argie:….
![Image]()
![Image]()
![Image]()
![Image]()
Once I get the parts refitted, I'll update the post. I'm away to watch Top Gear now.
Thanks for looking
Alan
Update from 1st December:
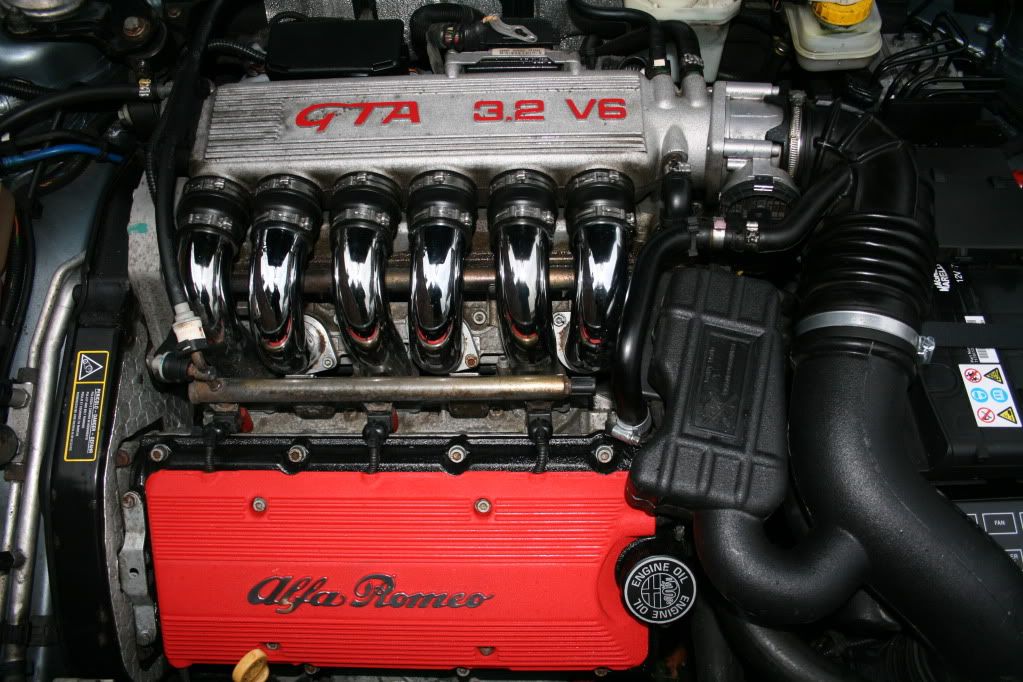
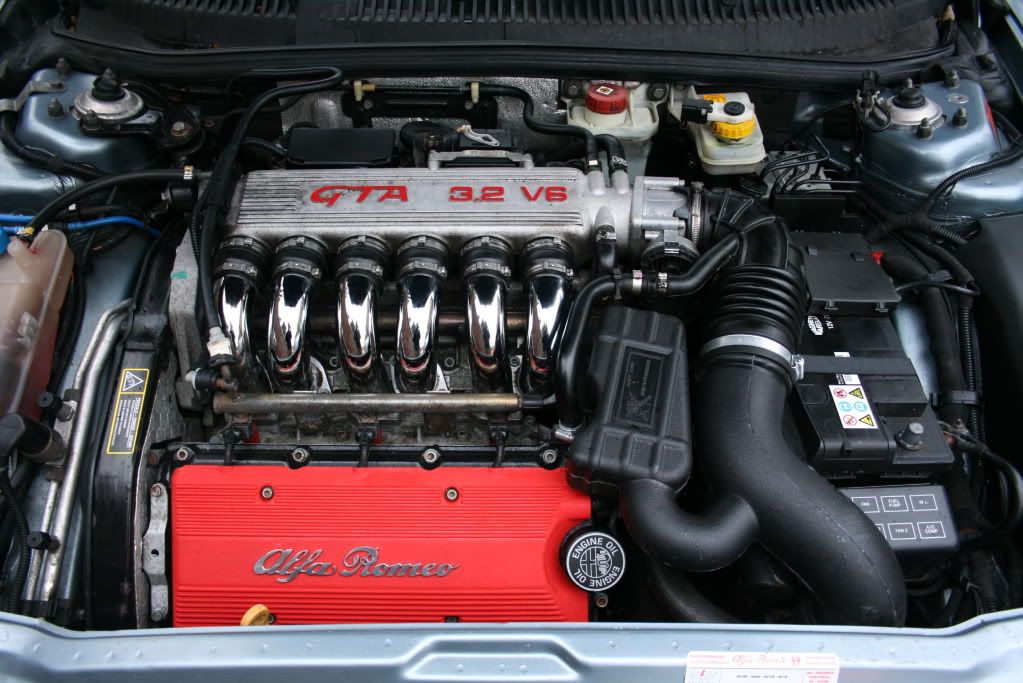
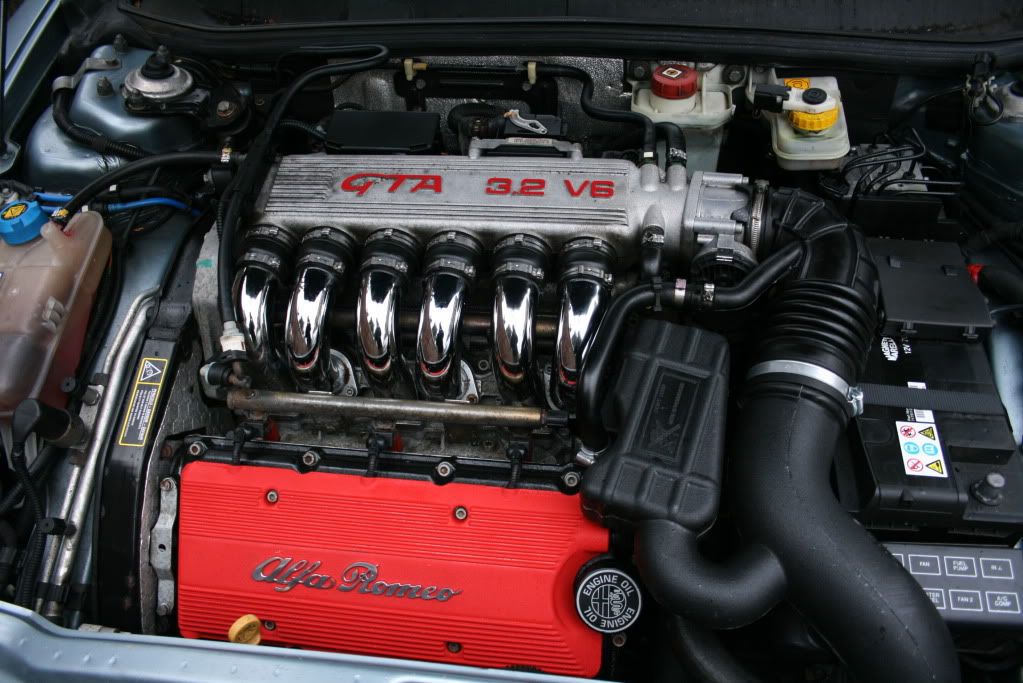
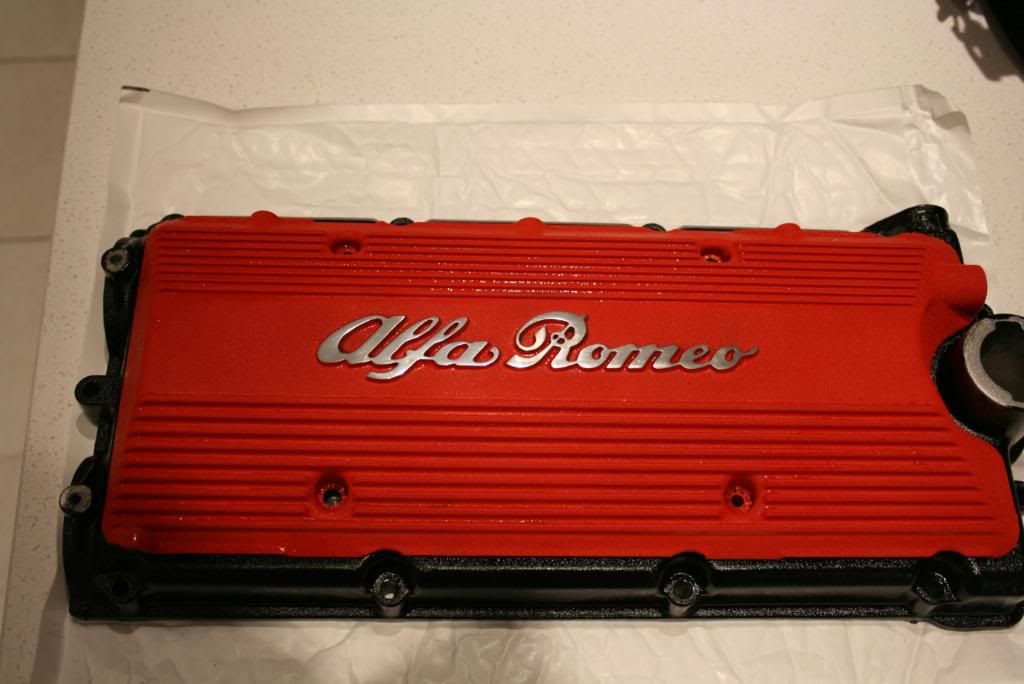
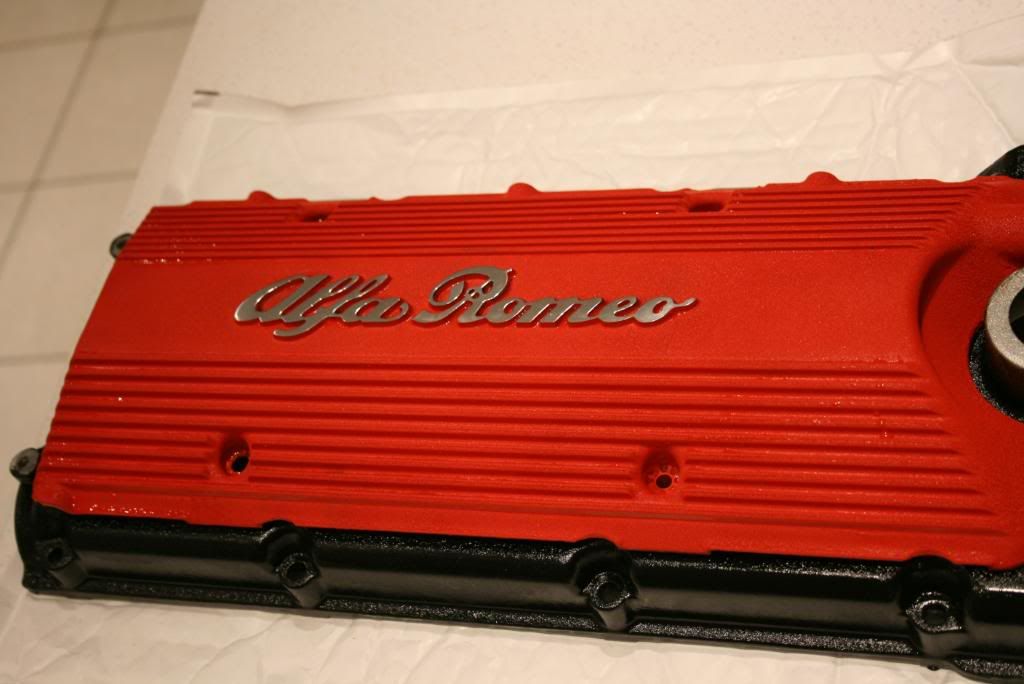
Got the parts refitted today, as a reminder, here's the before and some afters. Granted it shows up the plenum chamber now, but I still don't think I want it all in red, so I need to see what to do next with that part. Overall very pleased with the result.
![Image]()
![Image]()
![Image]()
![Image]()
![Image]()
I went out and purchased the following:-
Assorted polishing tools from Toolstation suitable for DIY drill
1 can of black Hycote wrinkle paint
1 can of red VHT wrinkle paint
Tub of Meguiars Metal Polish
Here's the engine bay before I started, front cover is a bit grubby…..
I started by making a bracket out of plywood to hold the coil cover while it was being polished back…..
Then fitted the coil cover to the plywood using a couple of wood screws
Here's a shot of the polishing tools, under a tenner from Toolstation

Couple of shots during the polishing stage
Then it was time to paint it. A word of caution, to get the wrinkle effect, it has to be warm, and you need to apply 3 coats in quick succession, say 5-10 minutes apart. I was doing this in the shed and left it overnight, for my first attempt nothing happened. So I then decided to use a heater in the shed, and accelerate the drying with the mrs hairdryer, mind you it's got some overspray at the back of it now, hope she doesn't notice.
The hairdryer worked well, and after 3 coats I put it in the oven, well seeing the mrs was at a safe distance in New York for the weekend.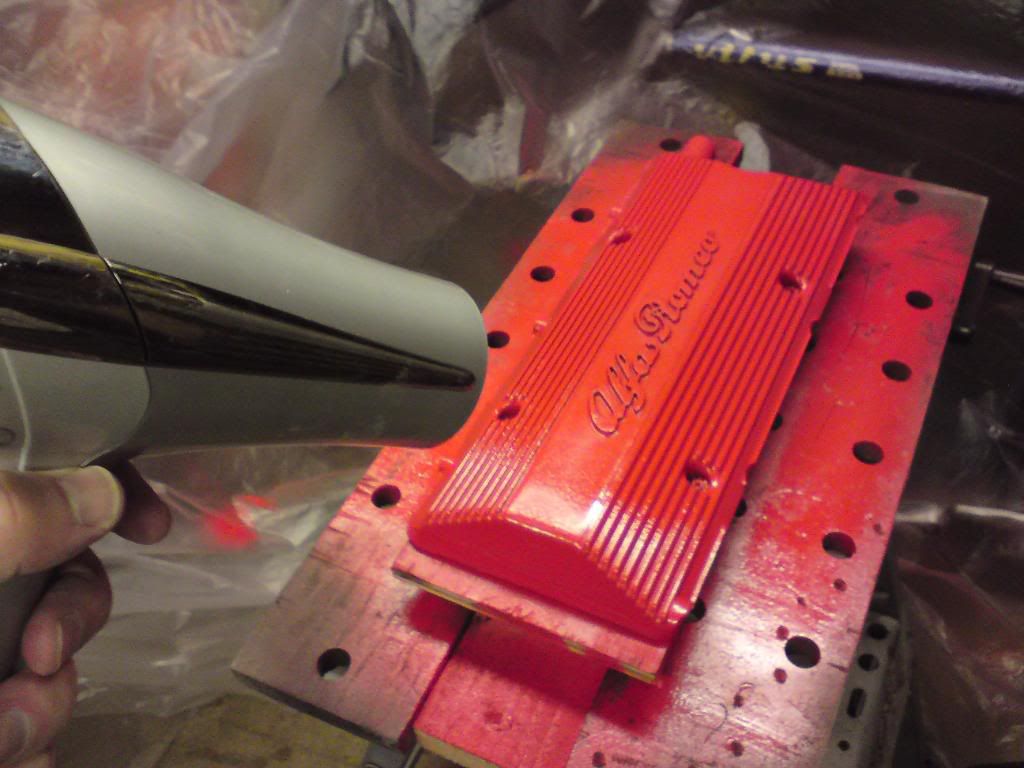
I'm no Nick Nairn but I'd say that is cooking nicely...
Just out the oven….
And on to the cam cover itself, a good part is hidden by the top coil cover so it wasn't necessary to fully prepare the complete surface. 50/50 shot….
Threaded holes masked off…..
Same process applied….
And finished
Now the most difficult part, to wet sand the Alfa Romeo logo back and then polish it, without damaging the finish. For this I masked off around the badge and used 2000 grit soaked in water for 10 minutes. Carefully rubbed back using a cork sanding block, this is better than a flexible Meguiars type, as you are not trying to follow contours, a hard flat surface is needed.
50/50 shot…..
Finished and ready for polishing….
And the hard part, trying to keep the black stains away from the paint…
So after about 7 or 8 hours work, excluding refitting as I've not had a chance yet to do that, here's the final result, enjoy :argie:….

Once I get the parts refitted, I'll update the post. I'm away to watch Top Gear now.
Thanks for looking
Alan
Update from 1st December:
Got the parts refitted today, as a reminder, here's the before and some afters. Granted it shows up the plenum chamber now, but I still don't think I want it all in red, so I need to see what to do next with that part. Overall very pleased with the result.