

What a great car to start 2010 with, An Audi R8 booked in for 3 days for a correctional detail, engine bay and interior.
The weather conditions not perfect outside, but nevertheless bareable with the heaters on in the garage.
From this to this.
![Image]()
![Image]()
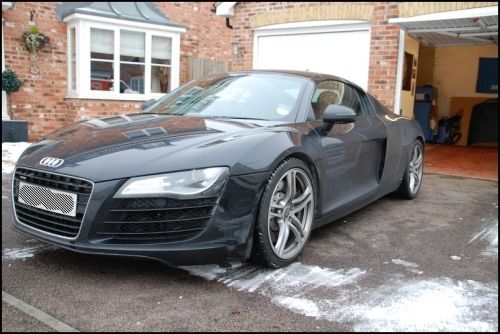
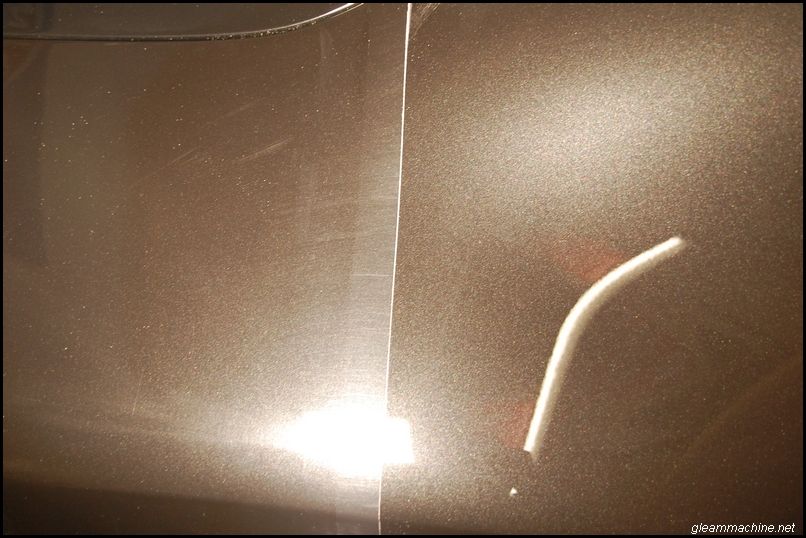
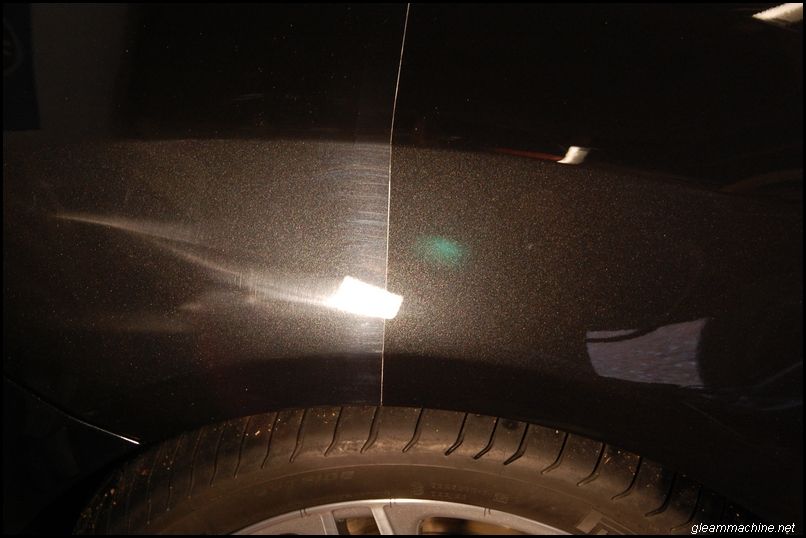
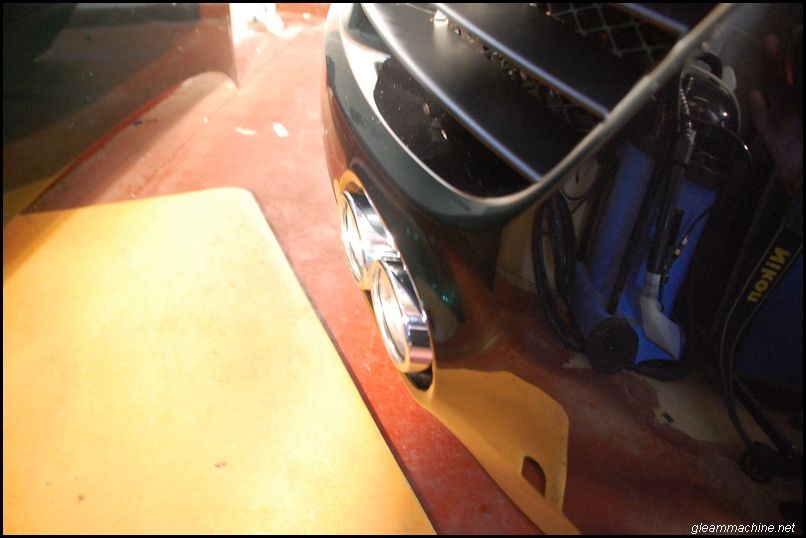
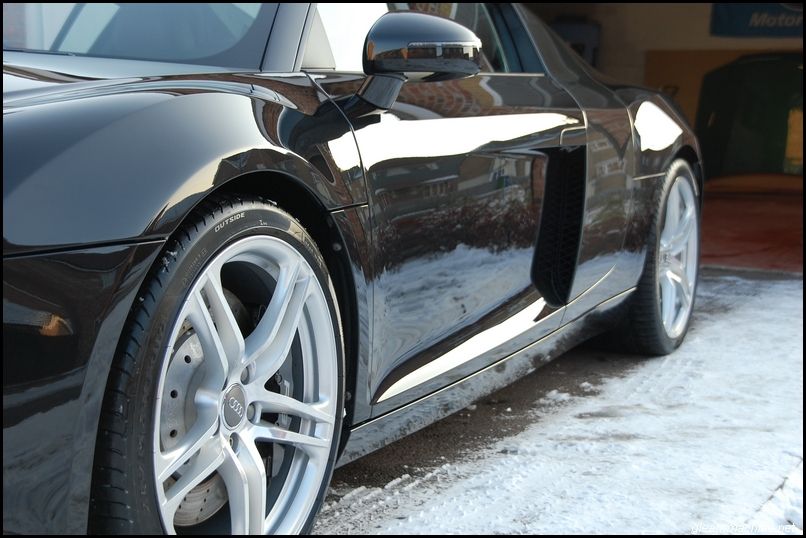
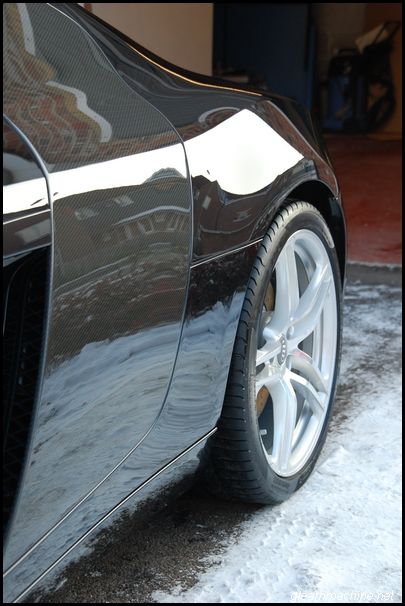
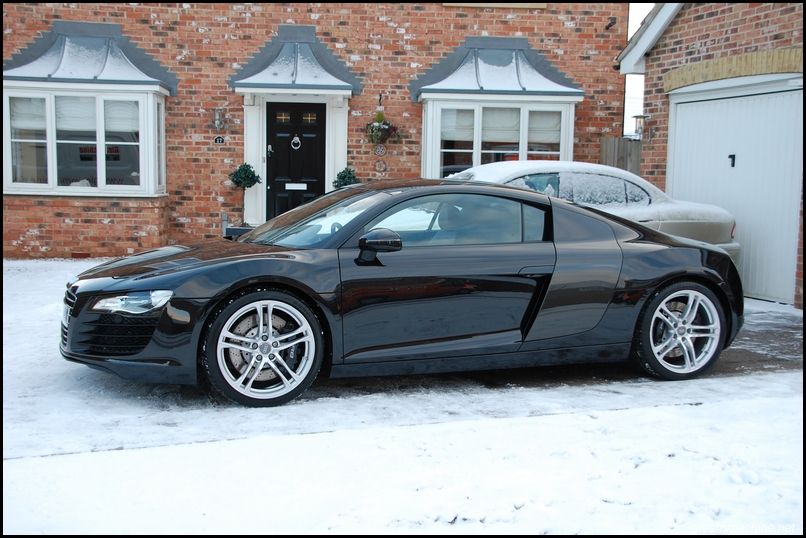
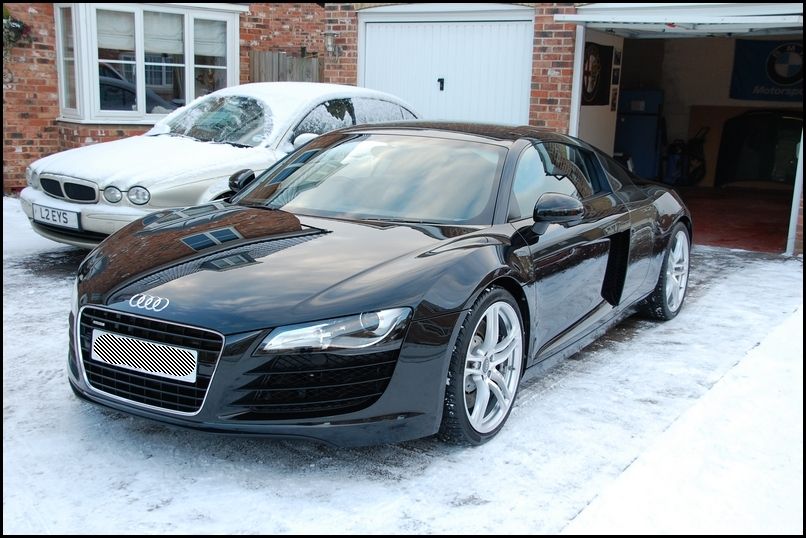
A couple upon arrival,
![Image]()
![Image]()
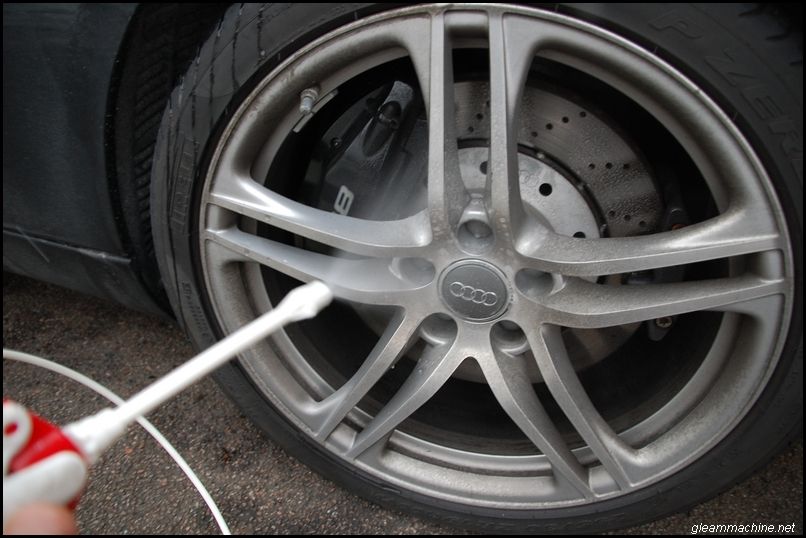
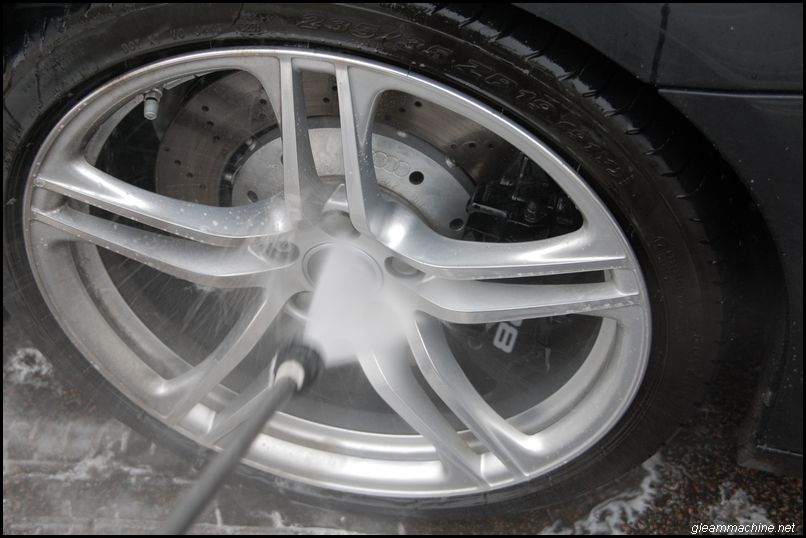
As always alloys pre-sprayed with Espuma revolution and rinsed,
![Image]()
![Image]()
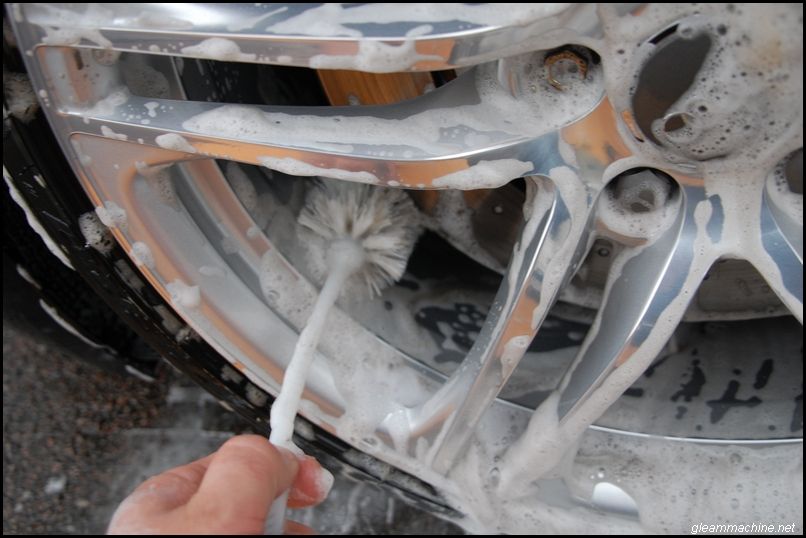
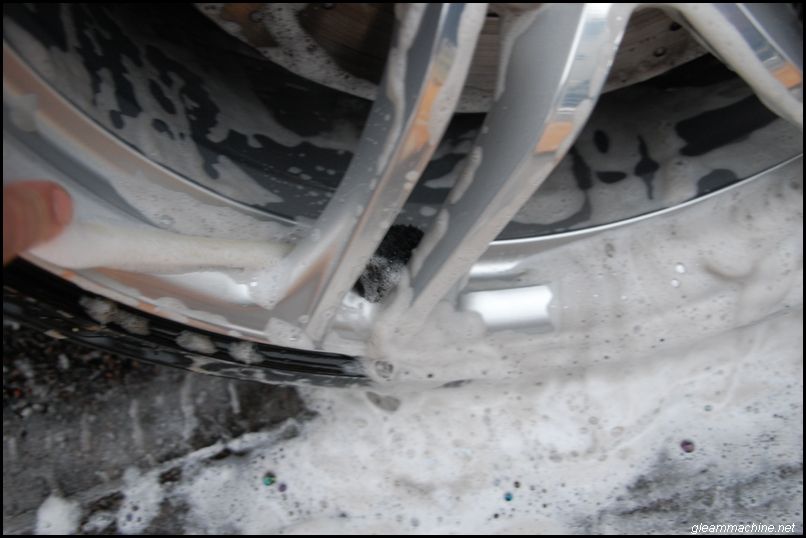
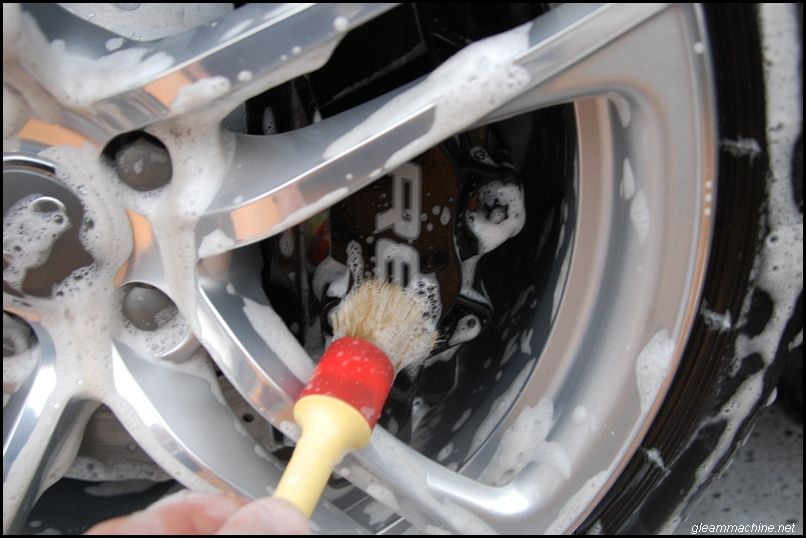
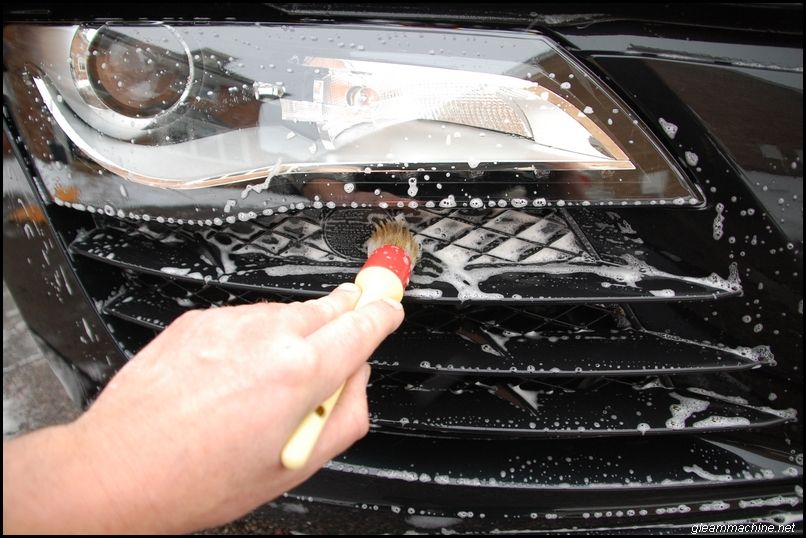
Re-sprayed and cleaned using various brushes,
![Image]()
![Image]()
Arches and calipers cleaned using Espuma G202,
![Image]()
![Image]()
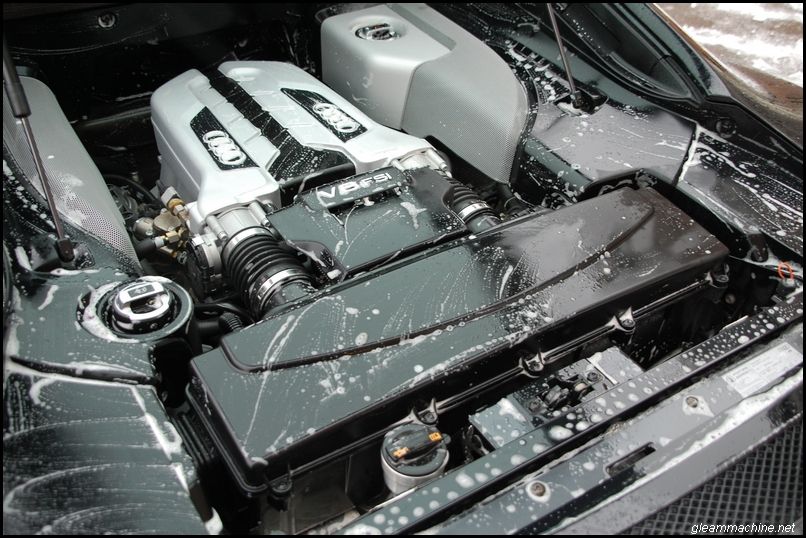
Vunerable areas covered and engine bay cleaned using a hot citrus pre-wash and soft detailing brushes, finally rinsed using warm water from an open flow,
![Image]()
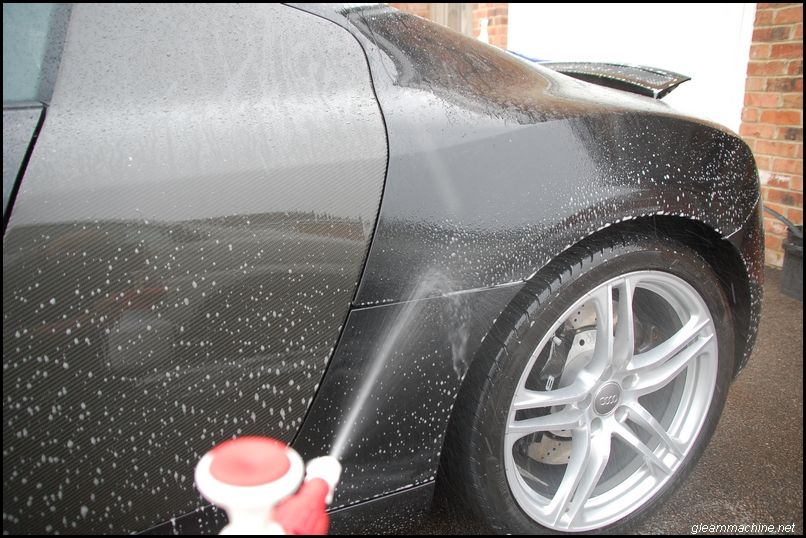
Paintwork pre-sprayed with a warm citrus mix and left to dwell for 2-3 mins before pressure rinsing,
![Image]()
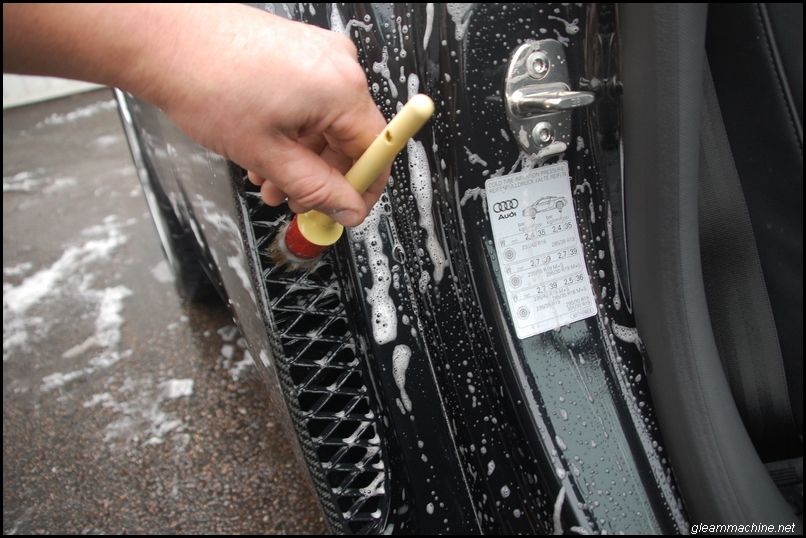
Trim and shuts cleaned with the same mix as above,
![Image]()
![Image]()
![Image]()
Front wheel arch rubbers removed and cleaned,
![Image]()
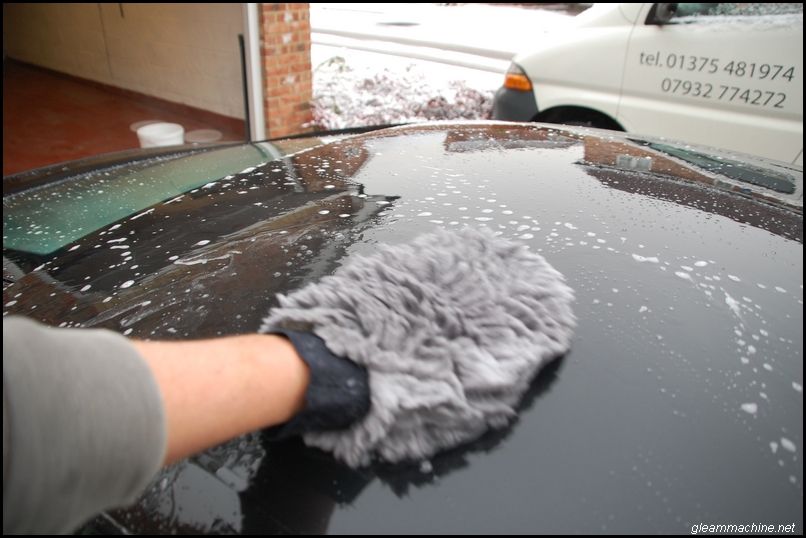
Washed using the normal safe practices,
![Image]()
Dried using plush towels and de-tarred using citrus T&G remover,
![Image]()
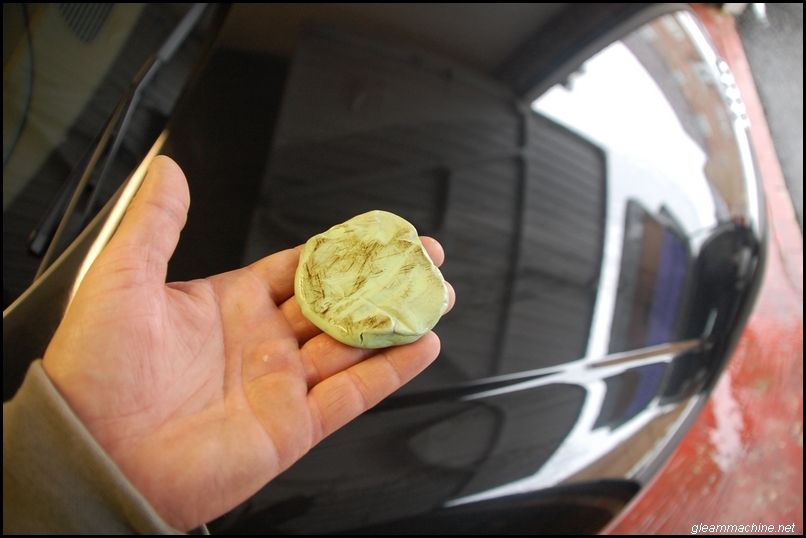
Clayed using Sonus green and Dodo born slippy,
![Image]()
![Image]()
Dealership stickers removed with the help of some heat and glue remover,
![Image]()
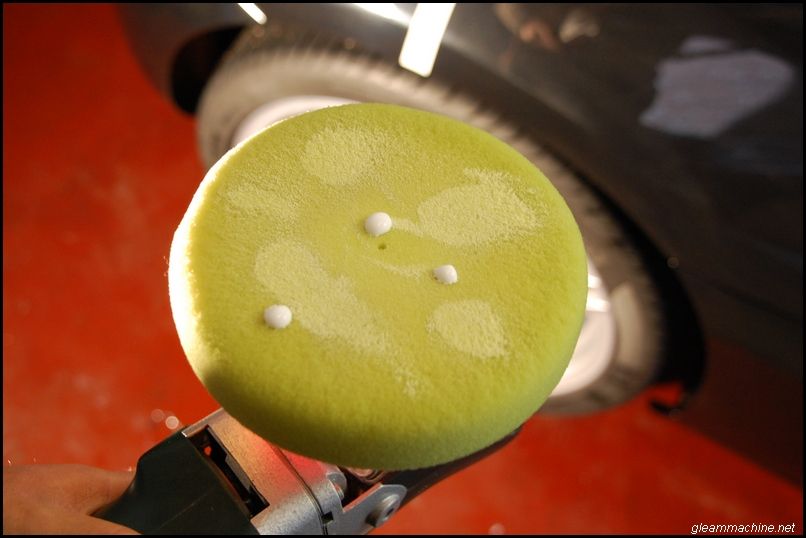
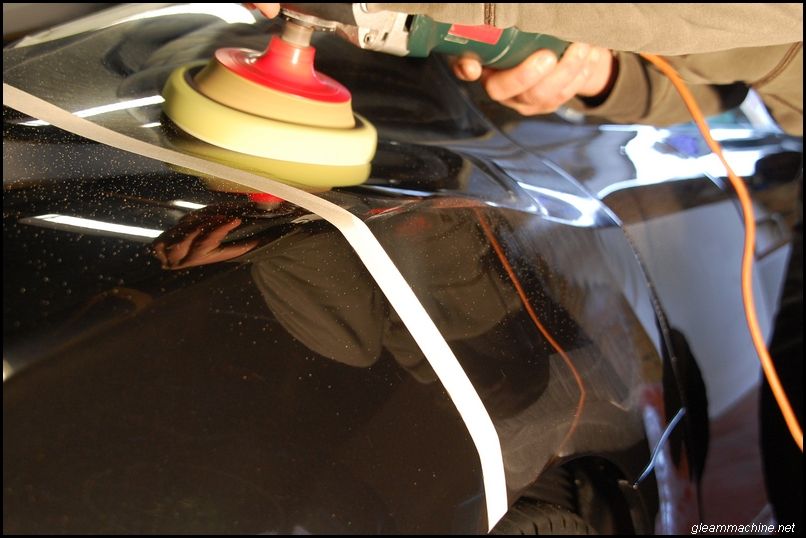
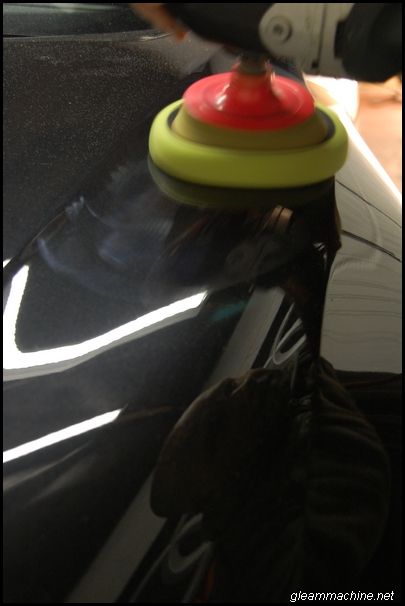
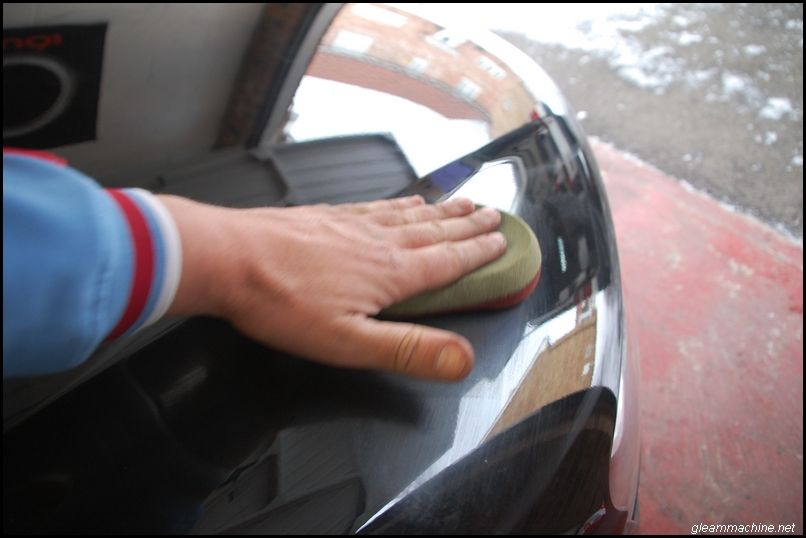
Trim masked up and a Gloss-it light cut pad primed with Megs #105,
![Image]()
![Image]()
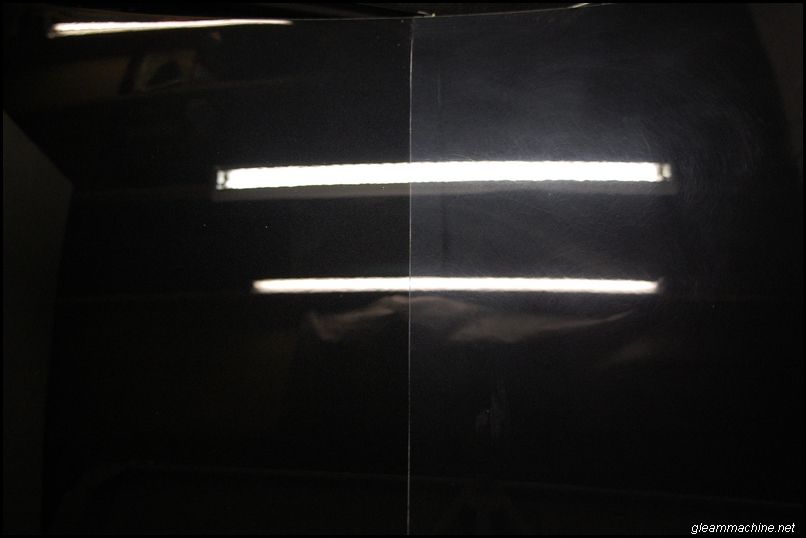
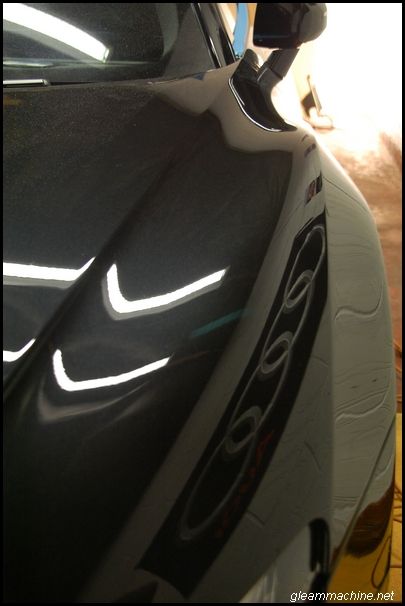
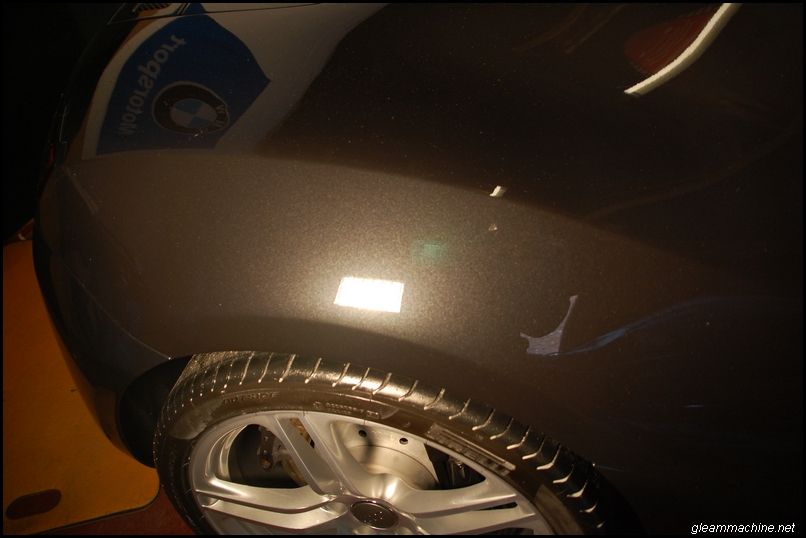
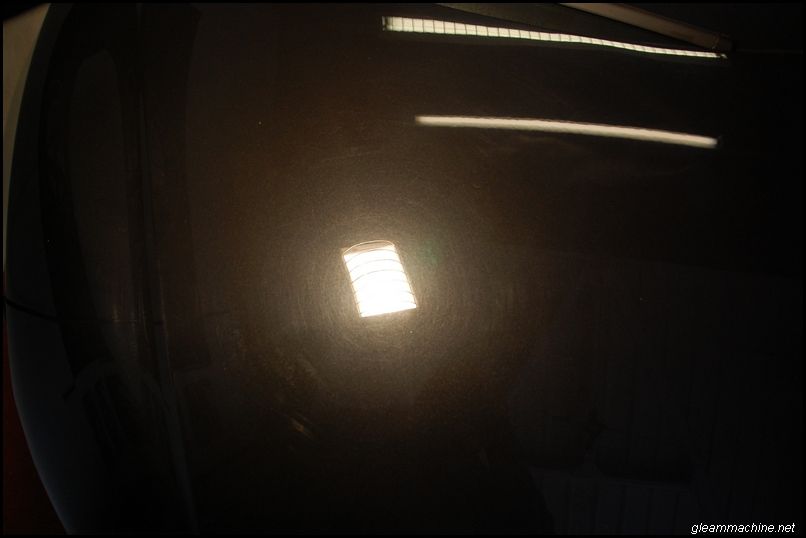
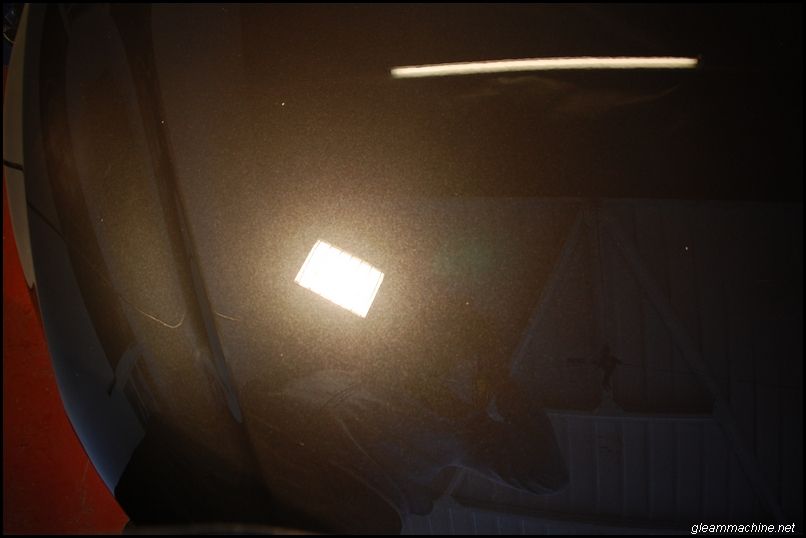
50/50's,
Rear quarter,
![Image]()
![Image]()
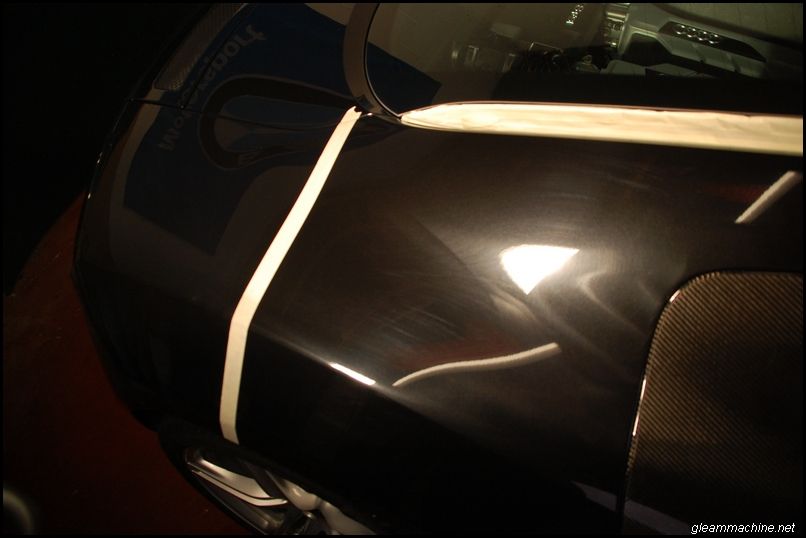
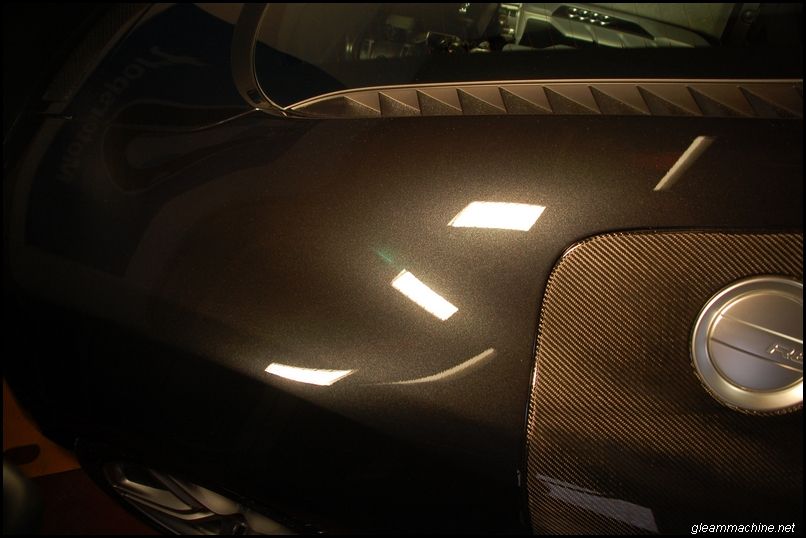
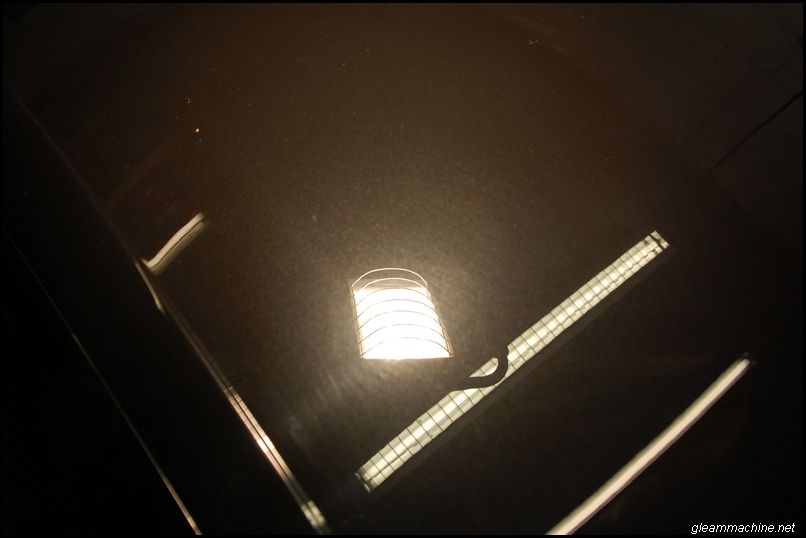
Bonnet,
![Image]()
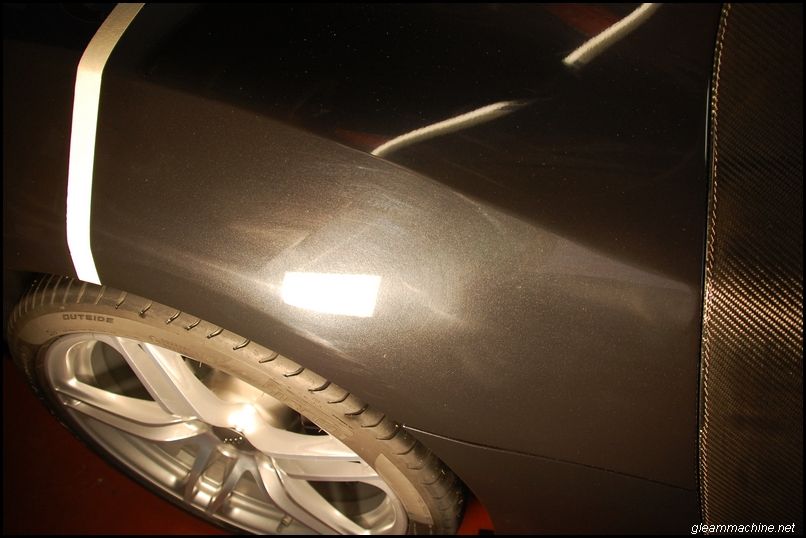
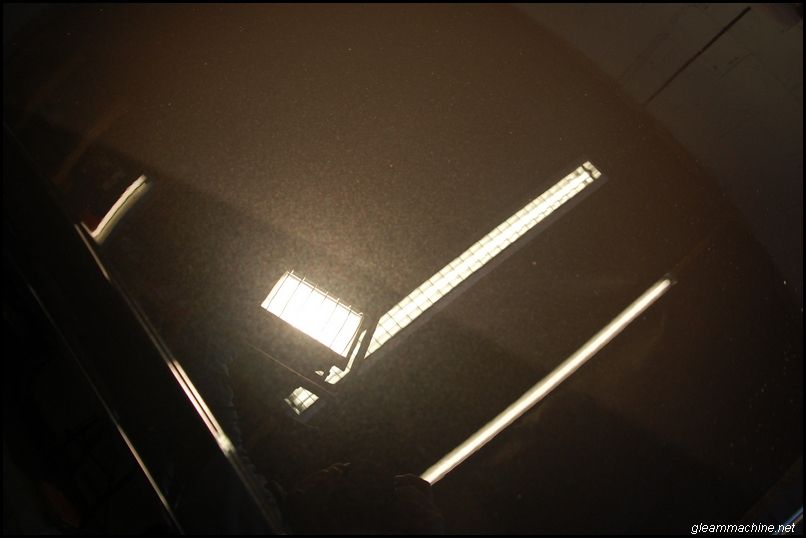
Front wing,
![Image]()
![Image]()
![Image]()
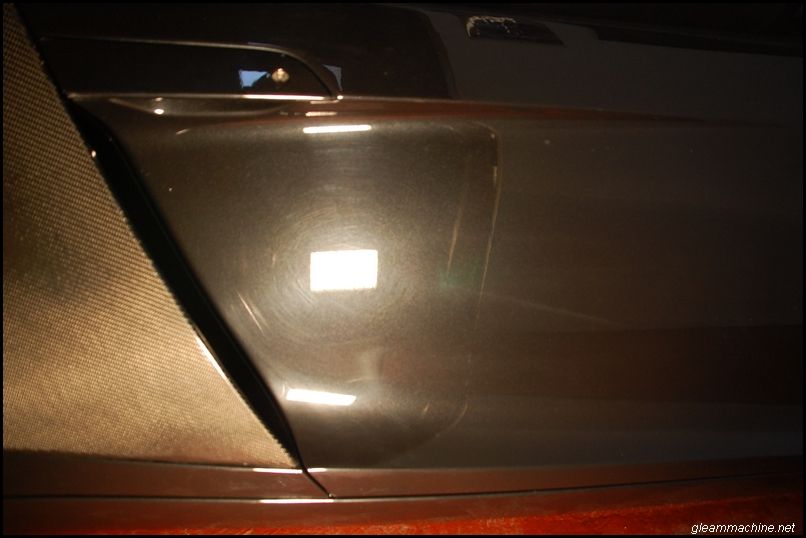
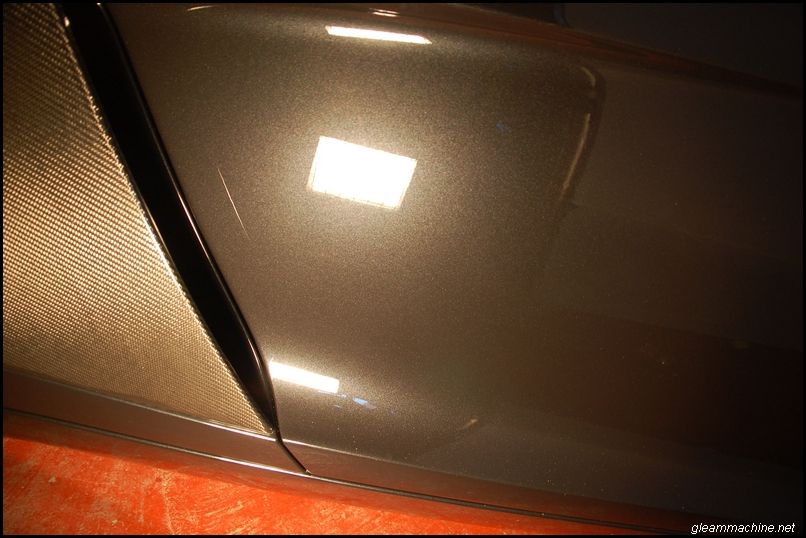
Before and after machining,
![Image]()
![Image]()
![Image]()
![Image]()
![Image]()
![Image]()
![Image]()
![Image]()
![Image]()
![Image]()
Refinement stage of machining was completed using Megs #205 on a Festool X Fine finishing pad, this was followed by an IPA wipedown to remove any polishing oils,
![Image]()
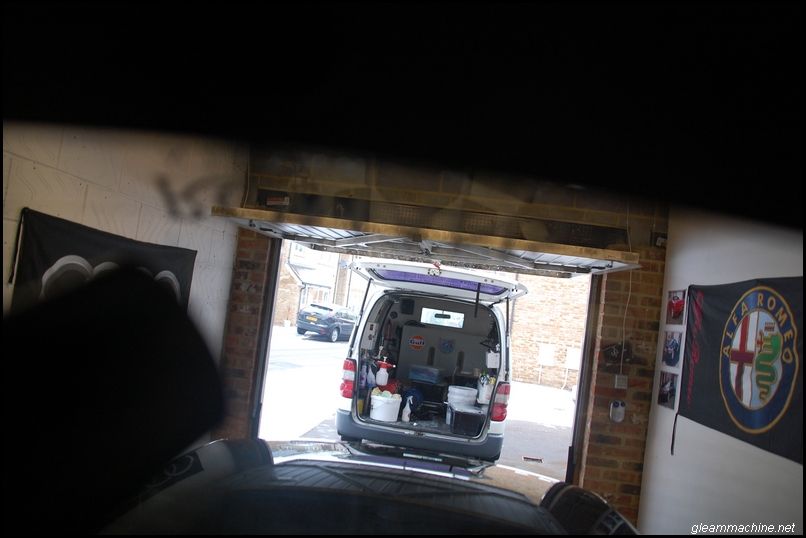
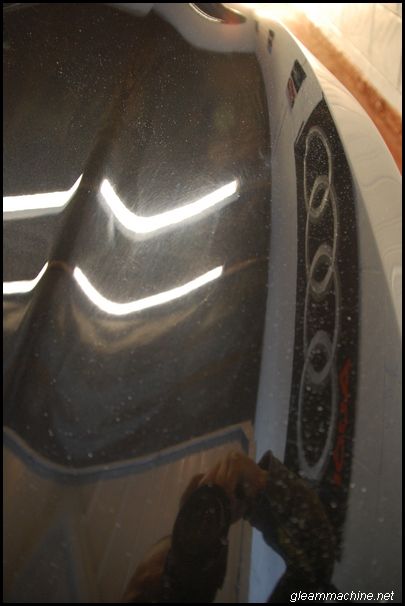
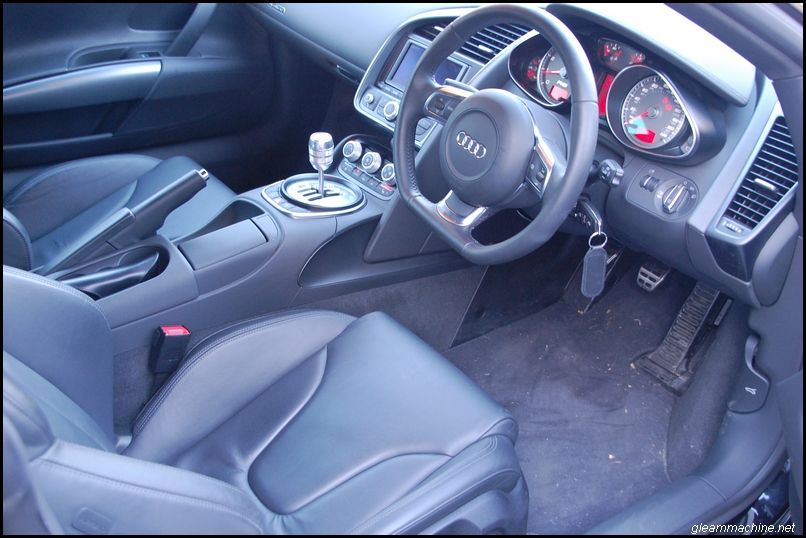
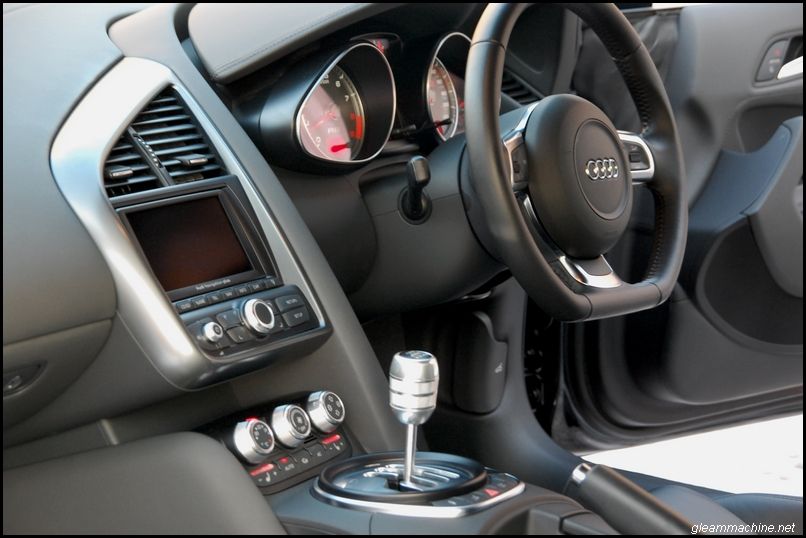
The car was then pulled outside to dust out the crevices and see to the interior,
![Image]()
![Image]()
![Image]()
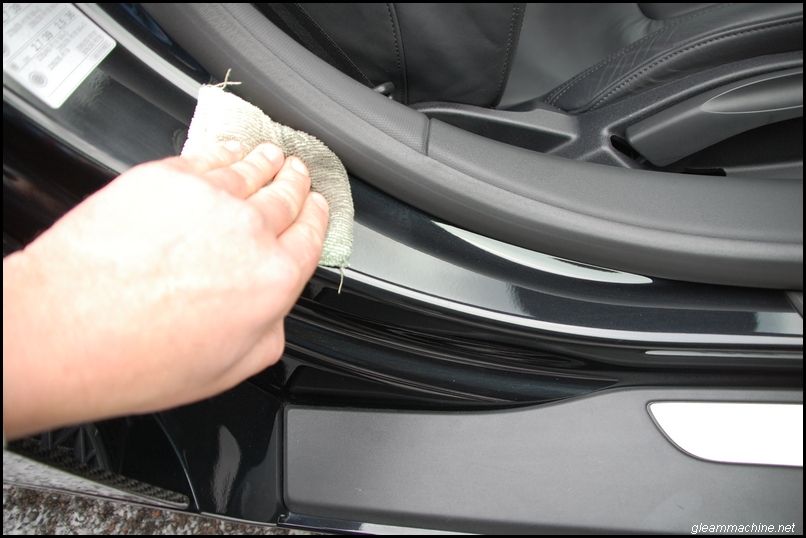
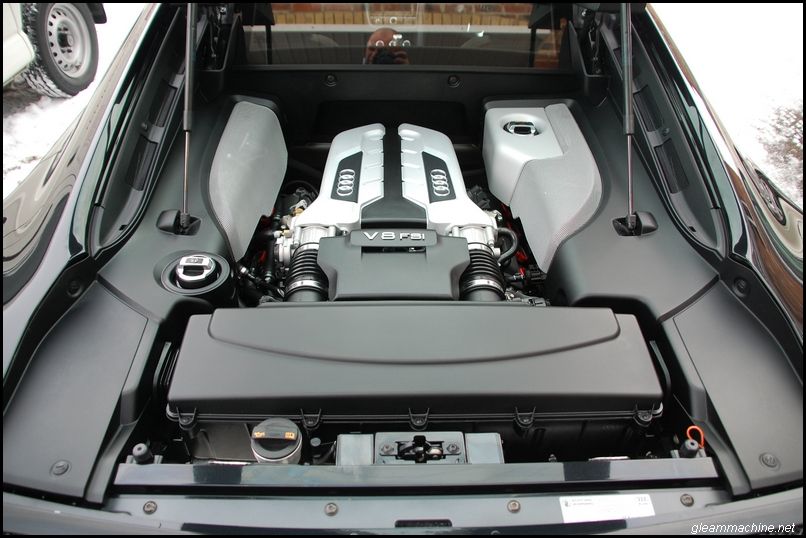
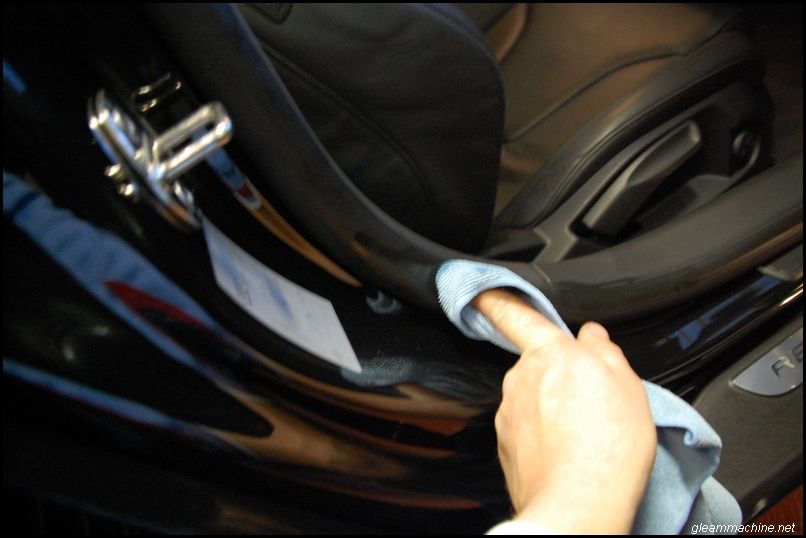
Door shuts and painted areas of the engine bay polished and protected using Werkstat Prime,
![Image]()
Engine bay plastics and rubbers dressed using VP Protectant,
![Image]()
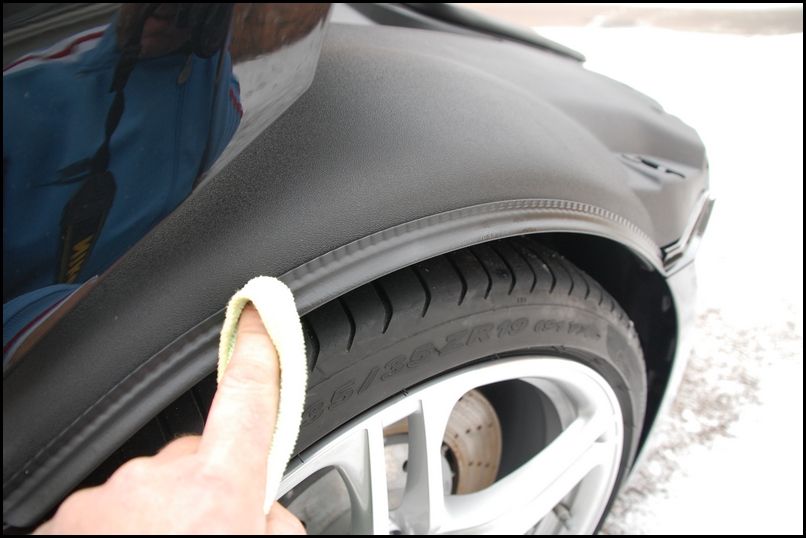
Front arch rubbers replaced and treated using Swissvax seal feed, as were the door rubbers to prevent cracking and sticking in the cold conditions,
![Image]()
![Image]()
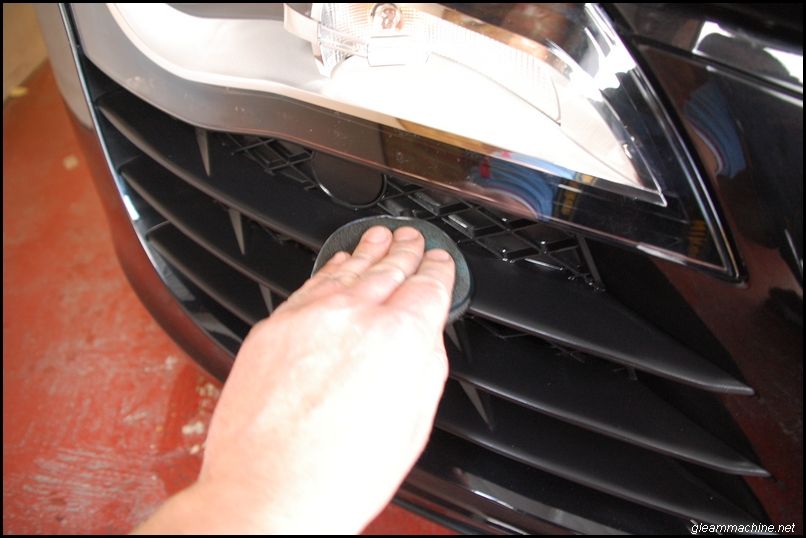
Grills and plastics treated to CG new look gel,
![Image]()
Exhausts polished using Briliant #1 restorer and #2 hot enviroments,
![Image]()
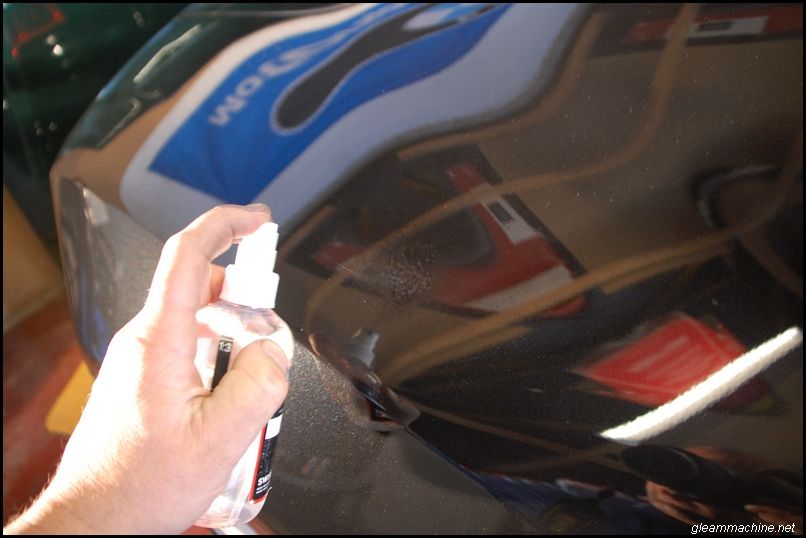
Paintwork pre-cleansed with Zymol hd-cleanse to aid wax bonding,
![Image]()
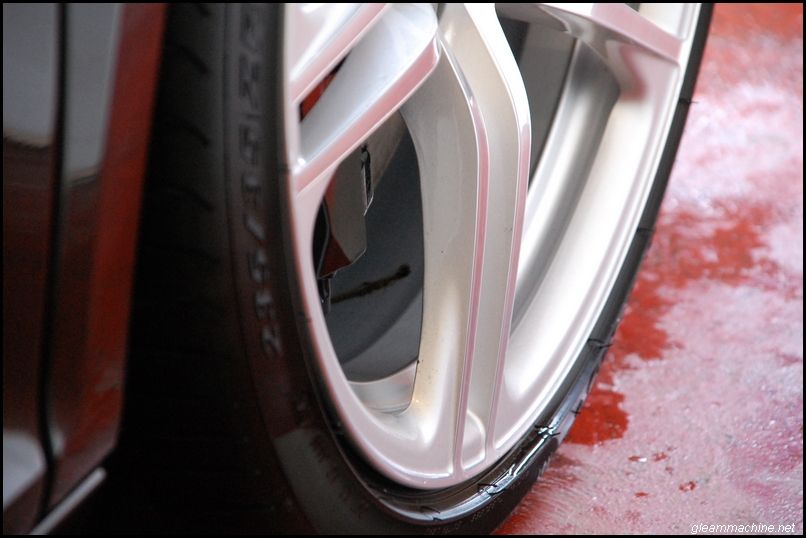
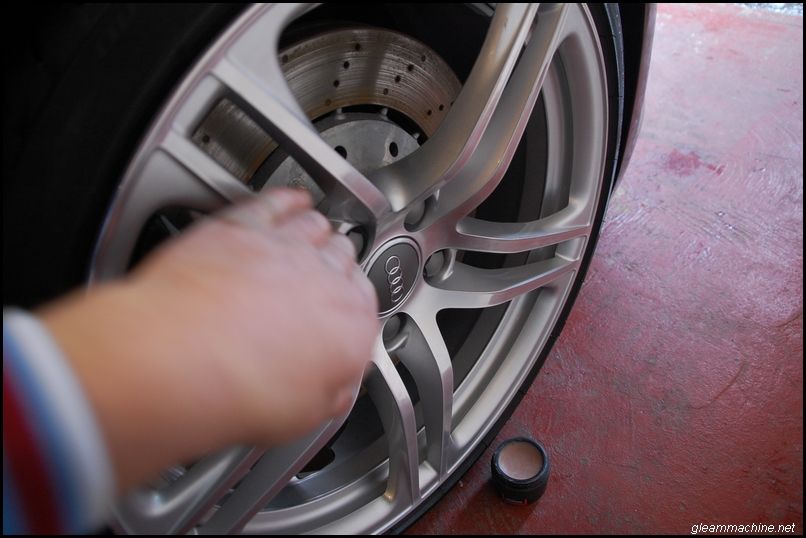
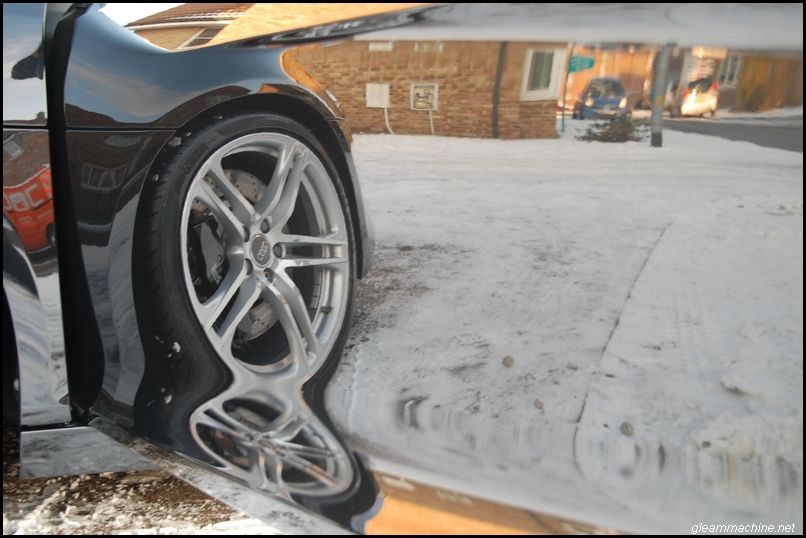
Alloys polished with Swissvax cleaner fluid and sealed using Autobahn, inner alloys and calipers also sealed using Nanolex spray sealant,
![Image]()
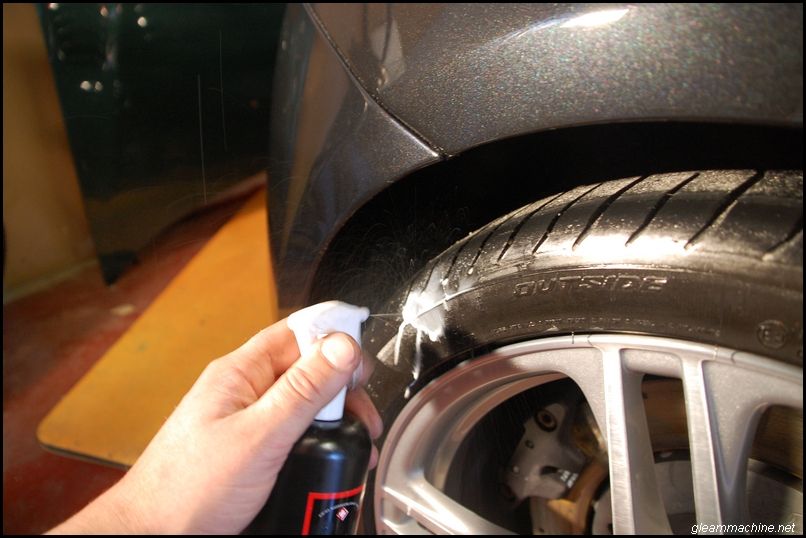
Tyres dressed with SV pneu and worked in with a foam applicator,
![Image]()
Glass polished using Nanolex glass cleaner and then protected using Carlack glass sealant,
![Image]()
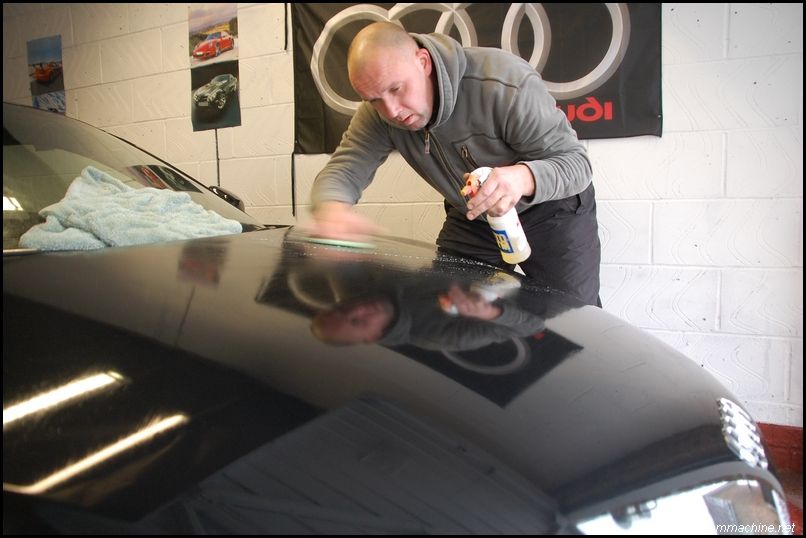
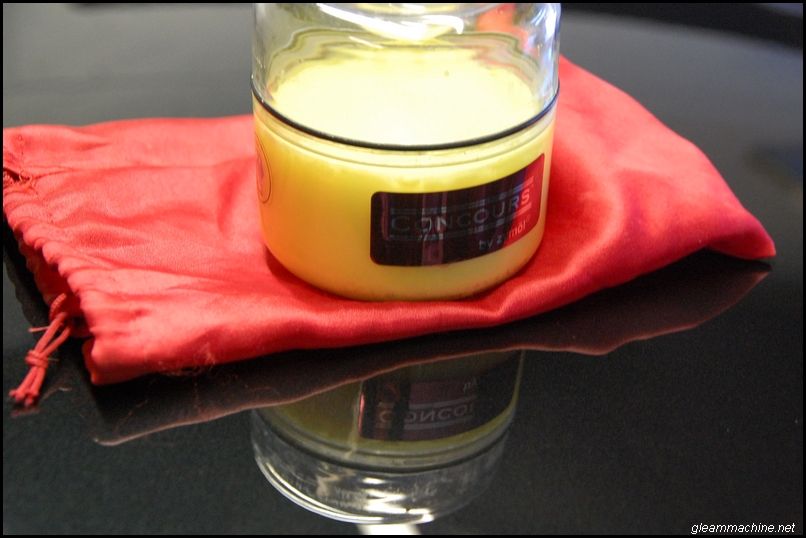
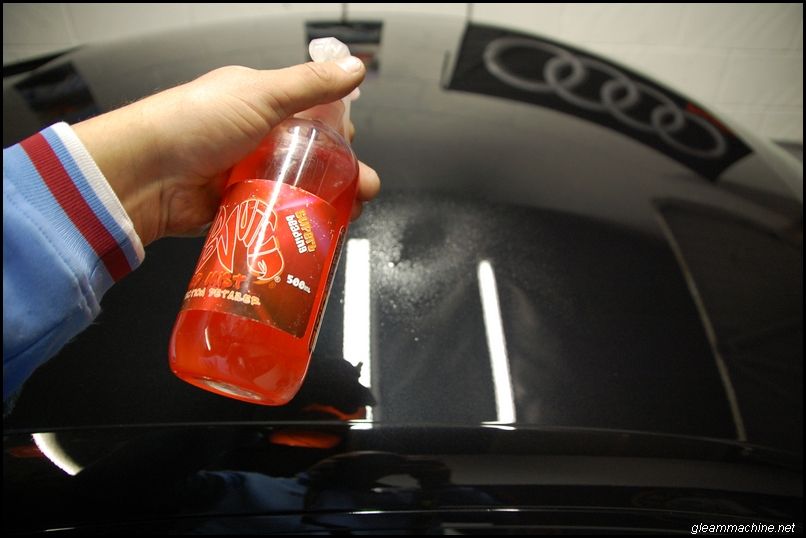
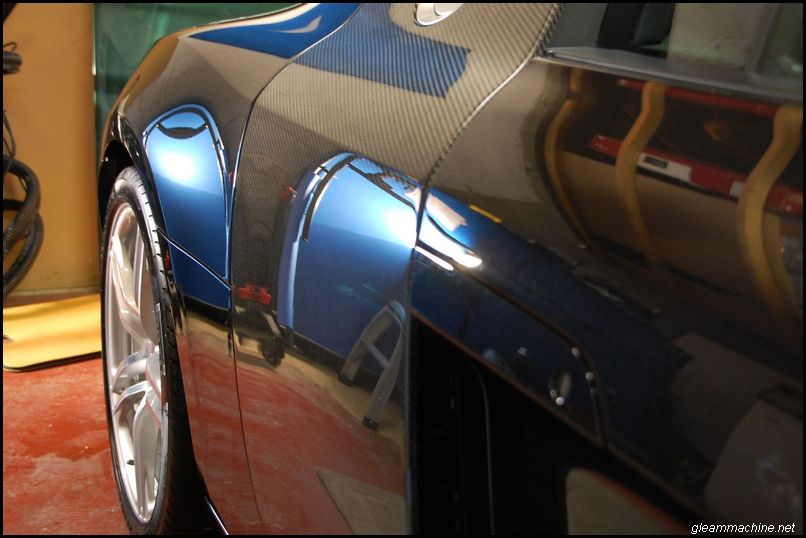
Paintwork protected with Zymol Concours,
![Image]()
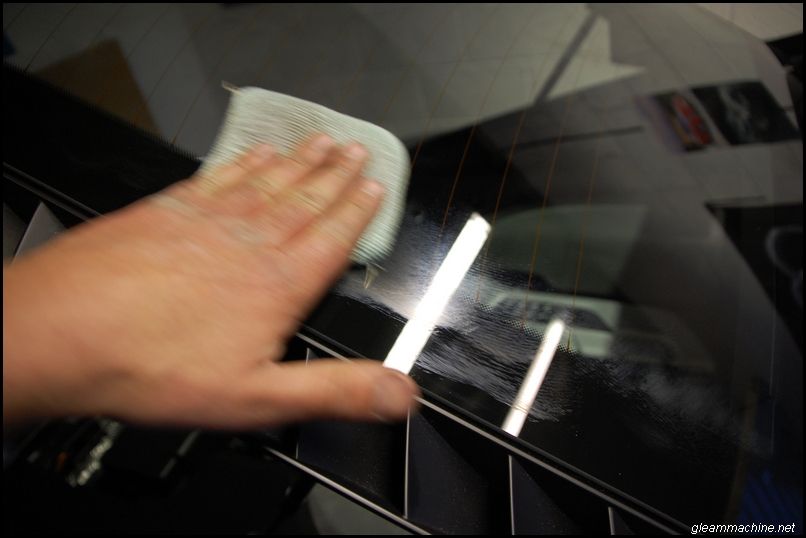
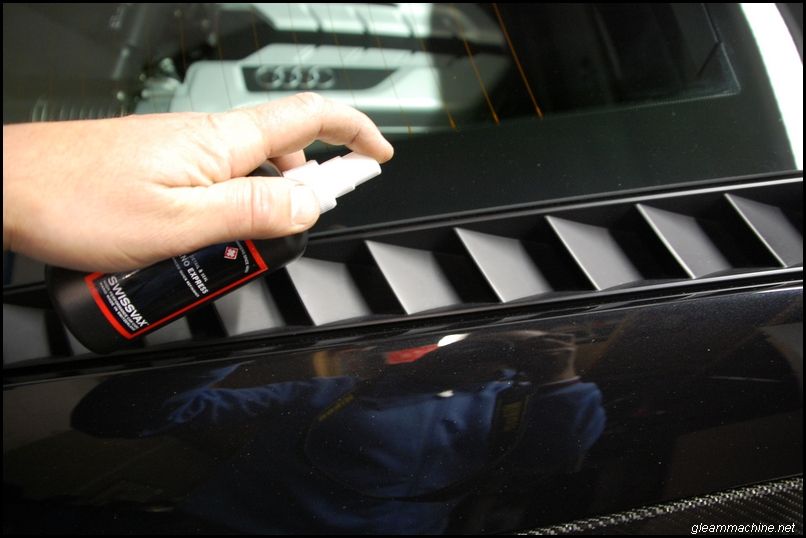
Natural look plastics wiped down and protected with Swissvax nano express,
![Image]()
Glass sealant removed after 30 mins,
![Image]()
A final wipedown with Red mist spray sealant at the end of day 3,
![Image]()
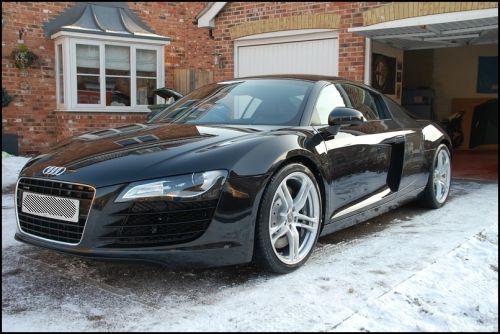
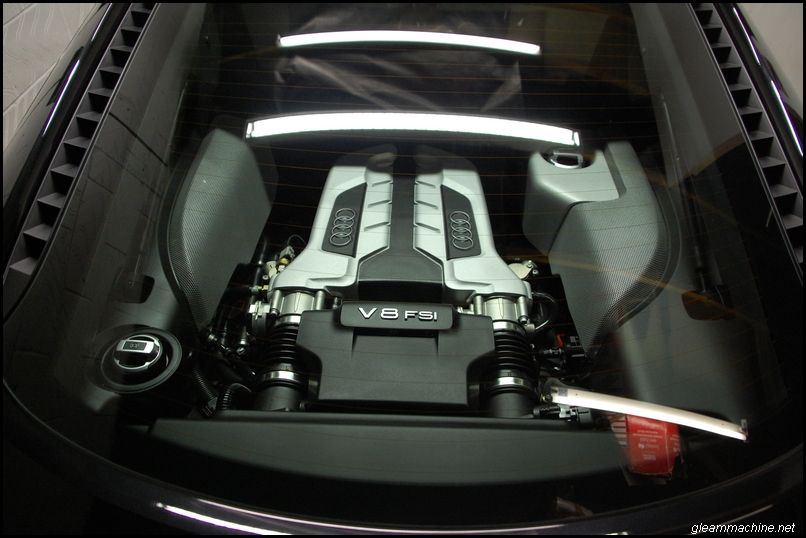
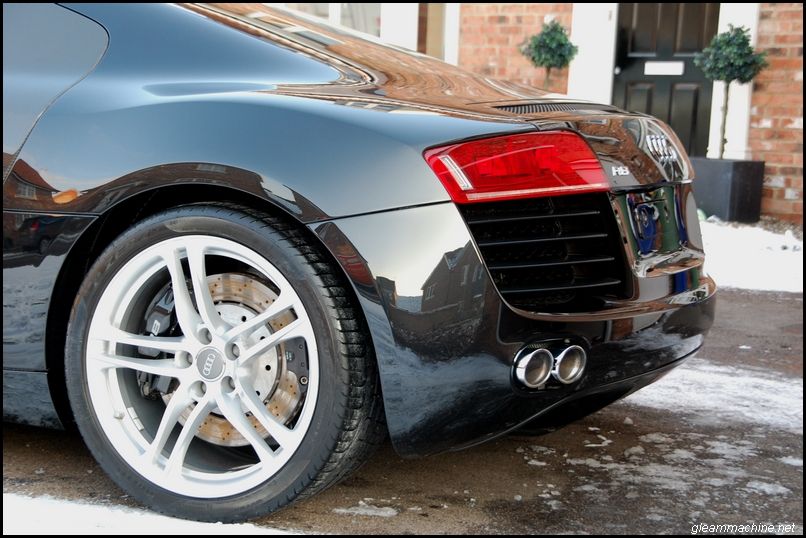
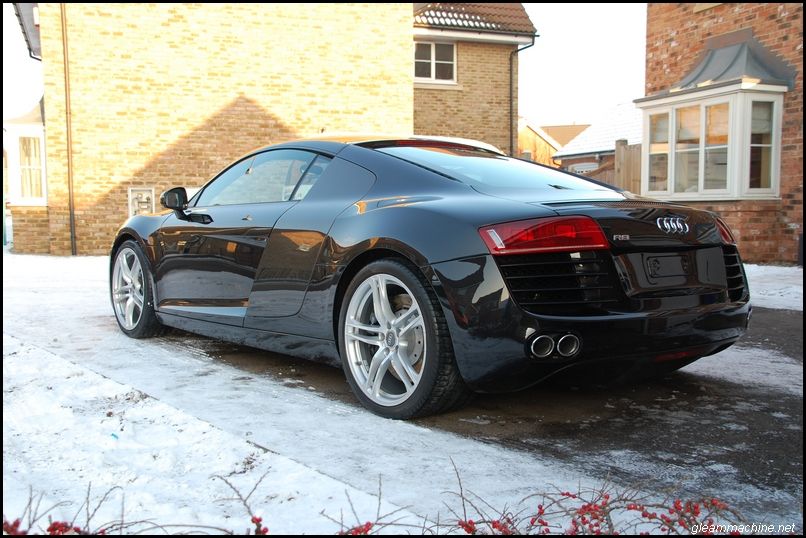
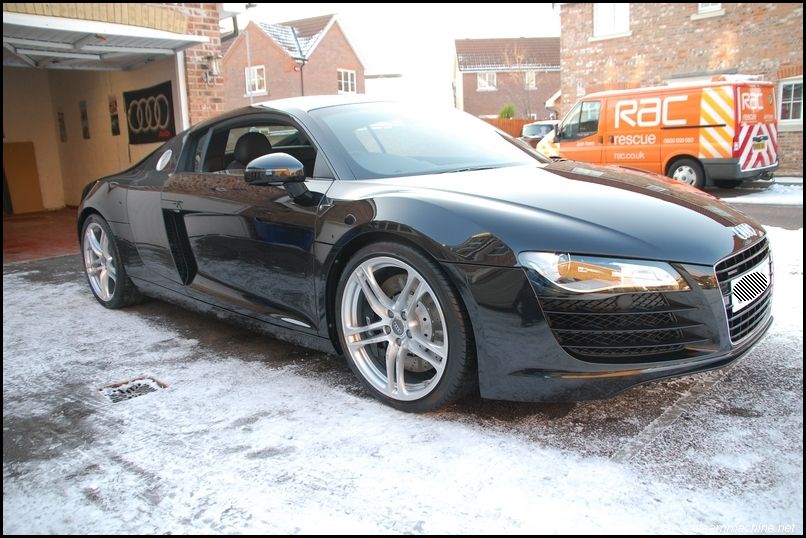
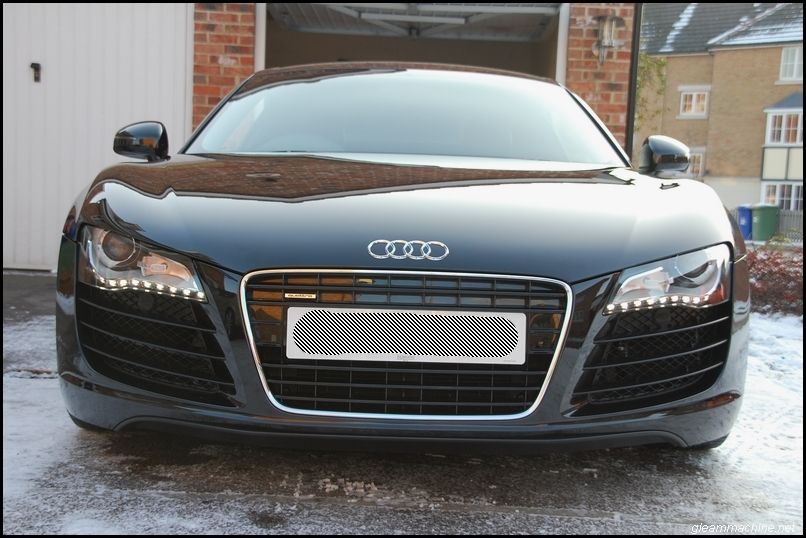
Leaving this,
![Image]()
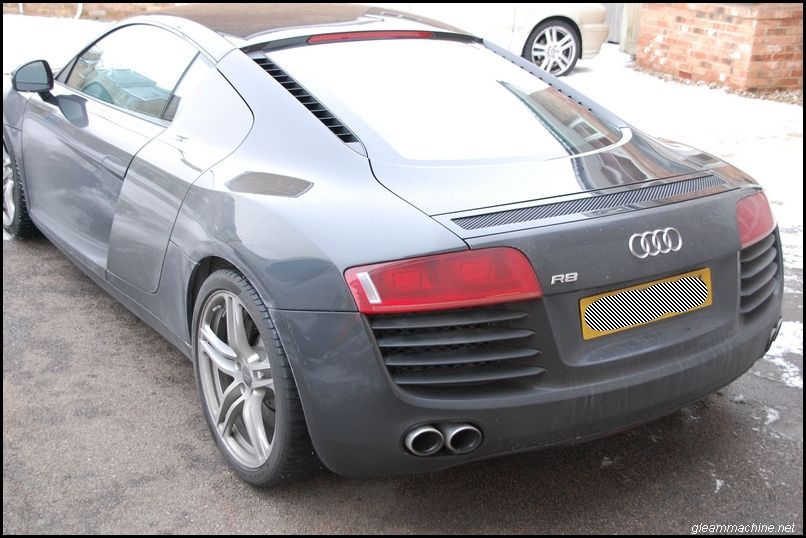
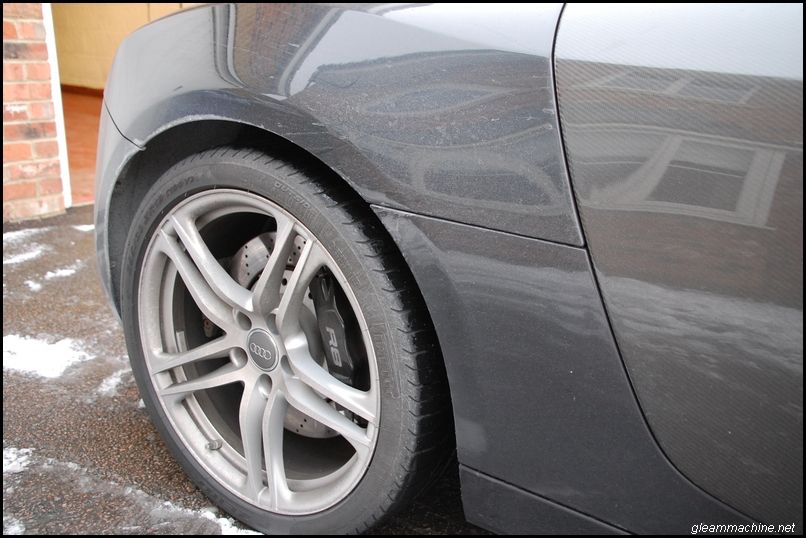
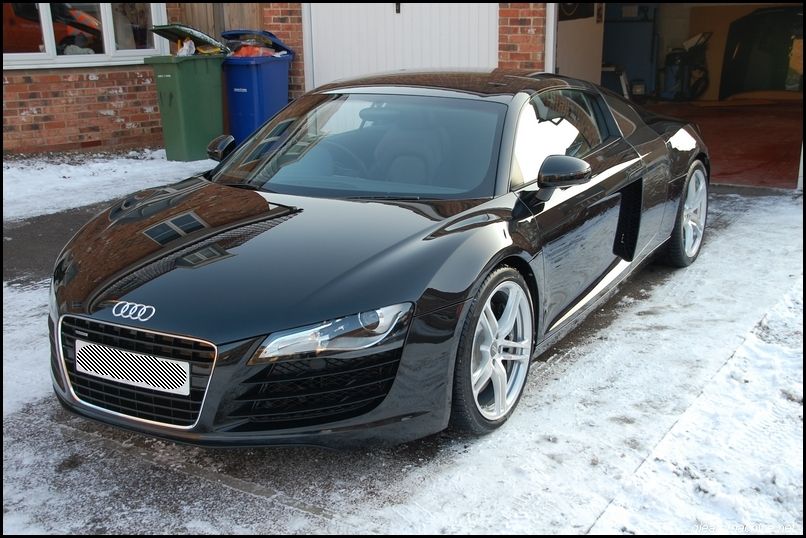
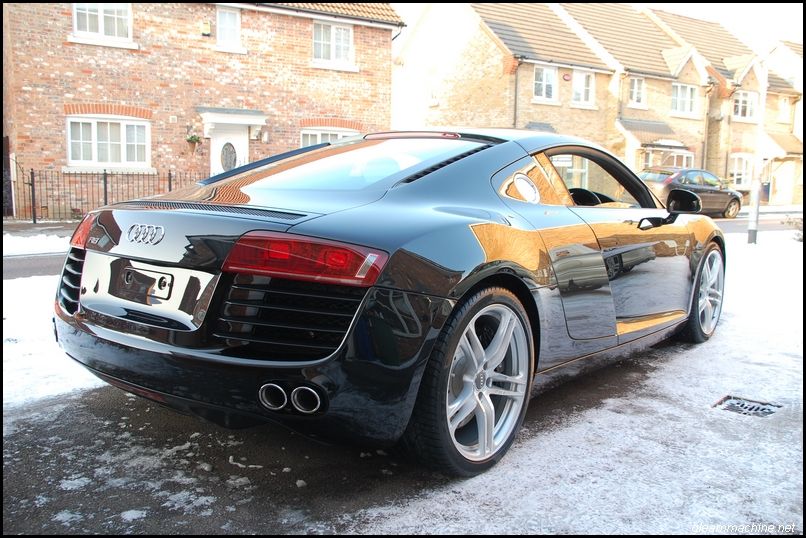
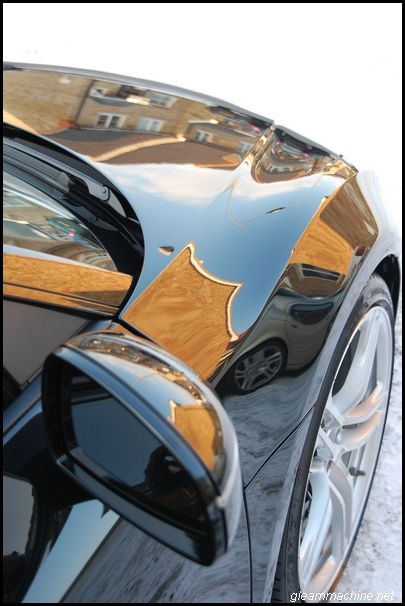
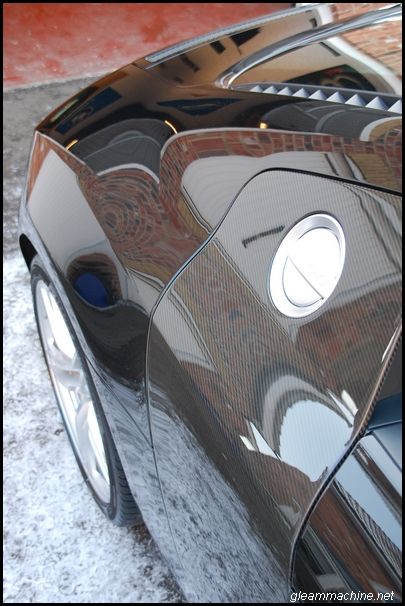
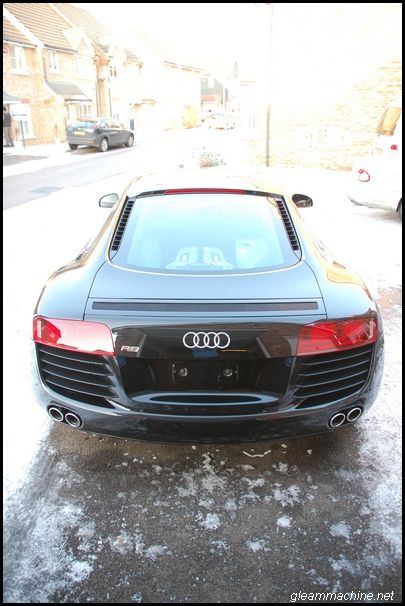
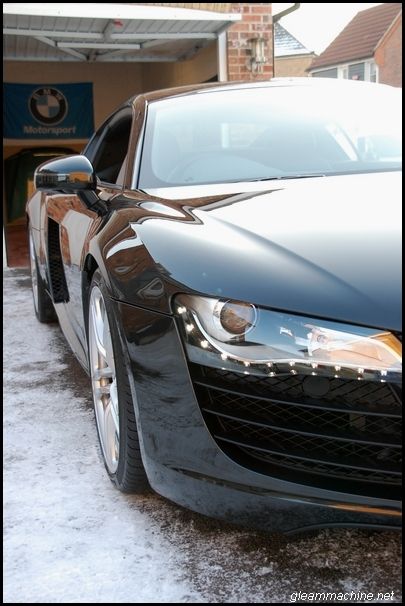
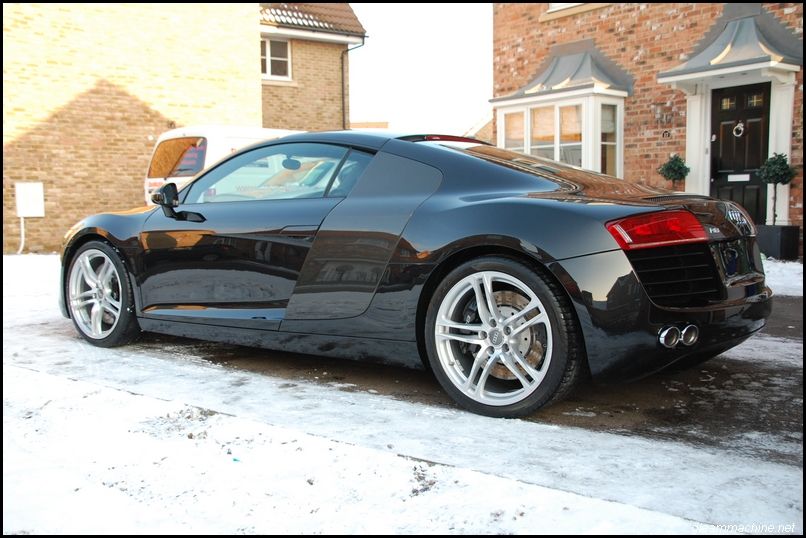
Finished results
![Image]()
![Image]()
![Image]()
![Image]()
![Image]()
![Image]()
![Image]()
![Image]()
![Image]()
![Image]()
![Image]()
![Image]()
![Image]()
![Image]()
![Image]()
![Image]()
![Image]()
![Image]()
Thanks for looking, comments welcomed and appreciated.
Also many thanks to Nick P and Janitor for the kind words.:thumb:
The weather conditions not perfect outside, but nevertheless bareable with the heaters on in the garage.
From this to this.
A couple upon arrival,
As always alloys pre-sprayed with Espuma revolution and rinsed,
Re-sprayed and cleaned using various brushes,
Arches and calipers cleaned using Espuma G202,

Vunerable areas covered and engine bay cleaned using a hot citrus pre-wash and soft detailing brushes, finally rinsed using warm water from an open flow,
Paintwork pre-sprayed with a warm citrus mix and left to dwell for 2-3 mins before pressure rinsing,
Trim and shuts cleaned with the same mix as above,

Front wheel arch rubbers removed and cleaned,

Washed using the normal safe practices,
Dried using plush towels and de-tarred using citrus T&G remover,
Clayed using Sonus green and Dodo born slippy,
Dealership stickers removed with the help of some heat and glue remover,
Trim masked up and a Gloss-it light cut pad primed with Megs #105,
50/50's,
Rear quarter,
Bonnet,
Front wing,
Before and after machining,
Refinement stage of machining was completed using Megs #205 on a Festool X Fine finishing pad, this was followed by an IPA wipedown to remove any polishing oils,
The car was then pulled outside to dust out the crevices and see to the interior,

Door shuts and painted areas of the engine bay polished and protected using Werkstat Prime,
Engine bay plastics and rubbers dressed using VP Protectant,
Front arch rubbers replaced and treated using Swissvax seal feed, as were the door rubbers to prevent cracking and sticking in the cold conditions,
Grills and plastics treated to CG new look gel,
Exhausts polished using Briliant #1 restorer and #2 hot enviroments,
Paintwork pre-cleansed with Zymol hd-cleanse to aid wax bonding,
Alloys polished with Swissvax cleaner fluid and sealed using Autobahn, inner alloys and calipers also sealed using Nanolex spray sealant,
Tyres dressed with SV pneu and worked in with a foam applicator,
Glass polished using Nanolex glass cleaner and then protected using Carlack glass sealant,
Paintwork protected with Zymol Concours,
Natural look plastics wiped down and protected with Swissvax nano express,
Glass sealant removed after 30 mins,
A final wipedown with Red mist spray sealant at the end of day 3,
Leaving this,
Finished results


Thanks for looking, comments welcomed and appreciated.
Also many thanks to Nick P and Janitor for the kind words.:thumb:


