

Hi to All this is my first post in the studio section and the start of many many more.
Been around detailing in some form and another for 18 years and only really got into photos and videos some 2 years ago.
Some people will know me very well and never heard of me so,
Firstly i will say Hi to the people and companies i know and spoke too in the past . :wave:
Dom - Dodo Juice,
Clark - Polished Bliss,
Matt - OYM's,
PJS,
Brian - Drive and shine,
Rob - Gleammachine,
Tim - Clean Your Car,
Sorry to anyone i have missed out .
Due to being very busy and working later and later through the night as always, i will post this write up for speed by copying and pasting from a Pistonheads write up many months ago of the E92 M3 wet sand carried out for a pistonhead member.
So here goes, sorry for the lack of description, for the latest details i have starting logging and taking photos in more depth in readiness to post on DW for the future :thumb:
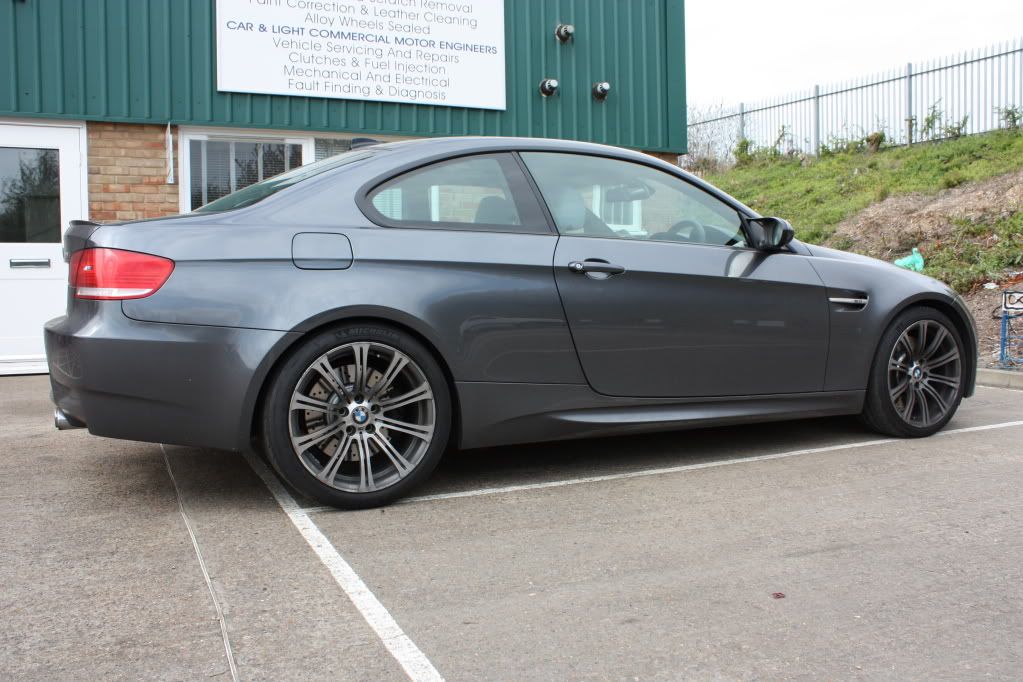
As dropped of by the owner
![Image]()
![Image]()
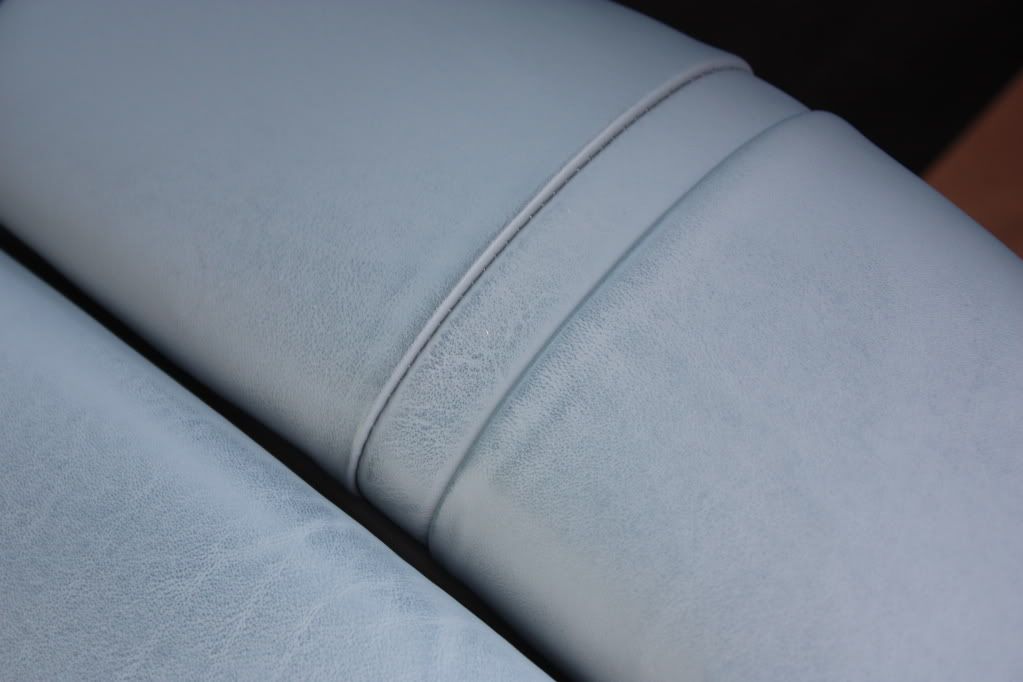
Dye transfer from blue Jeans on the leather seat's
![Image]()
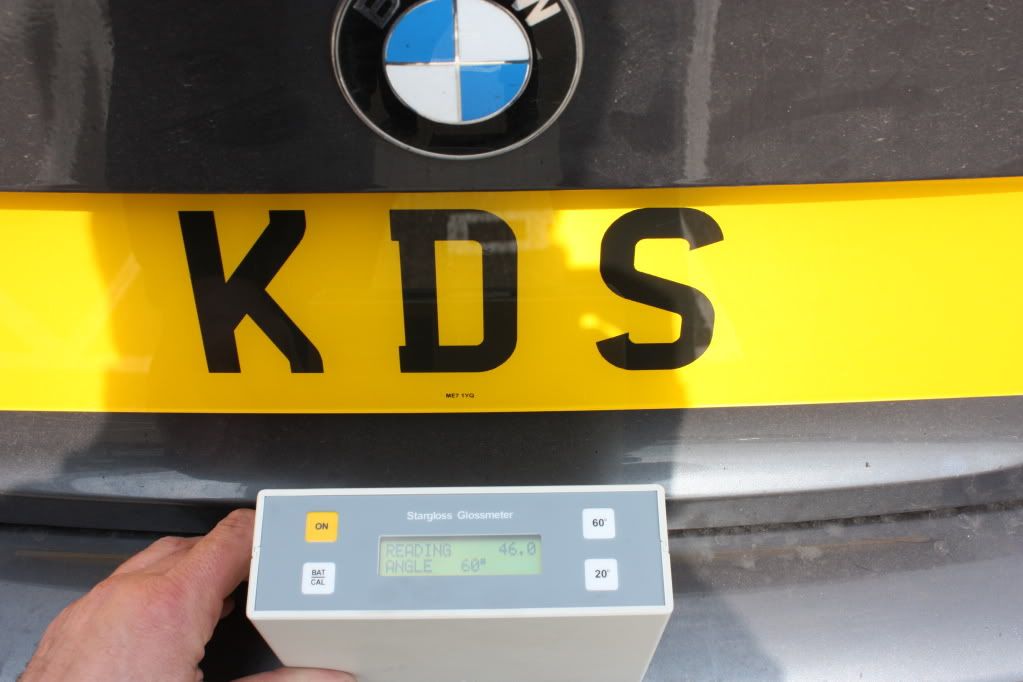
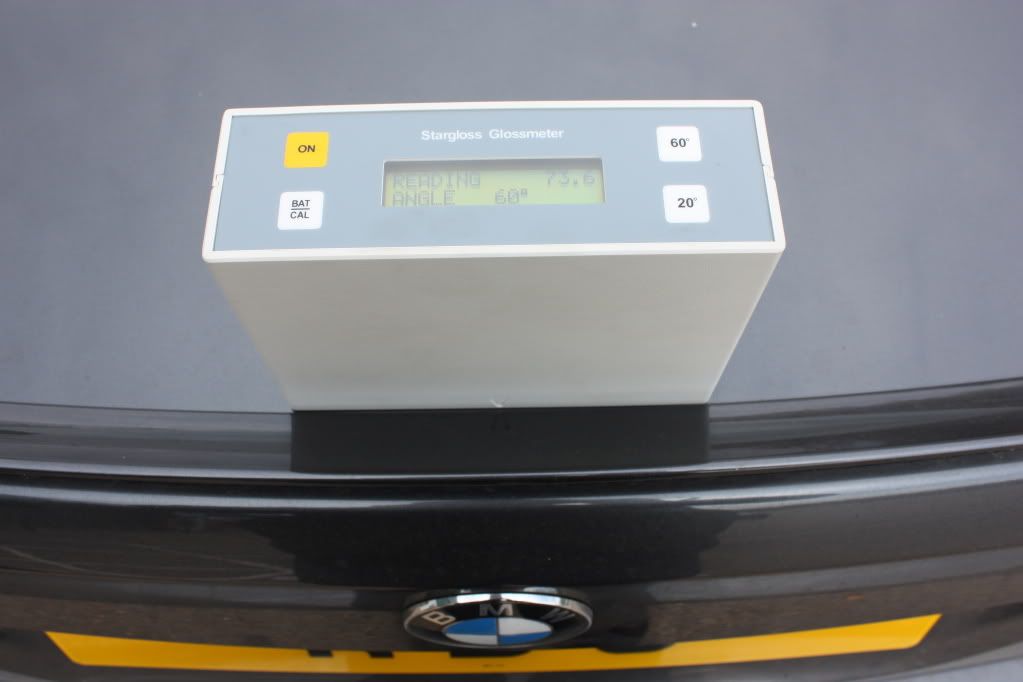
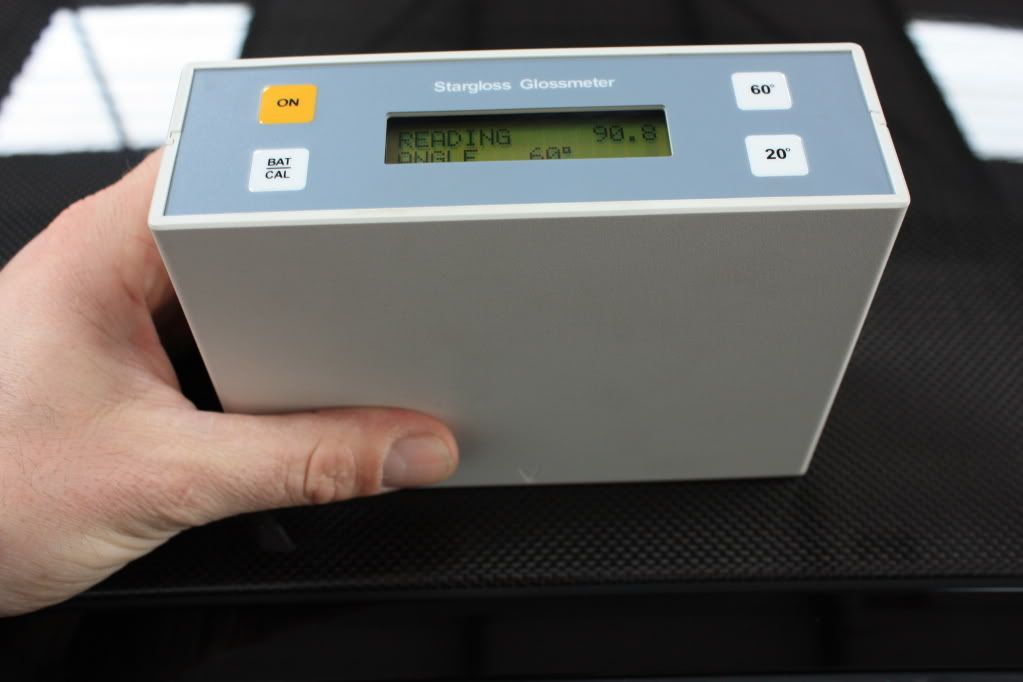
Gloss readings before any wash process
roof
![Image]()
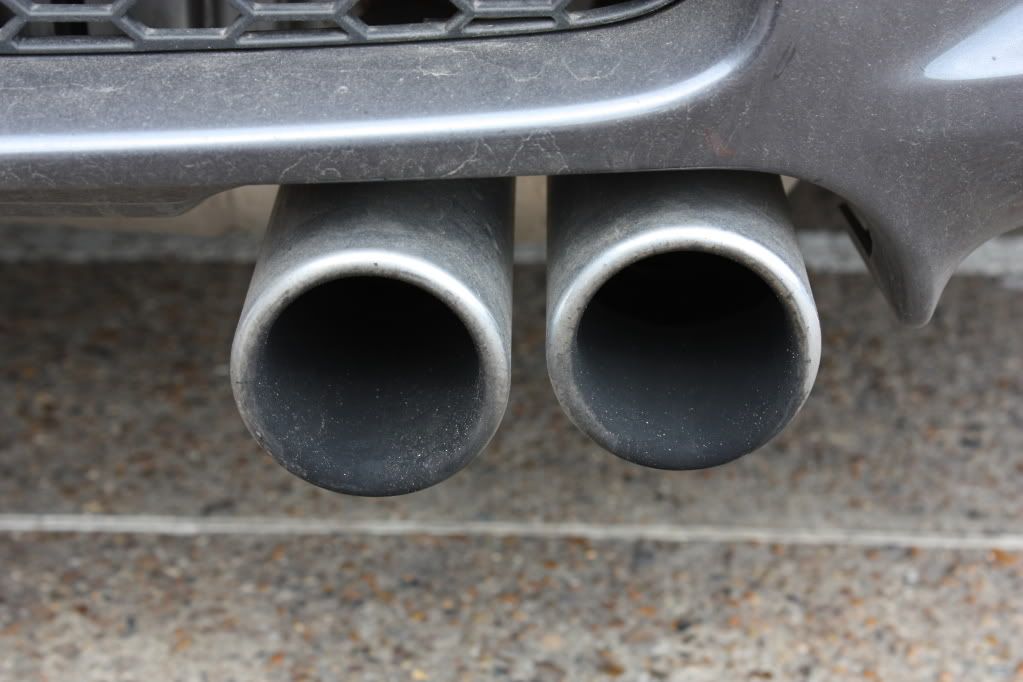
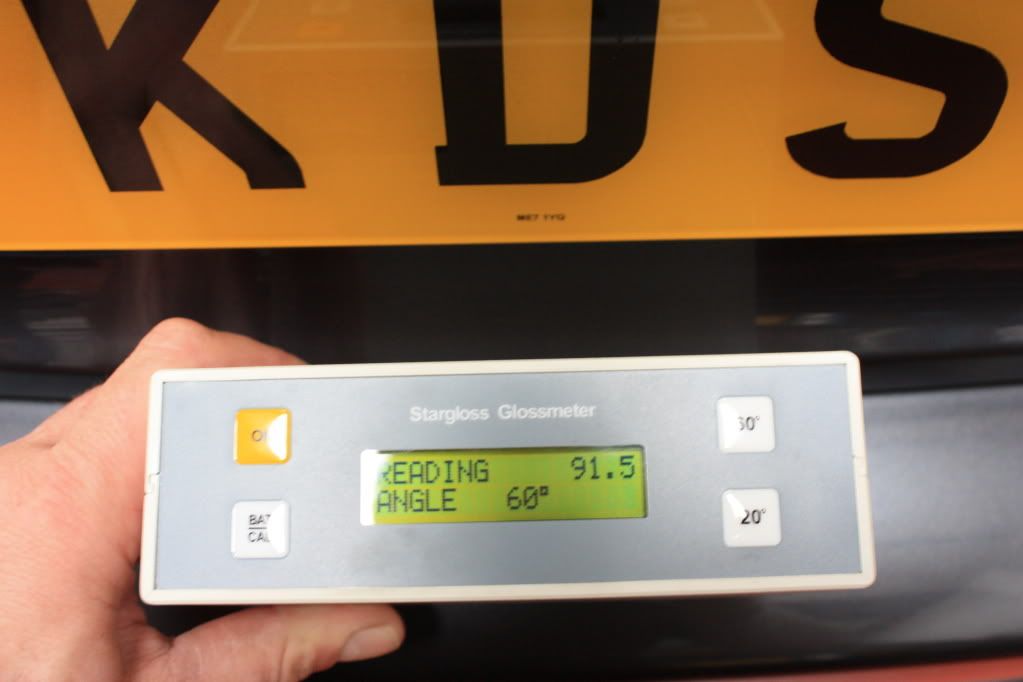
rear bumper
![Image]()
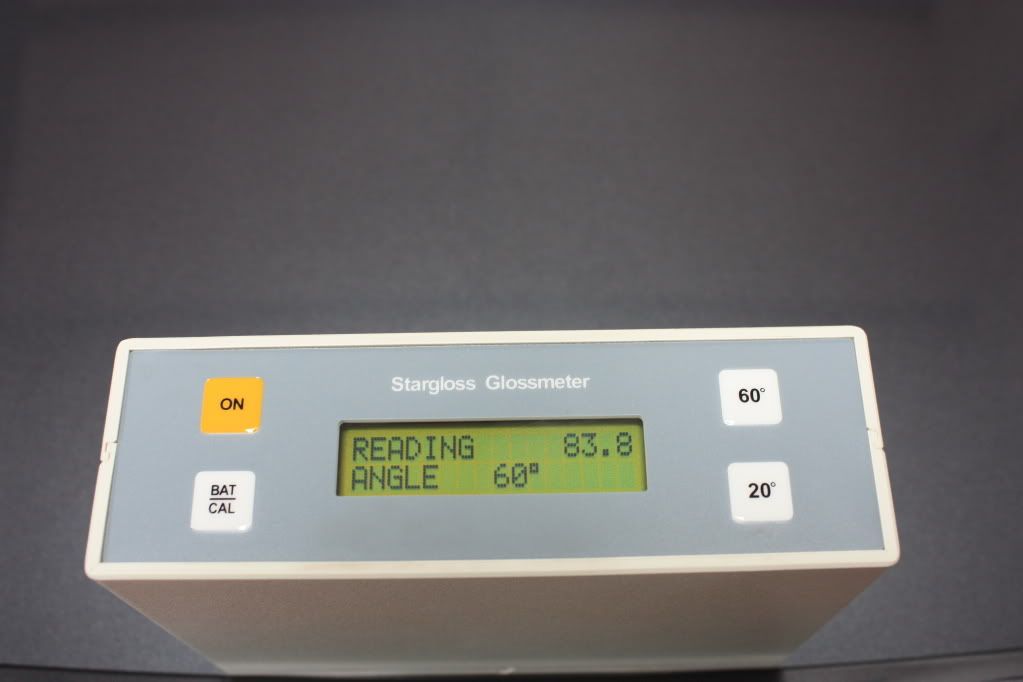
boot lid
![Image]()
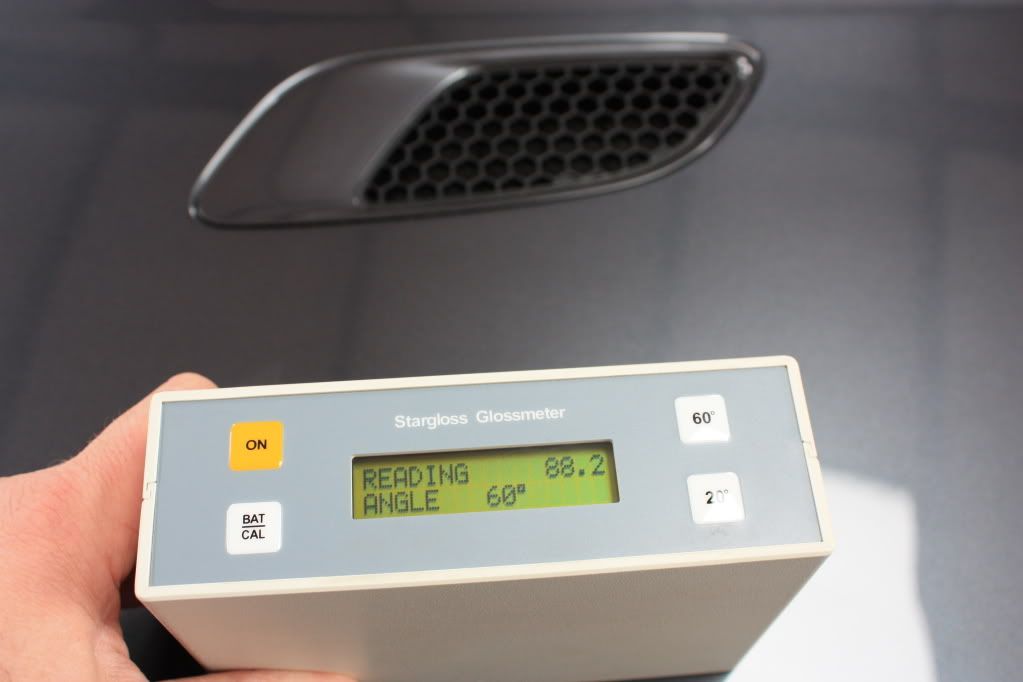
bonnet
![Image]()
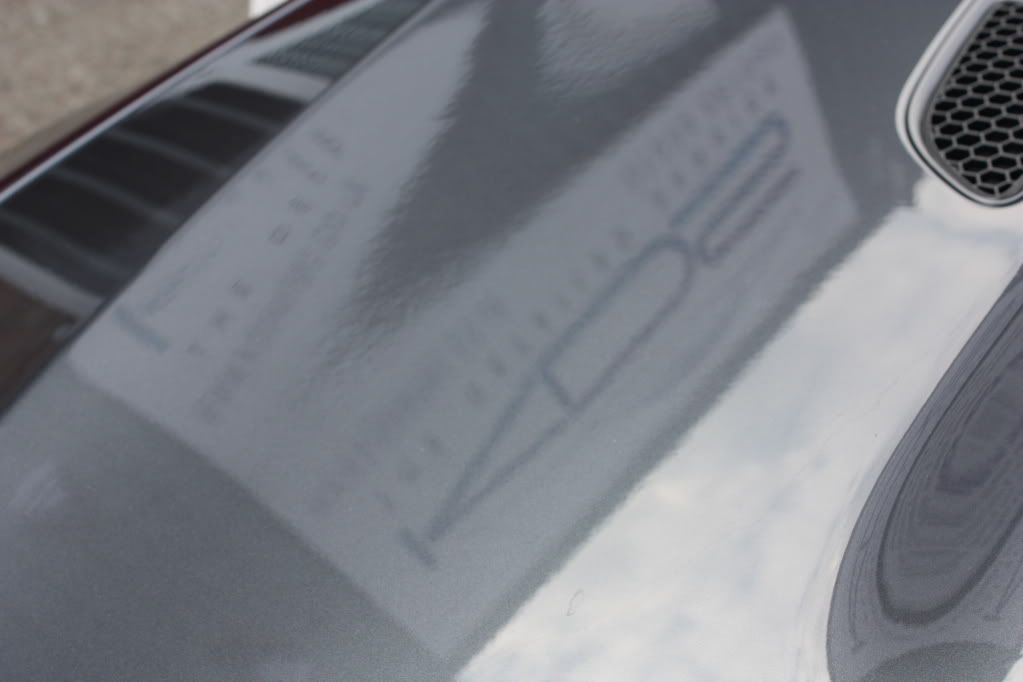
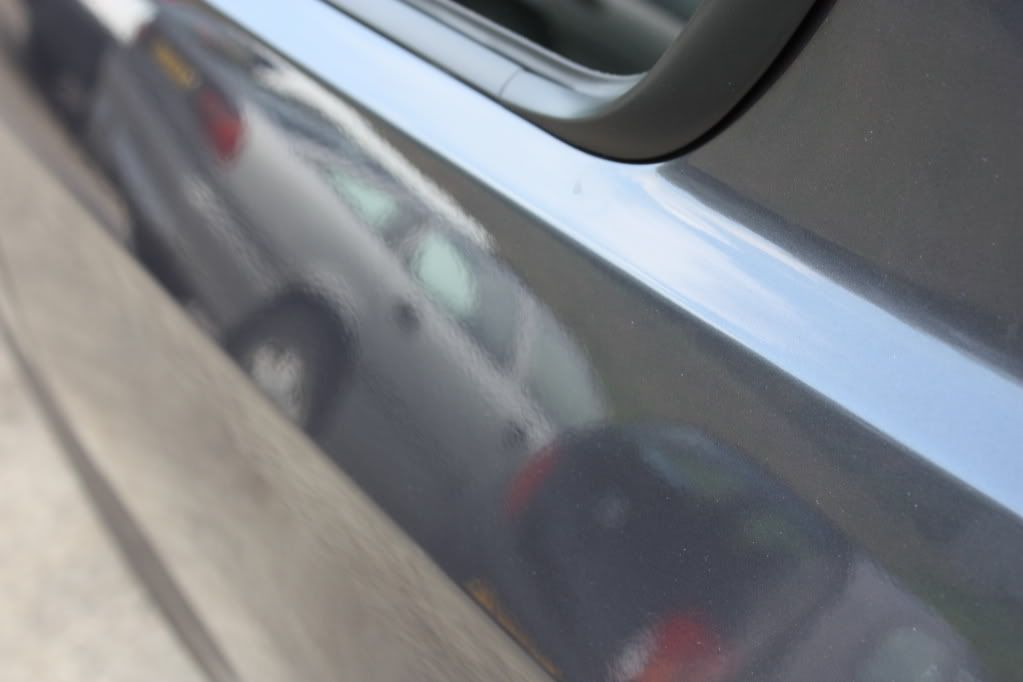
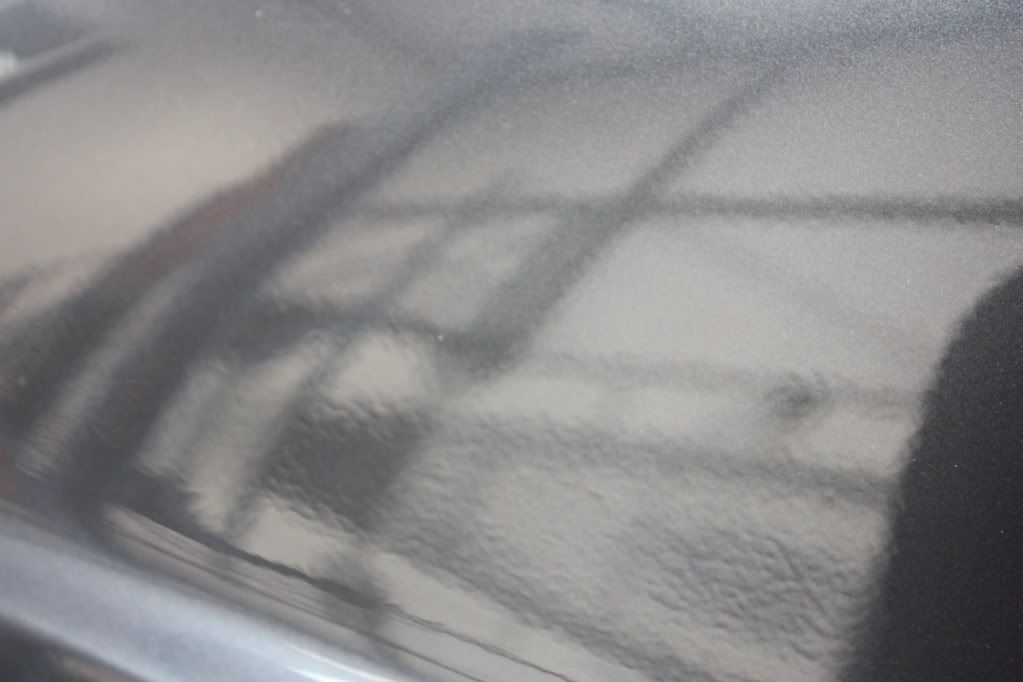
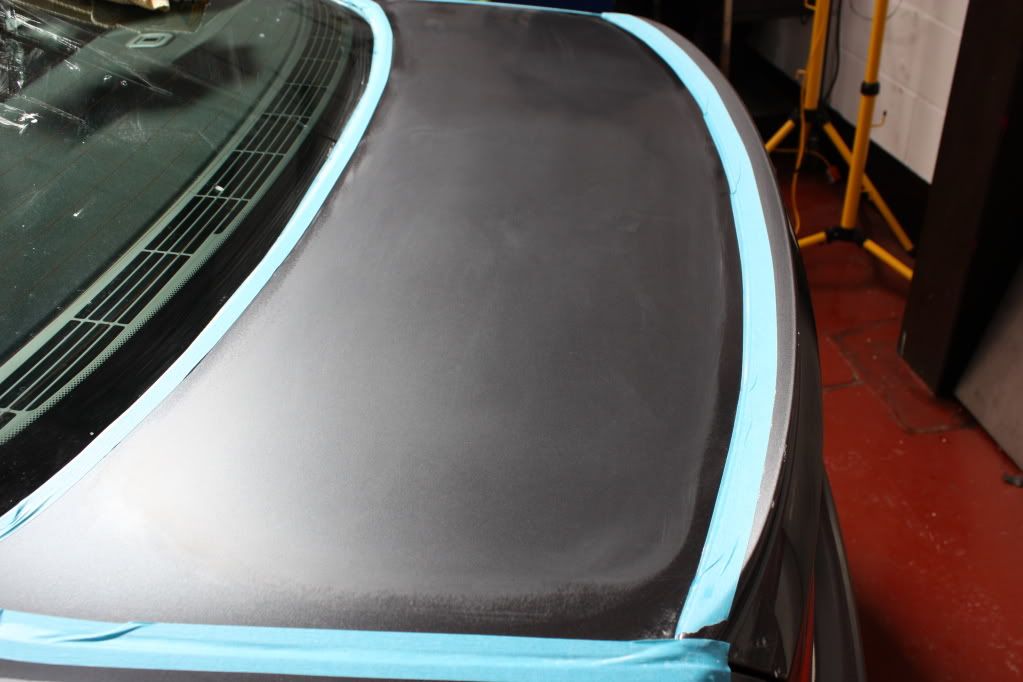
orange peel before wet sanding
![Image]()
Rear quarter panel
![Image]()
Rear quarter panel
![Image]()
bonnet
![Image]()
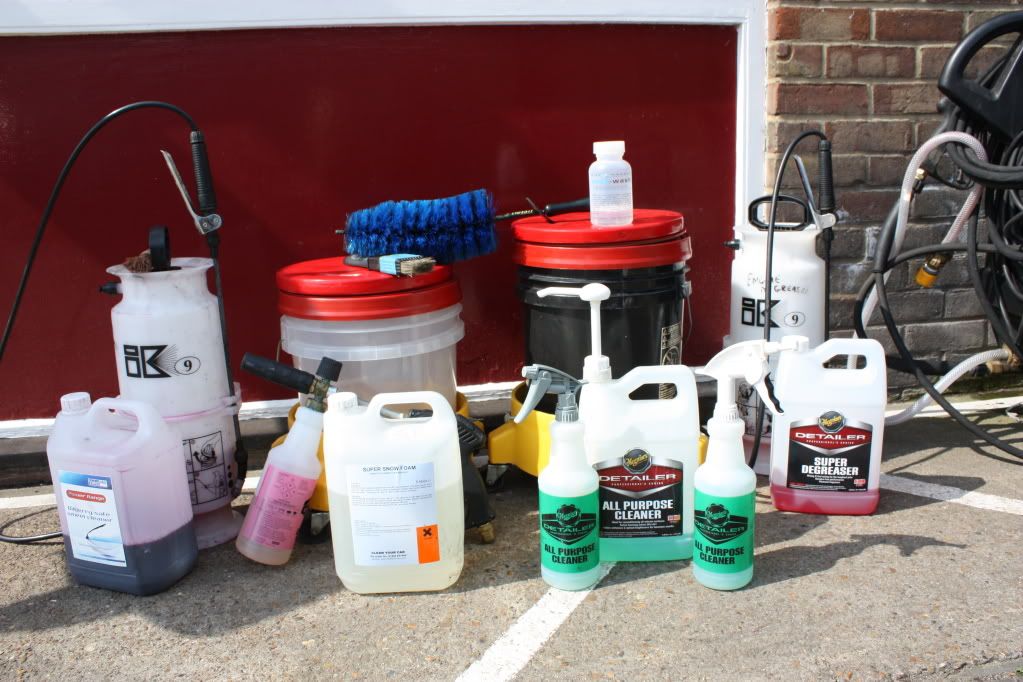
some products used to wash car ready for detailing process
![Image]()
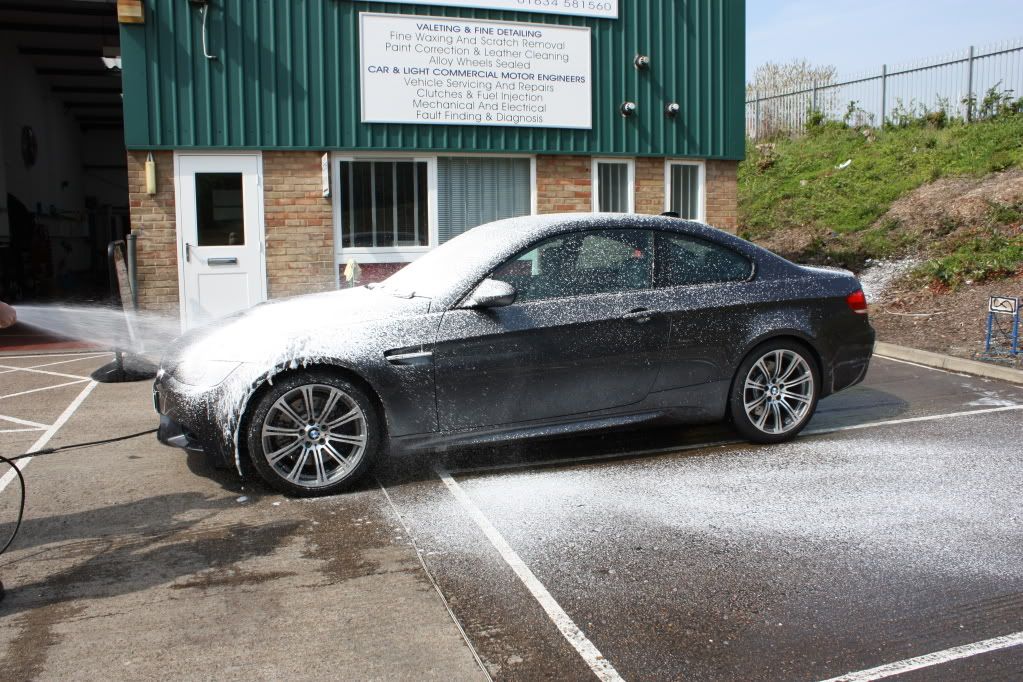
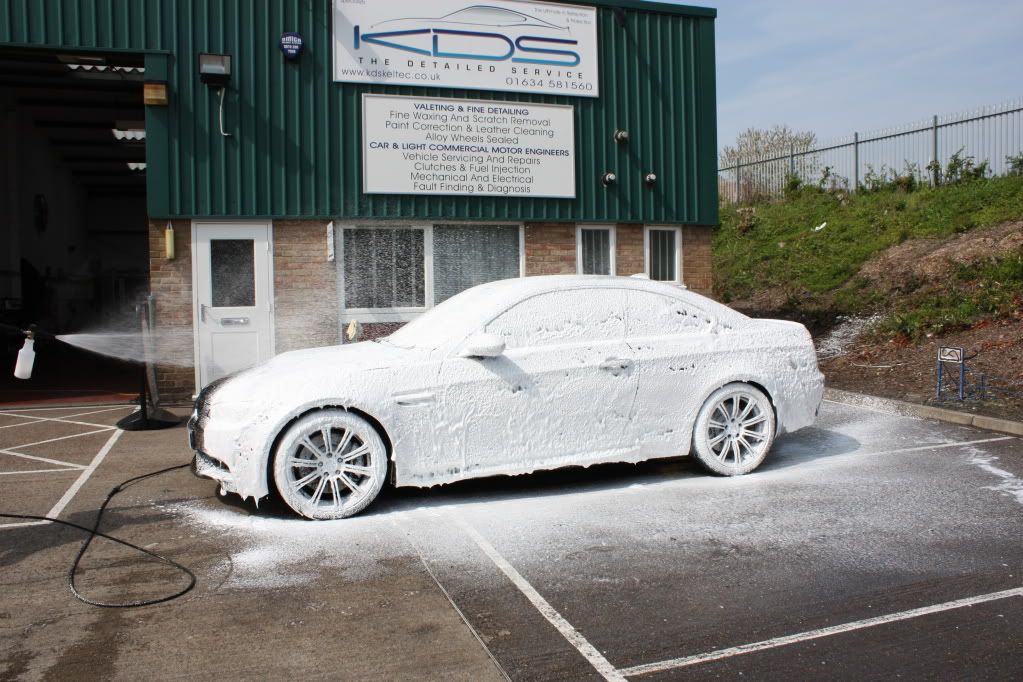
First wash down with snow foam
![Image]()
![Image]()
![Image]()
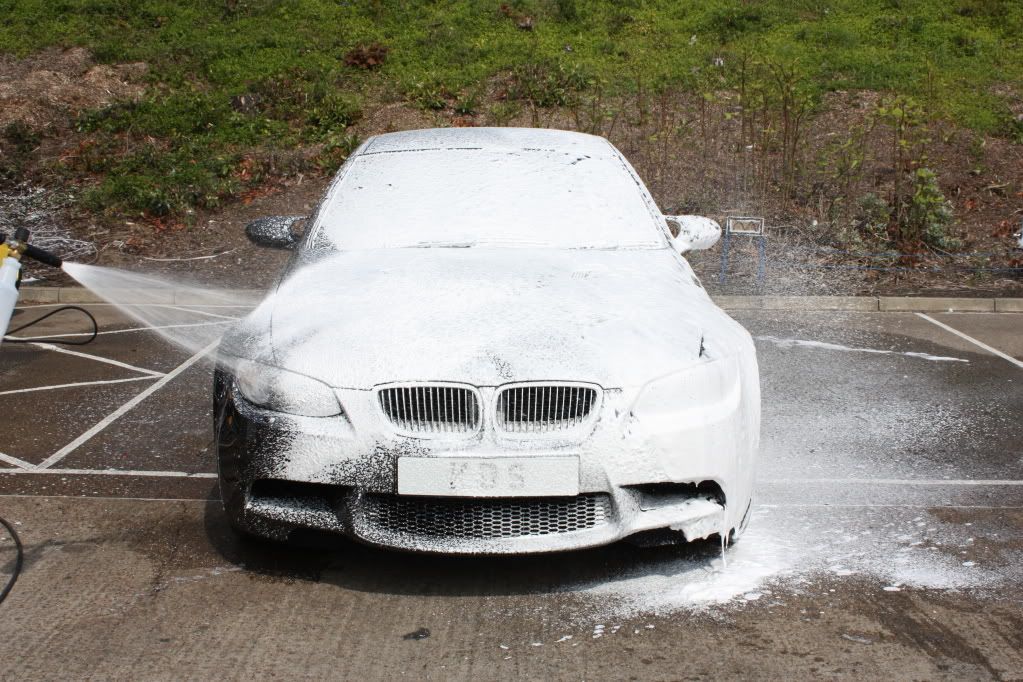
This is after leaving the snowfoam to dwell for 5 minutes
![Image]()
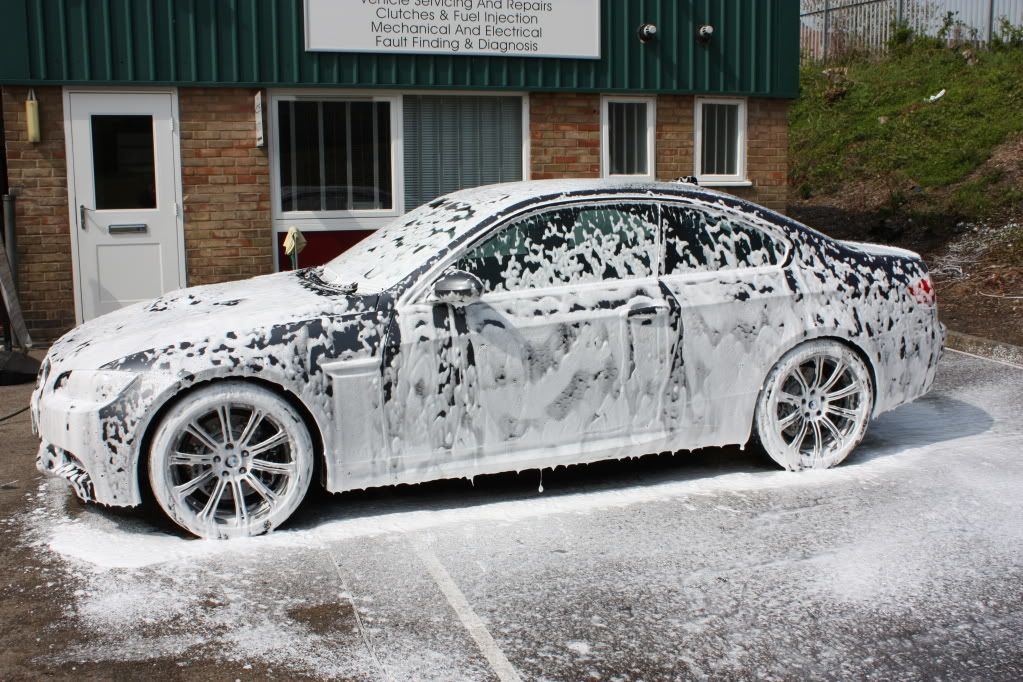
after 7 minutes
![Image]()
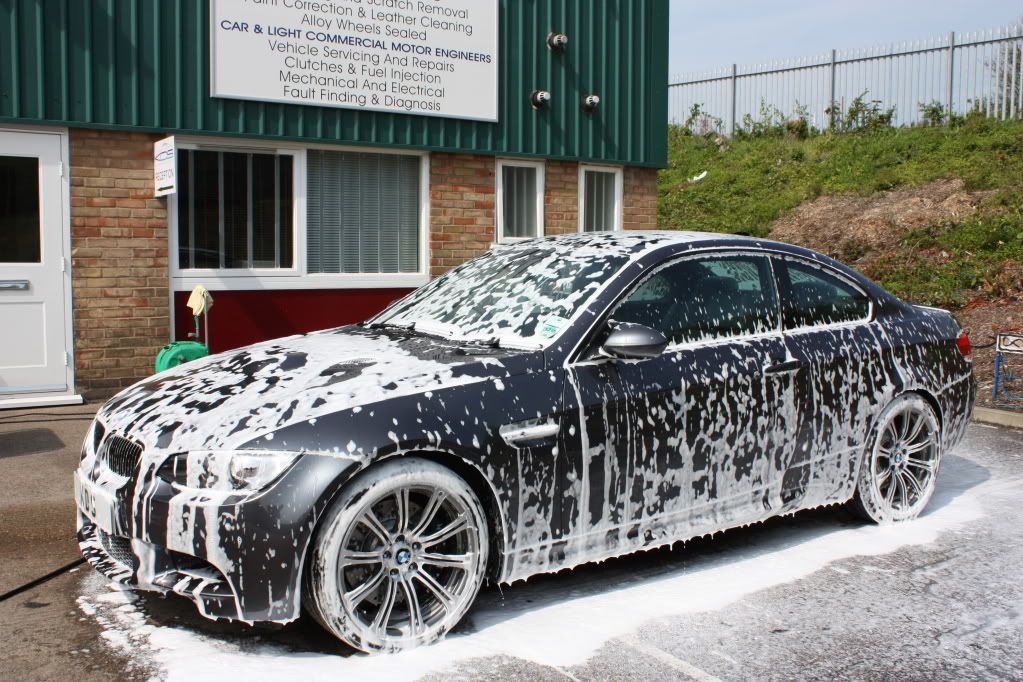
complete car was rinsed, then all edges washed with all purpose cleaner and degreaser around grills and badges etc .
Then clean wheels with acid free alloy wheel cleaner .
Then another wash with snowfoam
one final rinse of complete car , then move car indoors and blow dry car with compressed air and drying towels .
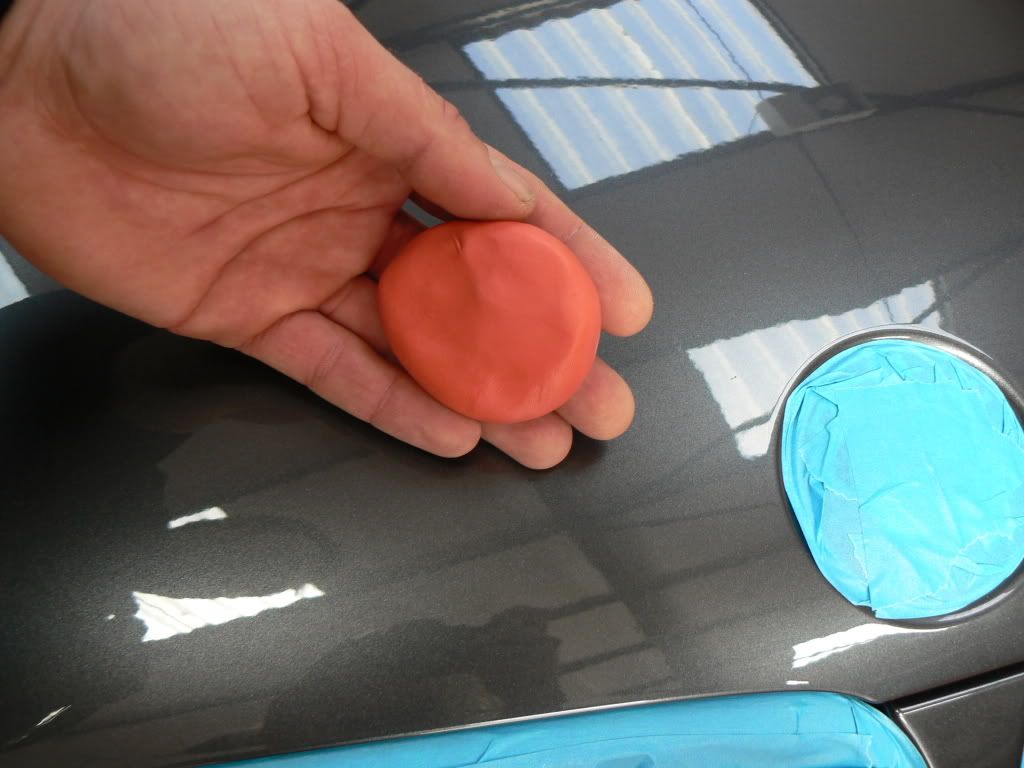
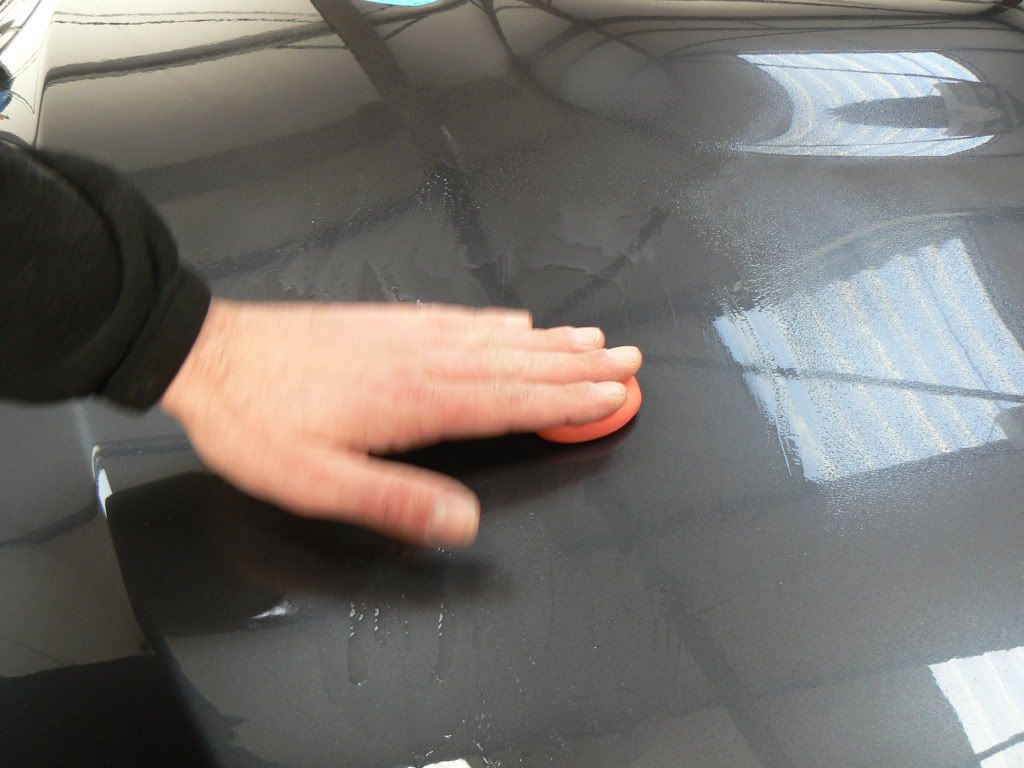
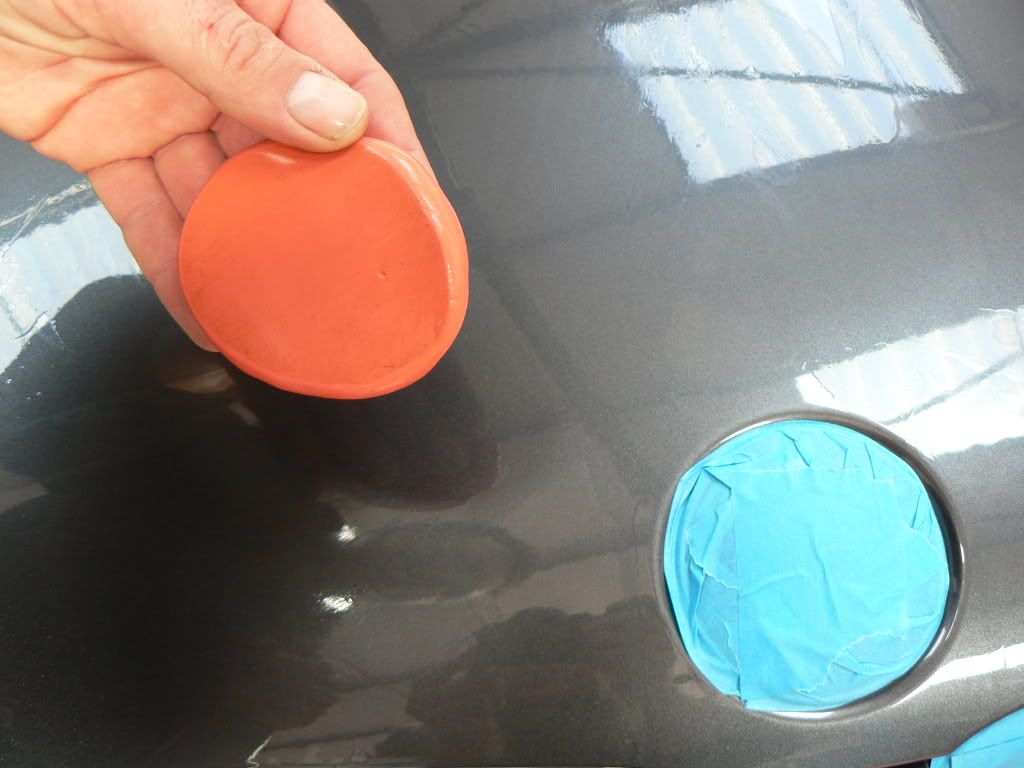
The clay section next
![Image]()
![Image]()
Was surprised too find not much debris compared to must cars i detail
![Image]()
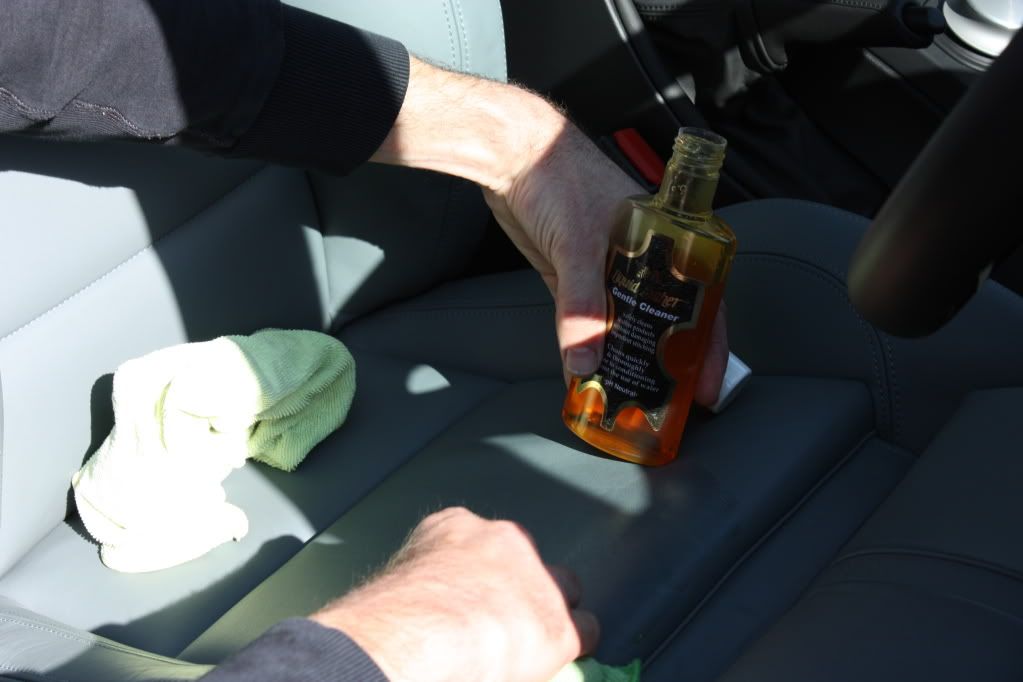
Car was drove back outside to have a very close look at the interior mainly the leather , the leather dye transfer cleaned off ok using standard leather cleaning products .
![Image]()
Here you can see the blue dye on the cleaning cloth
![Image]()
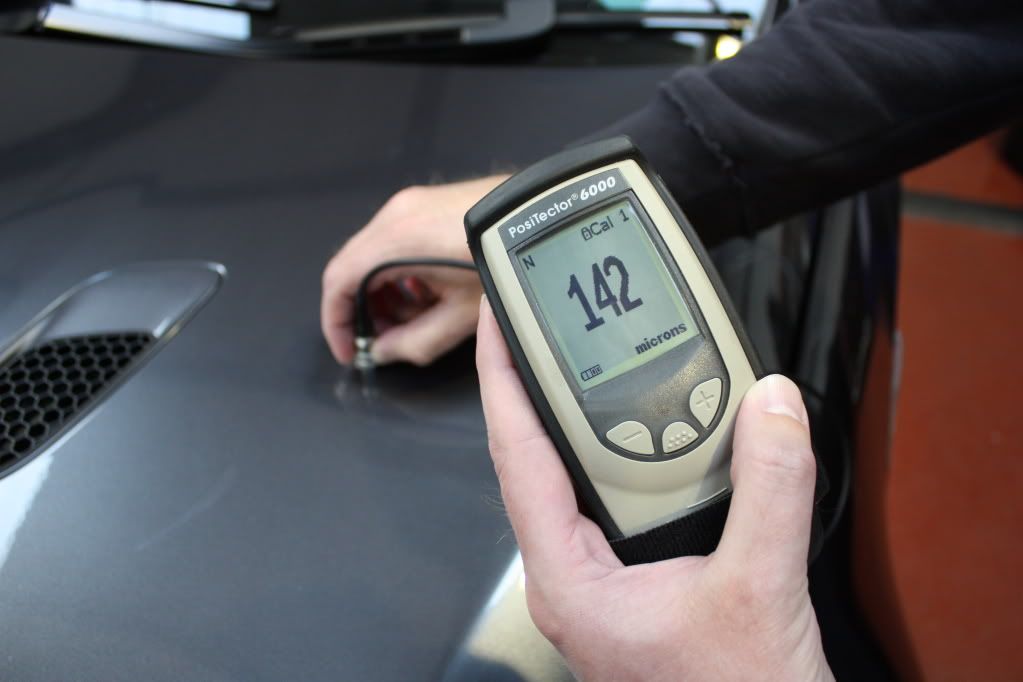
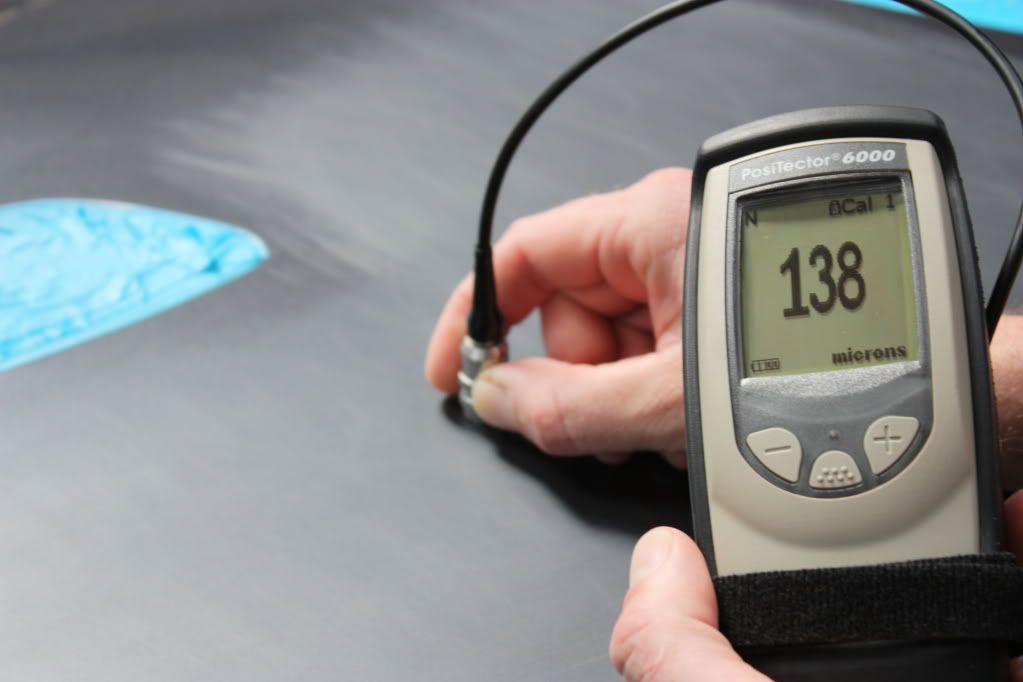
Now getting into the reason you pay to have a professional detail , as well as the equipment needed .
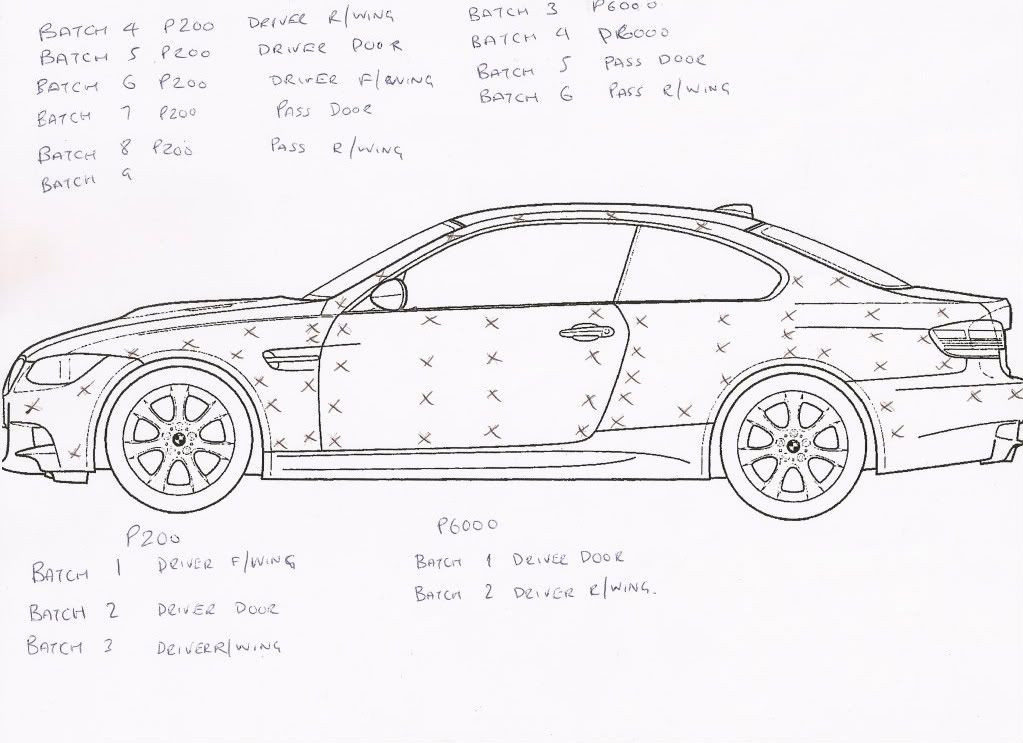
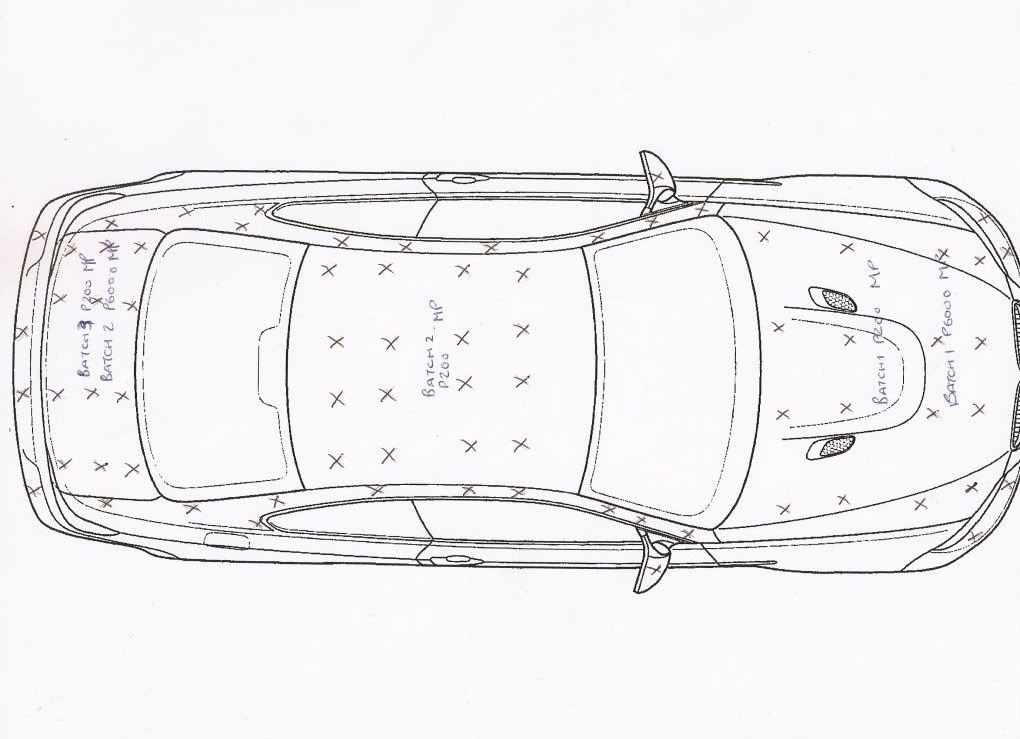
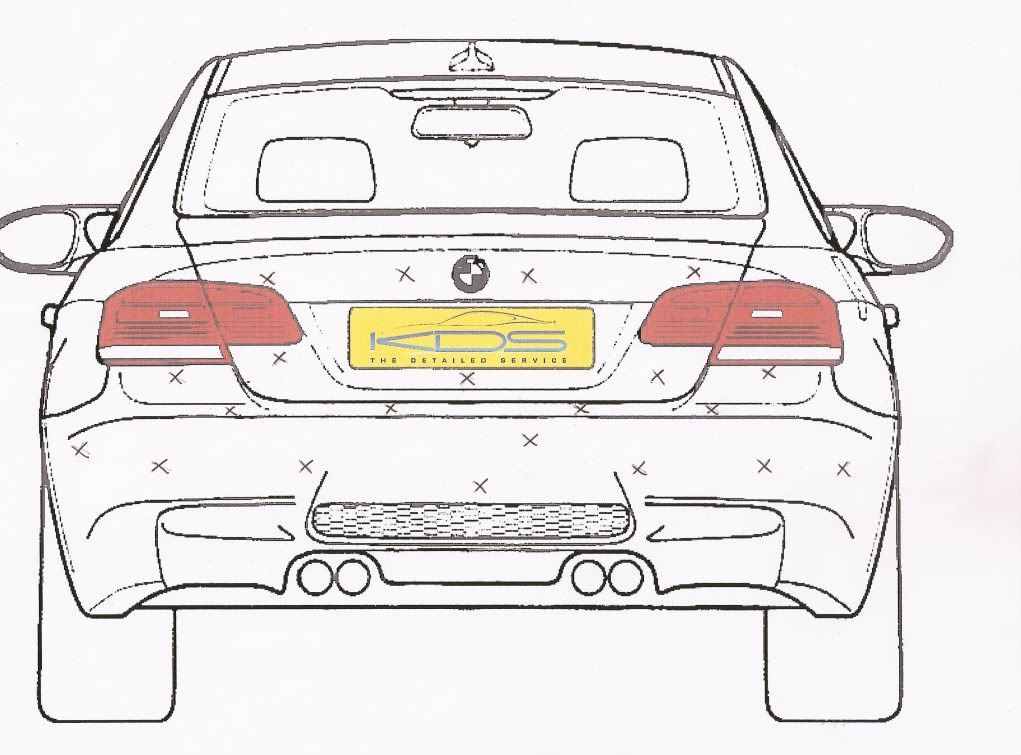
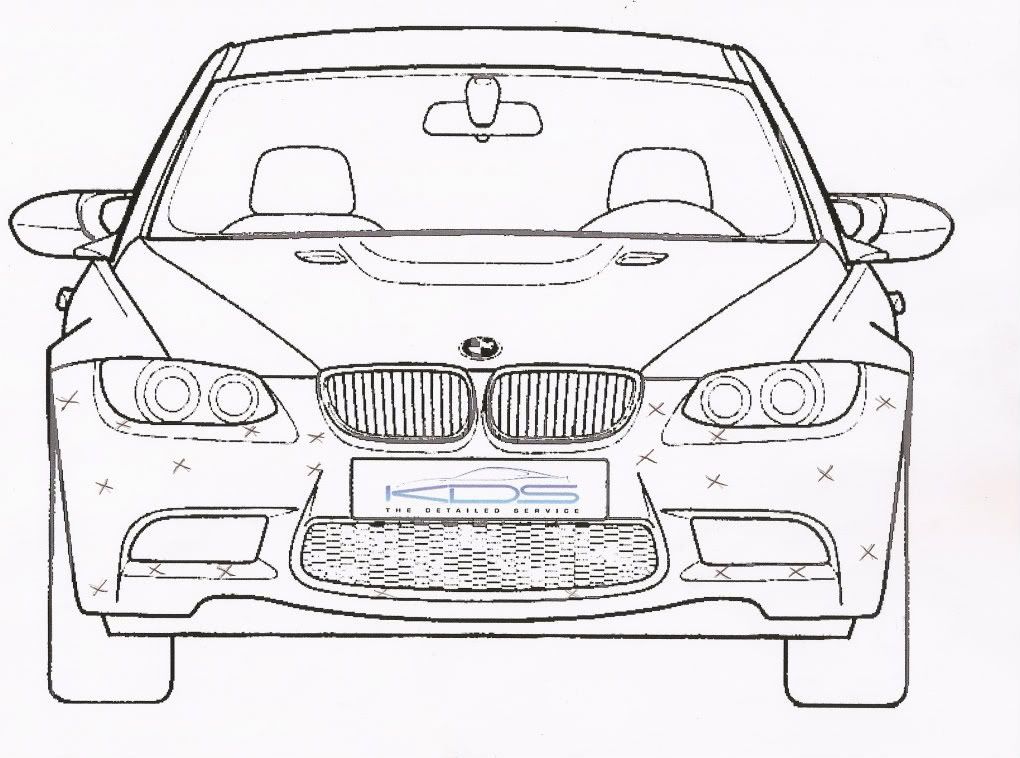
First thing is too inspect the paint for flaws and but more important is to measure the paint depth to build up a map of the car's varing paint depth giving the detailer the information needed to be confident the car can have the wet sand and machine polish process.
The measurments where taken all over the cars panels to gain an average figure .
![Image]()
![Image]()
![Image]()
![Image]()
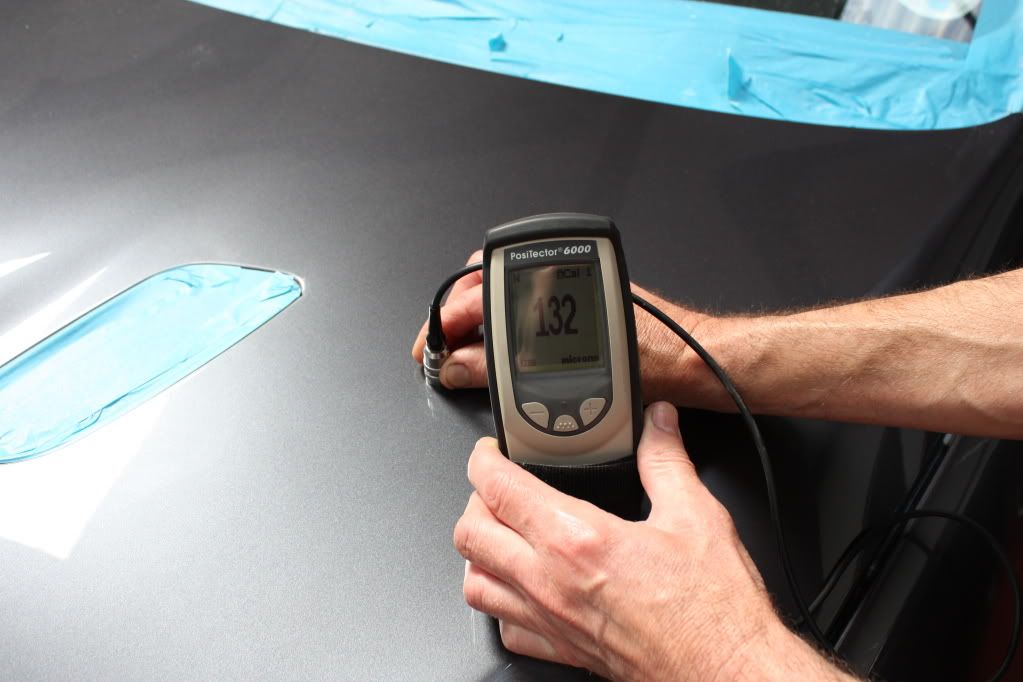
The readings are taken by using 2 different methods of paint depth gauges , one measures on Ferrous and non Ferrous metals only and the total paint depth only
![Image]()
If you only have this gauge then the best way to work out the amount of top coat (laquer) there is , is to measure an area under the bonnet with no top coat take a reading then subtract that from the reading on the outside of the car this would give you a rough guide to the amount of top coat , or you can measure in the door shuts too where there would be one coat of laquer again to gain an idea of how much top coat is on the car !
This gauge measures using ultrasound which can be used on all surfaces as well as measuring in layers too ,
![Image]()
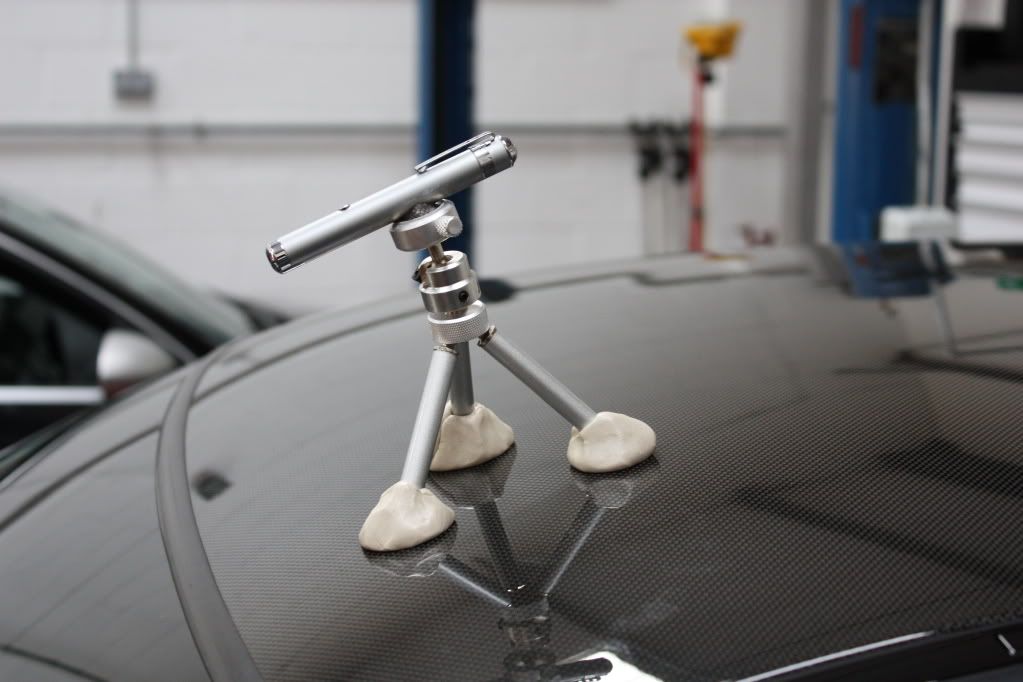
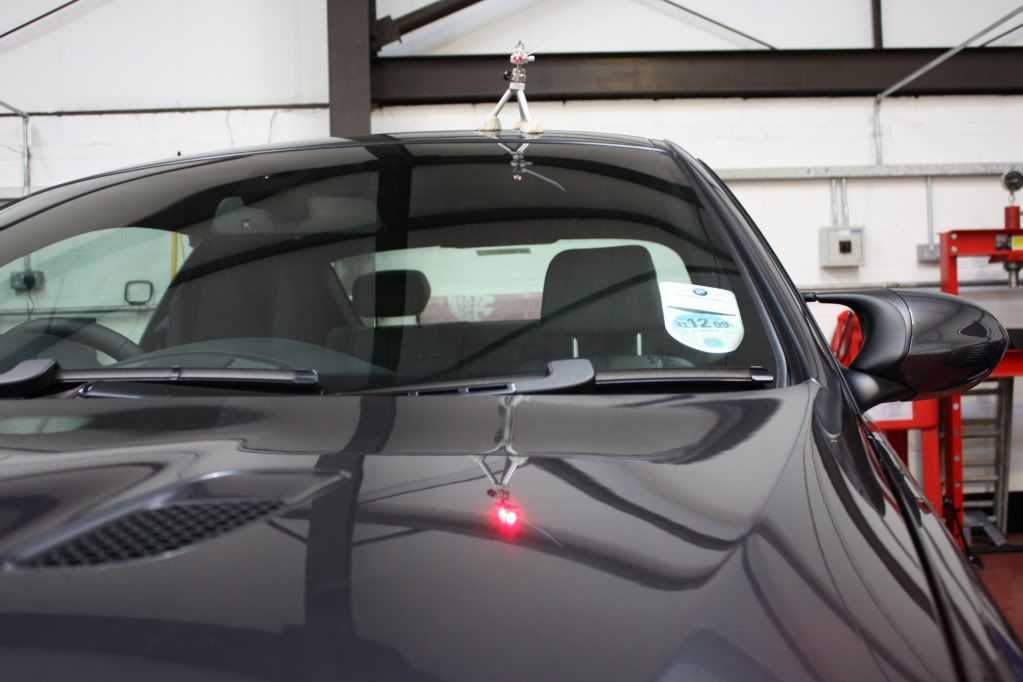
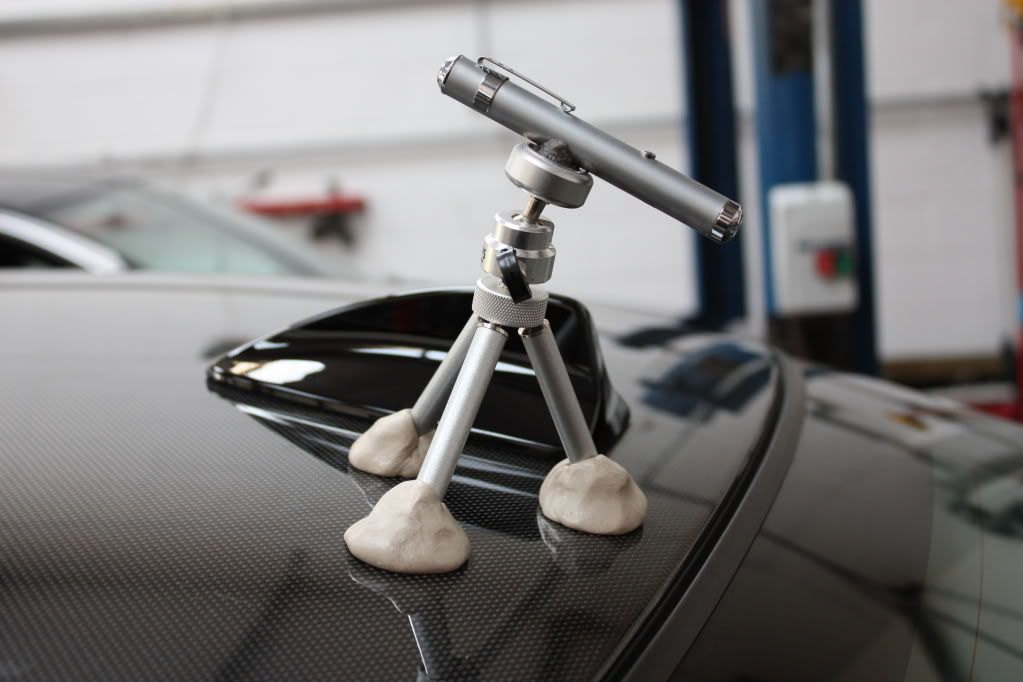
Because the paint depth will vary over a very small area measured the best method of repeated readings is to use this method of marking the panels ,
A mim tripod holding a laser pointer to mark the bonnet
![Image]()
![Image]()
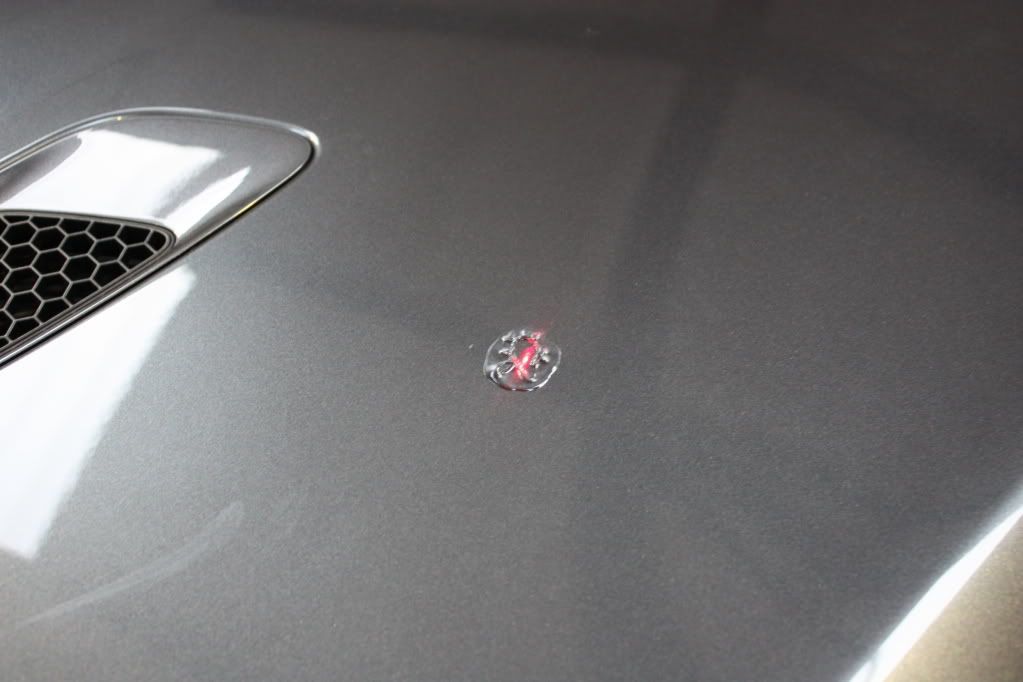
mark where the ultrasound gel has been used to take a reading
![Image]()
and the same for the boot
![Image]()
![Image]()
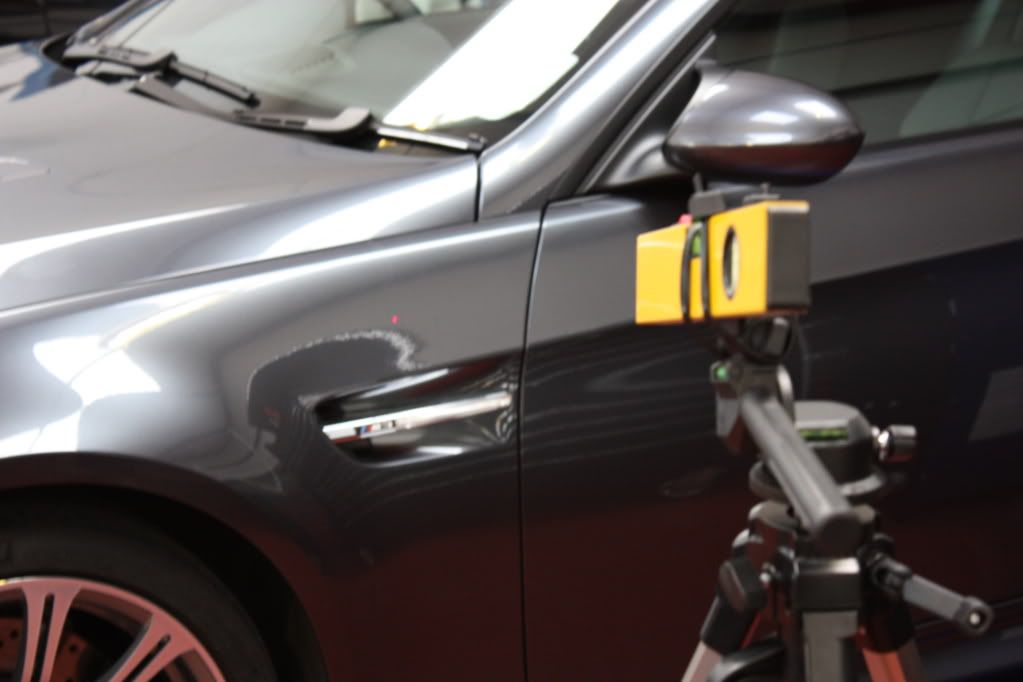
The wing was measured with a large tripod using this method
![Image]()
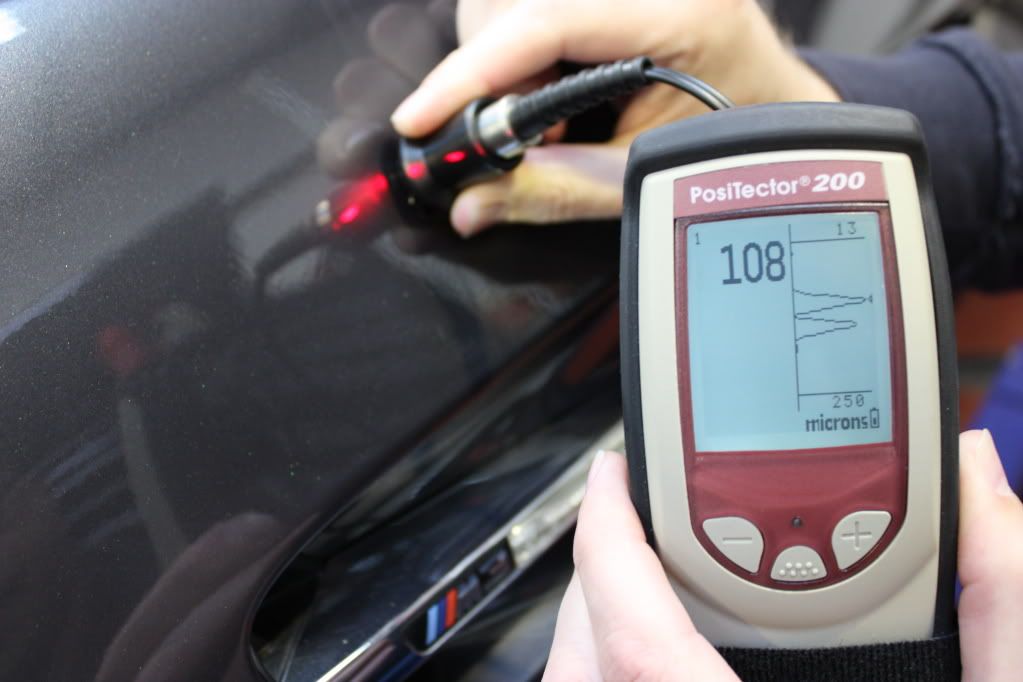
Here is the wing reading just the top coat
108 microns of laquer (which is very thick )
![Image]()
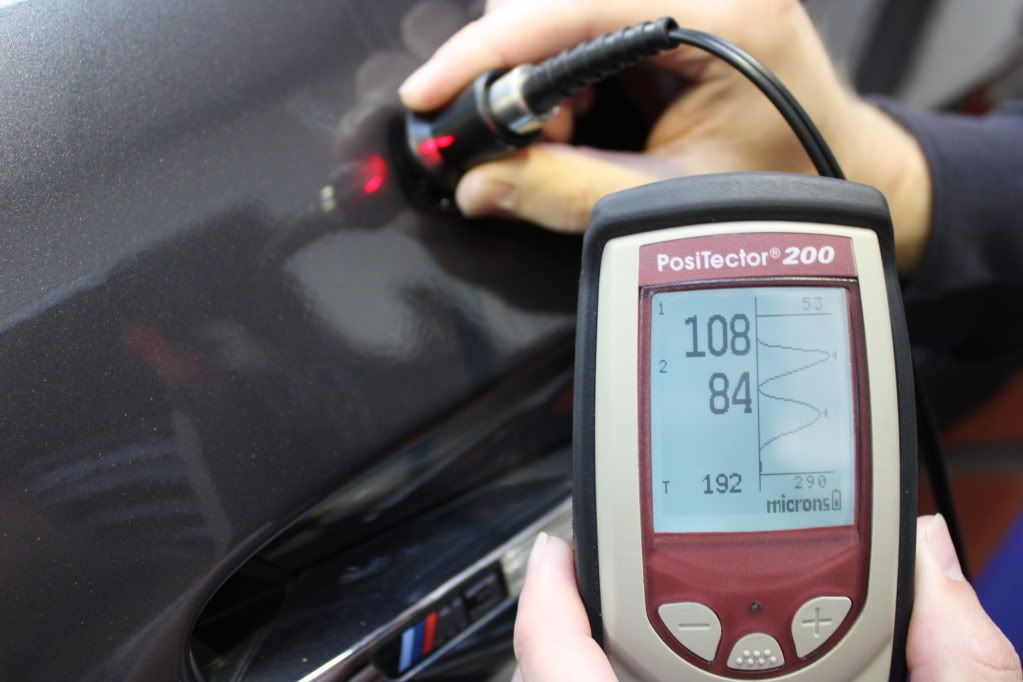
here is measuring 2 layers base colour coat and top coat
![Image]()
Now to the wet sanding stage
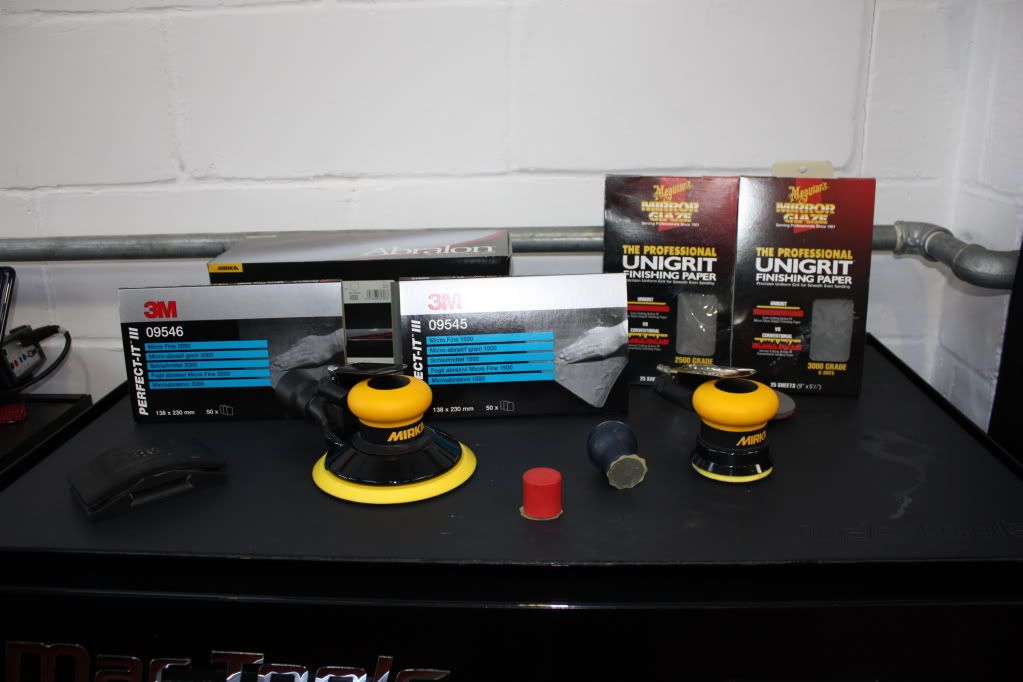
some of the equipment and materials used for wet sanding
![Image]()
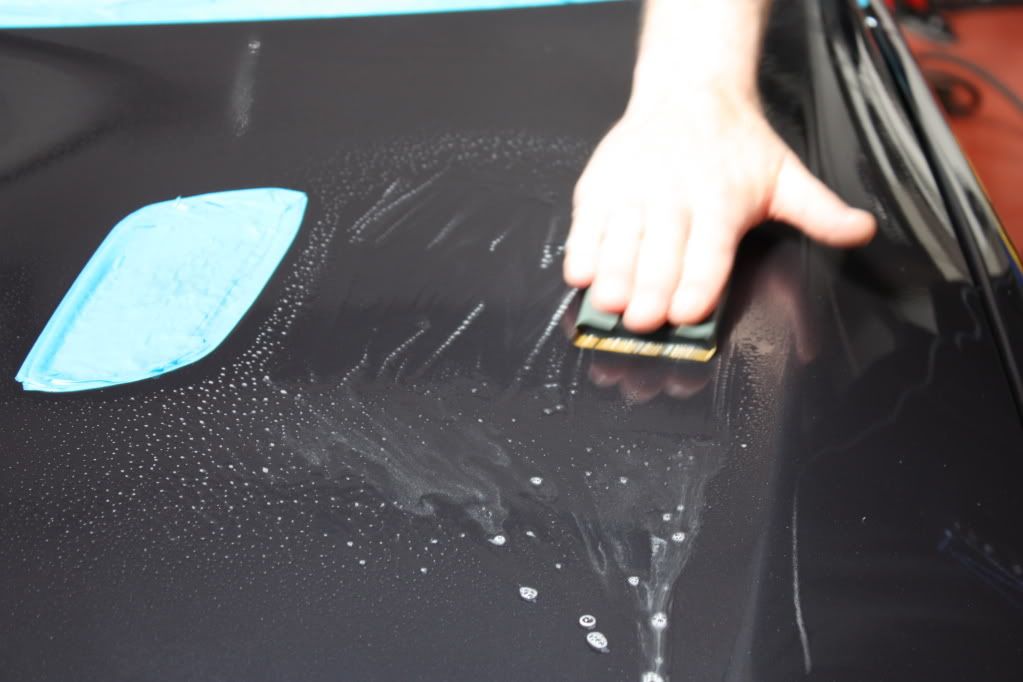
I found the paint too be very hard , i would normally wet sand by hand starting with 1500 grit wet and dry moving through finer grades , but this was so hard that started with 1200 grit , here is a video showing how hard the paint is after using 1200 grit by hand
![Image]()
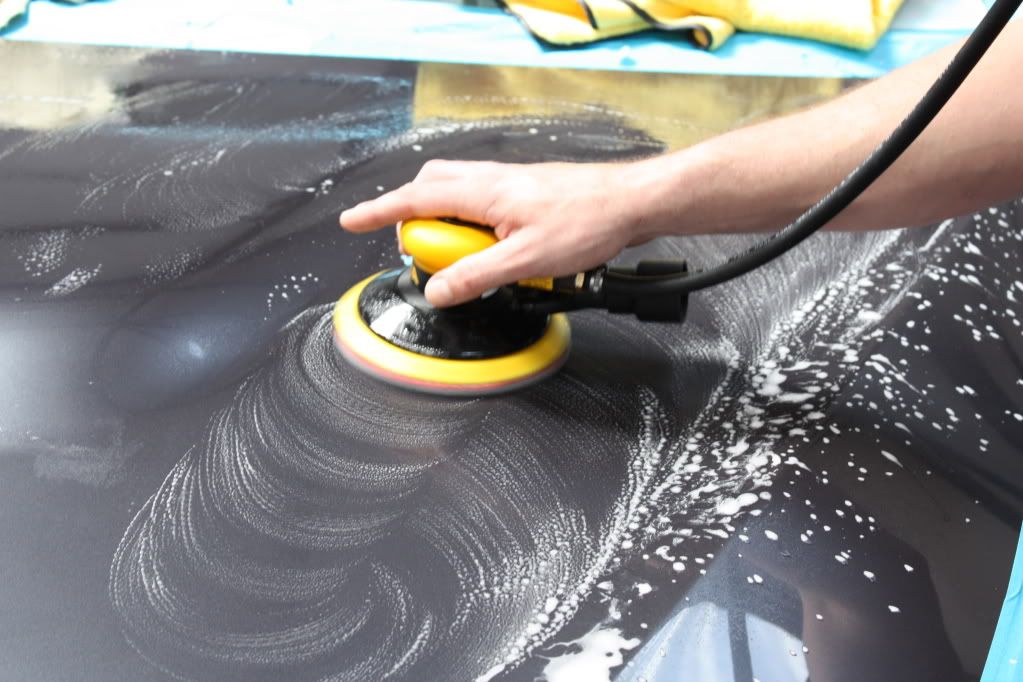
here is using a machine for wet sanding
![Image]()
again with 1200 grit and did not touch the paint really
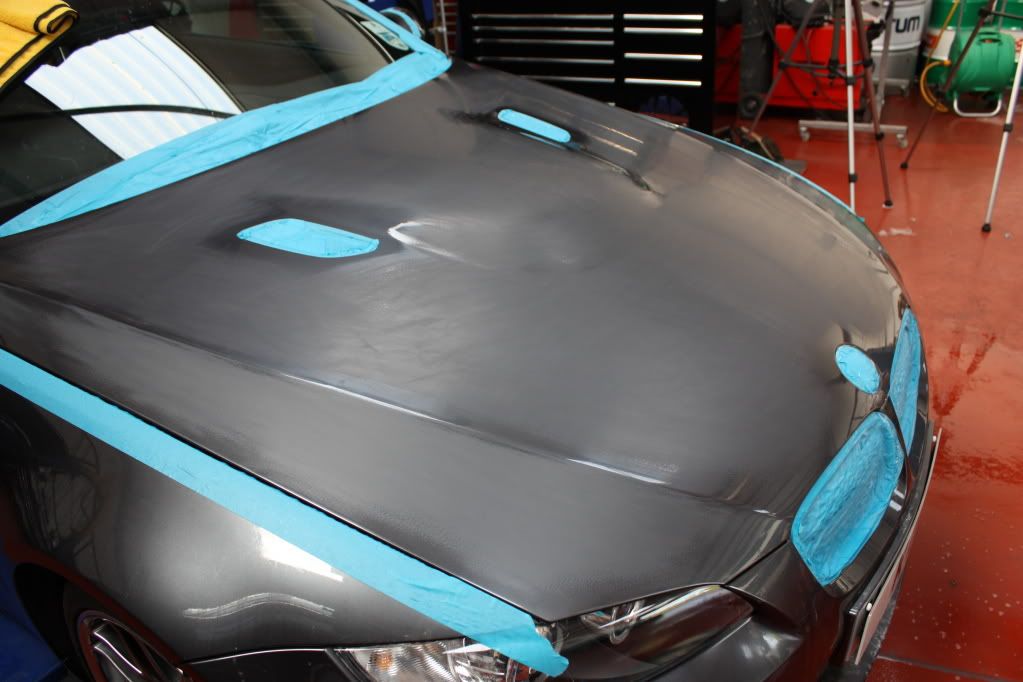
After days of work in the first rough sand the car ends up looking like this , and this is when the customer has kittens if they see their car ,
![Image]()
![Image]()
![Image]()
The car was sanded in 1200, 1500 , 2000 , 4000 grit .
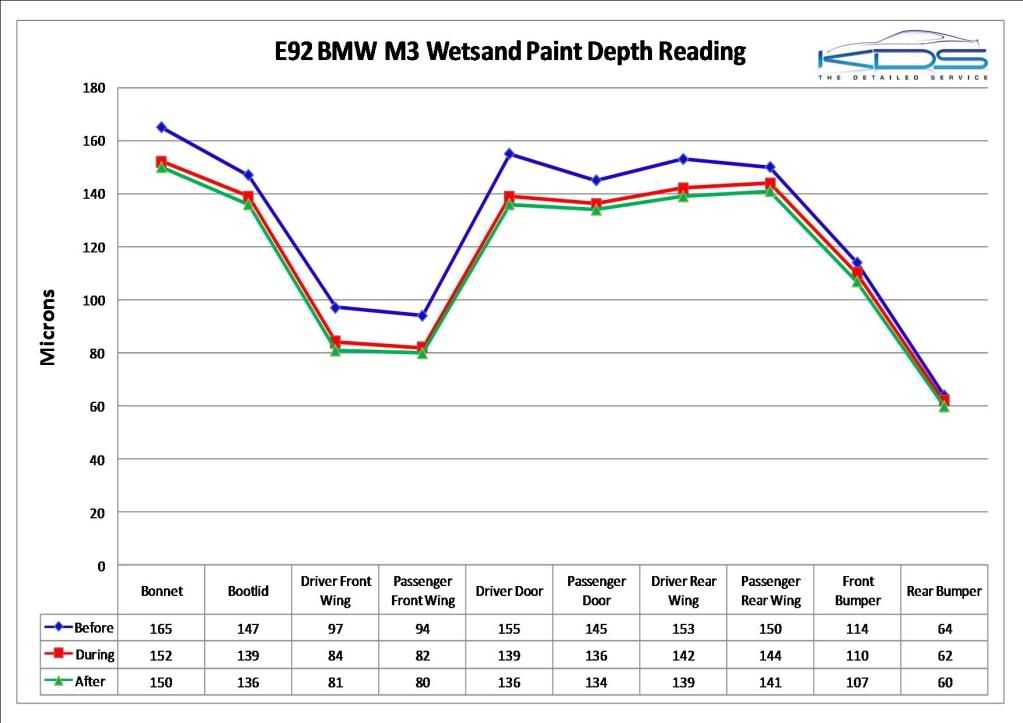
before the machine polishing stage started i took more reading round the entire car to show how much material has been remove to lose the orange peel ,
bonnet before reading again
![Image]()
bonnet after wet sanding readings
![Image]()
bonnet after machine polish final stage
![Image]()
100 microns in depth is the same as an expensive sheet of A4 paper , so a removal of 10 microns of top coat was needed on that measurment to get perfect flat paint , which really shows the small amount of materail that was removed .
here shows the average amount of material taken from each panel to get no orange peel , you will notice that the rear bumper had a much lower reading than the rest of the car so was machined polished only not wet sanded , you will also notice that say wing to wing , door to door the after paint depths are closer than before the wet sanding .
![Image]()
now to the best pictures the results
gloss readings after
roof
![Image]()
rear bumper
![Image]()
boot lid
![Image]()
bonnet
![Image]()
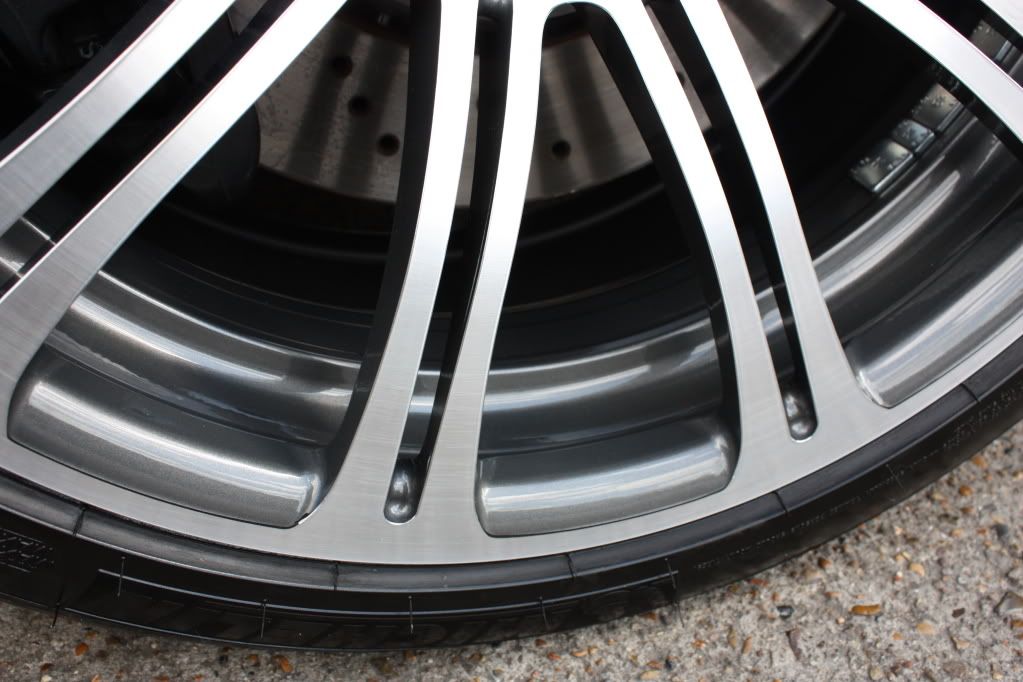
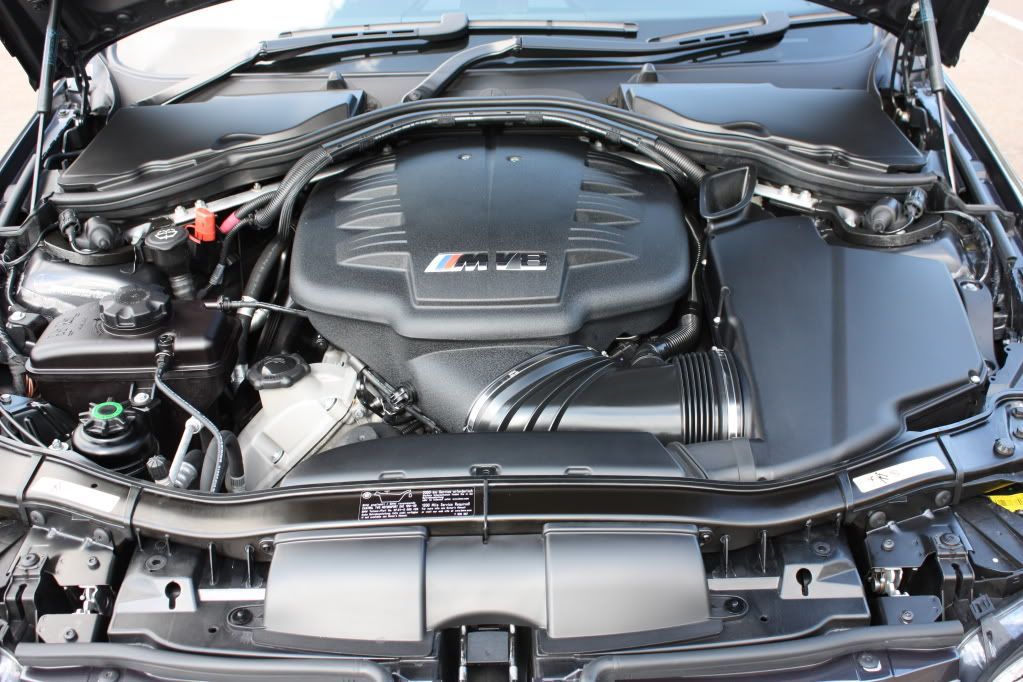
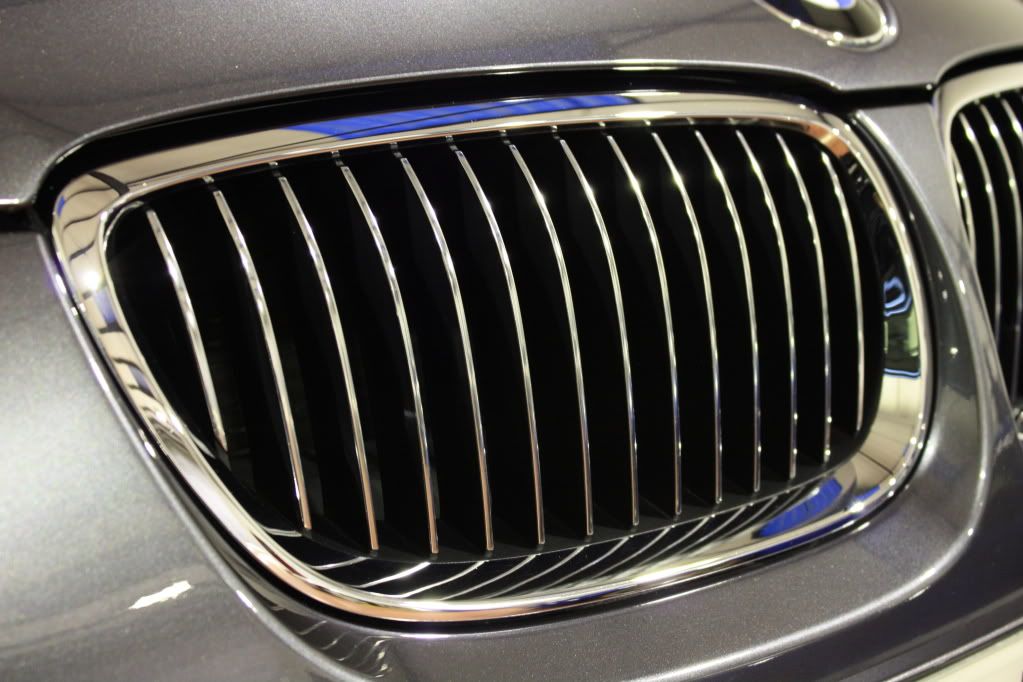
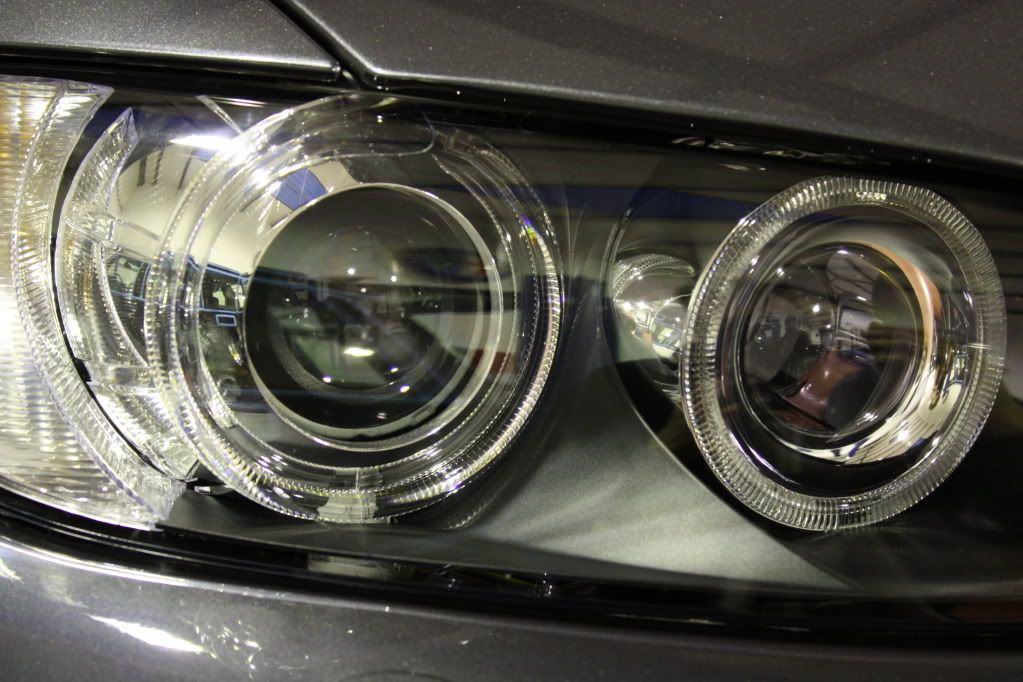
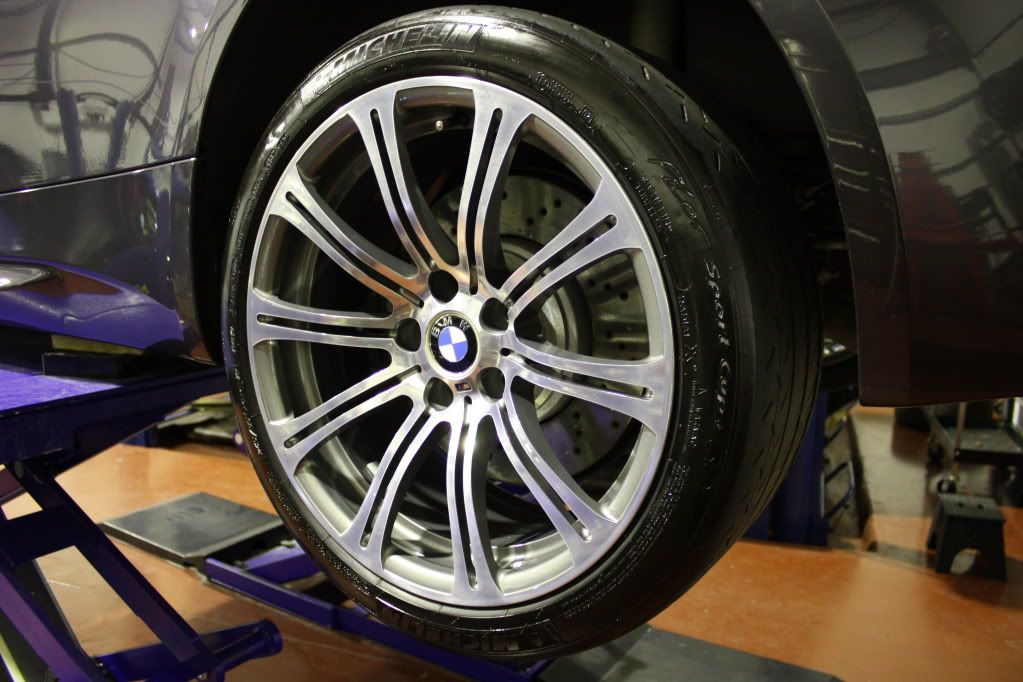
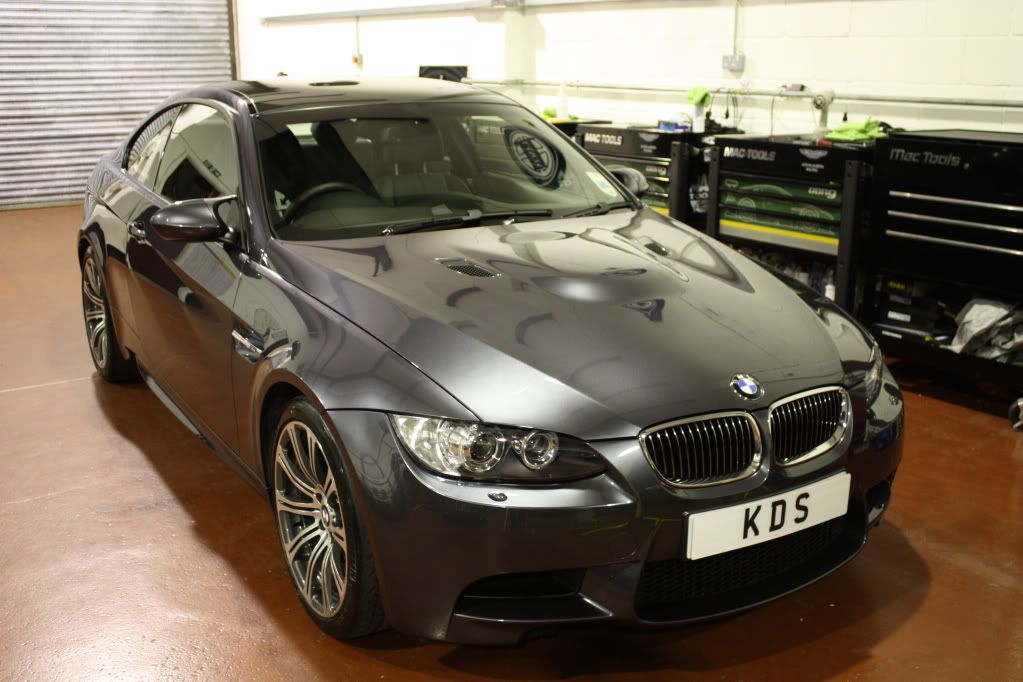
after shots
![Image]()
![Image]()
![Image]()
![Image]()
![Image]()
![Image]()
![Image]()
![Image]()
![Image]()
![Image]()
![Image]()
![Image]()
![Image]()
![Image]()
![Image]()
![Image]()
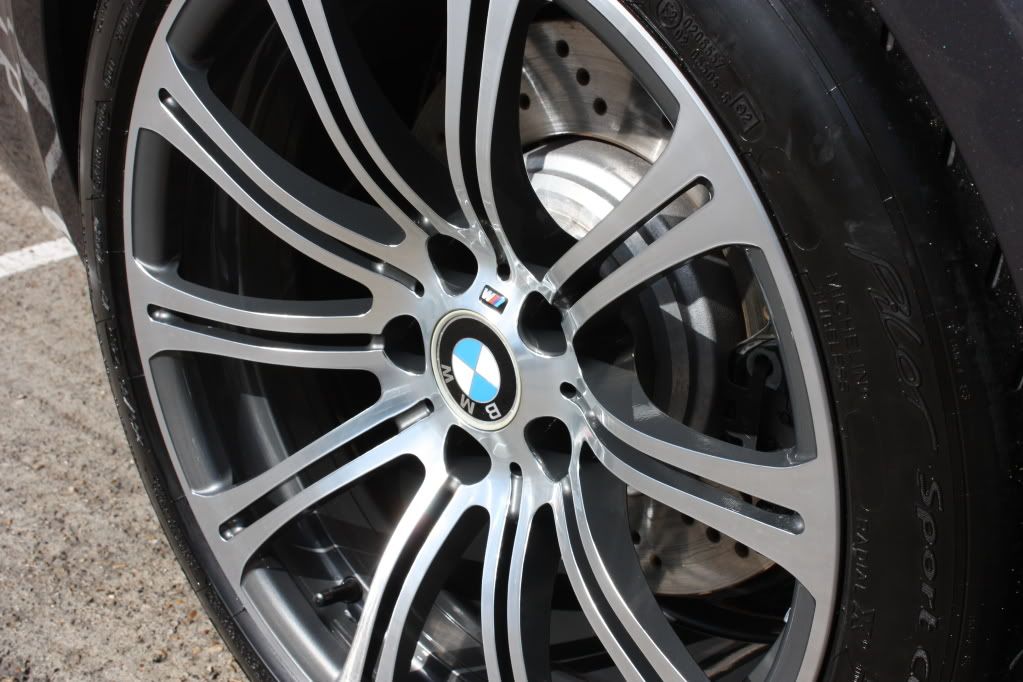
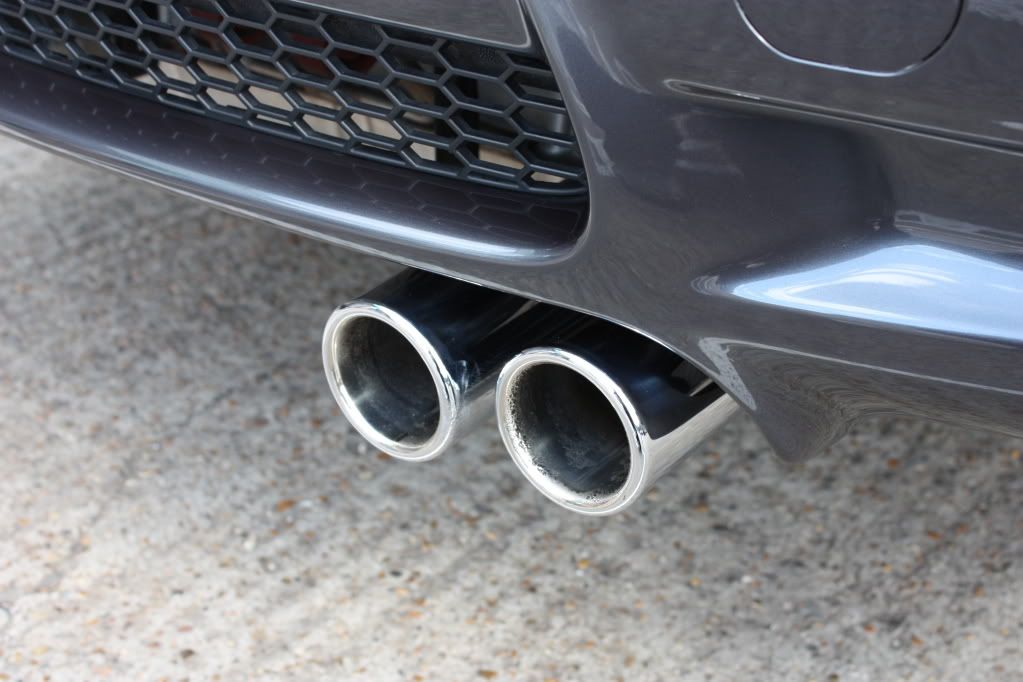
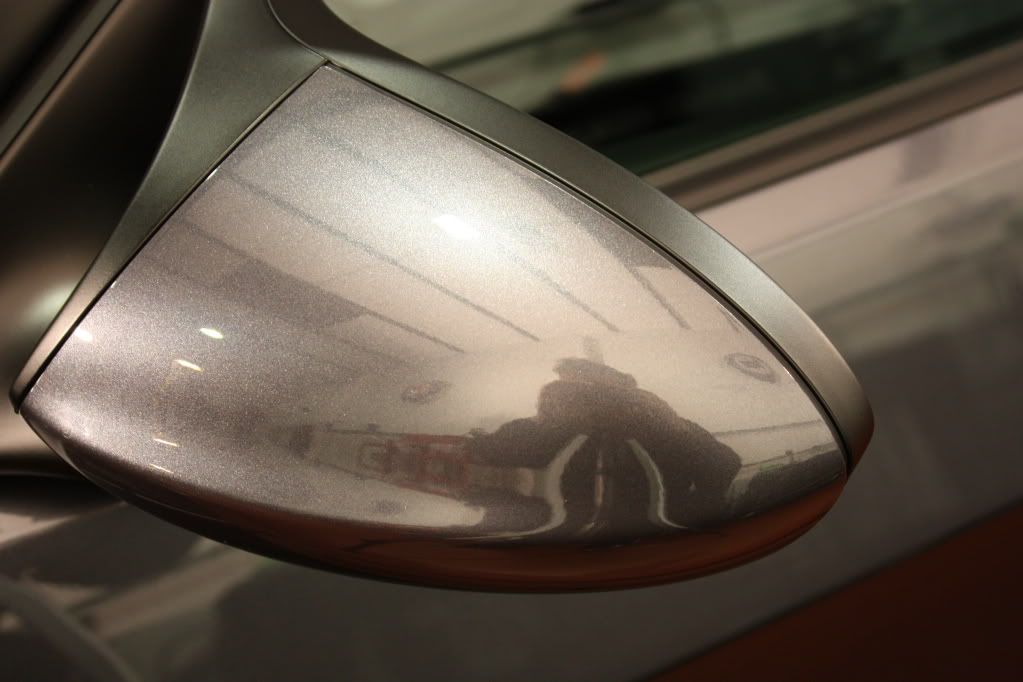
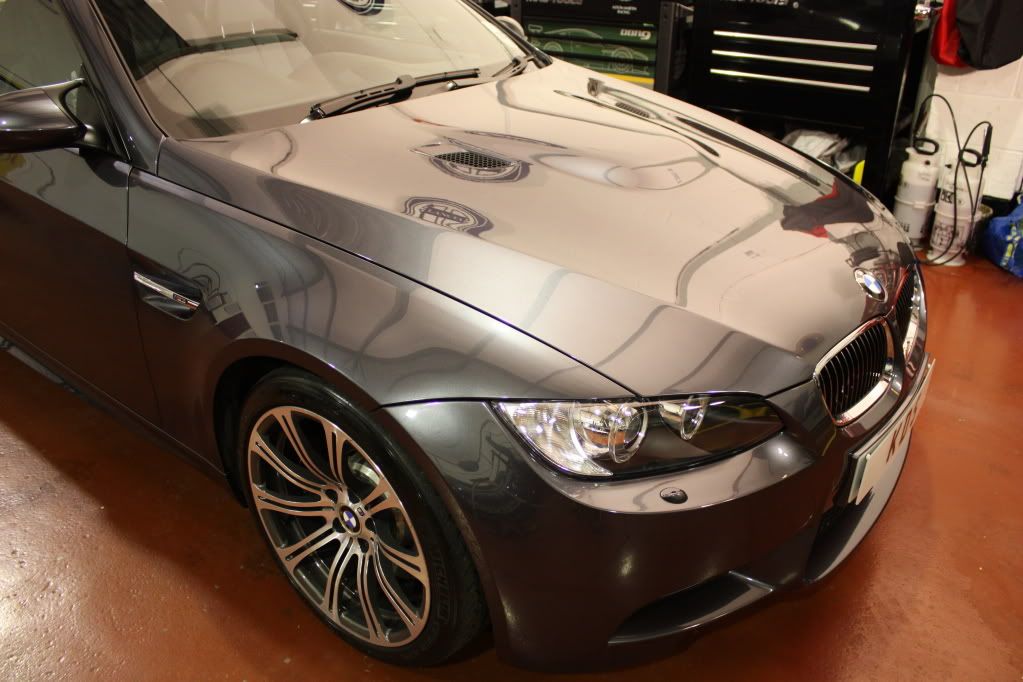
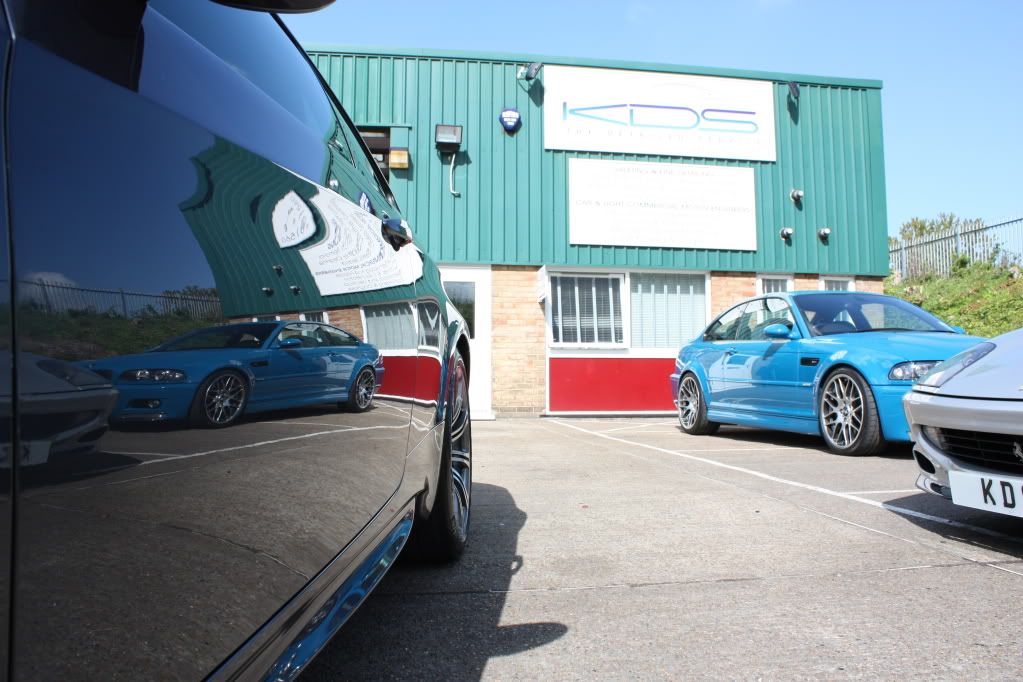
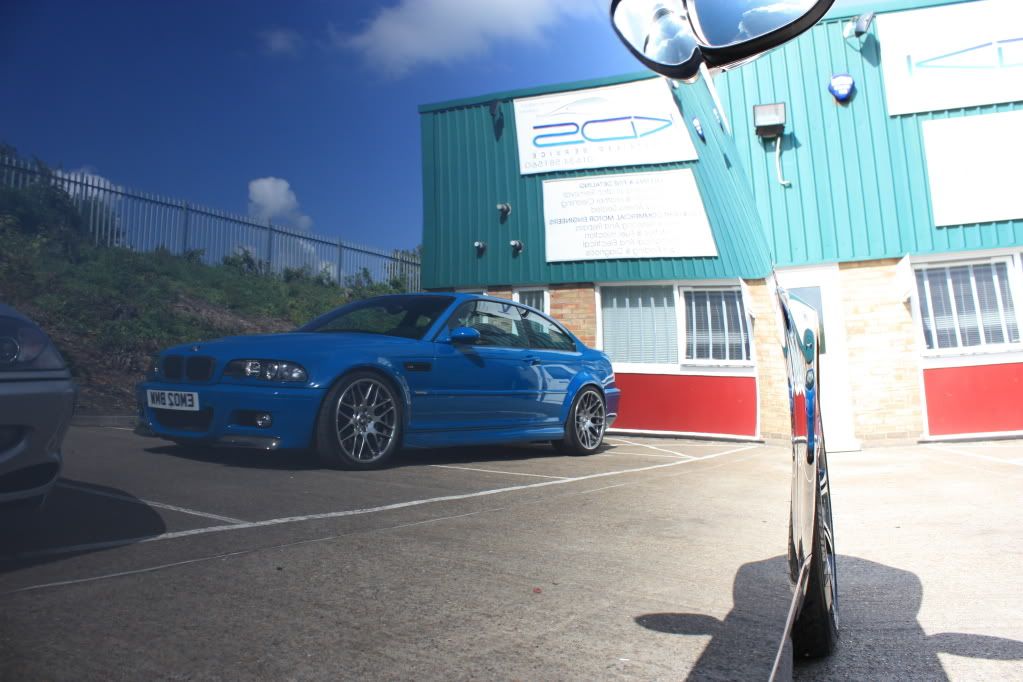
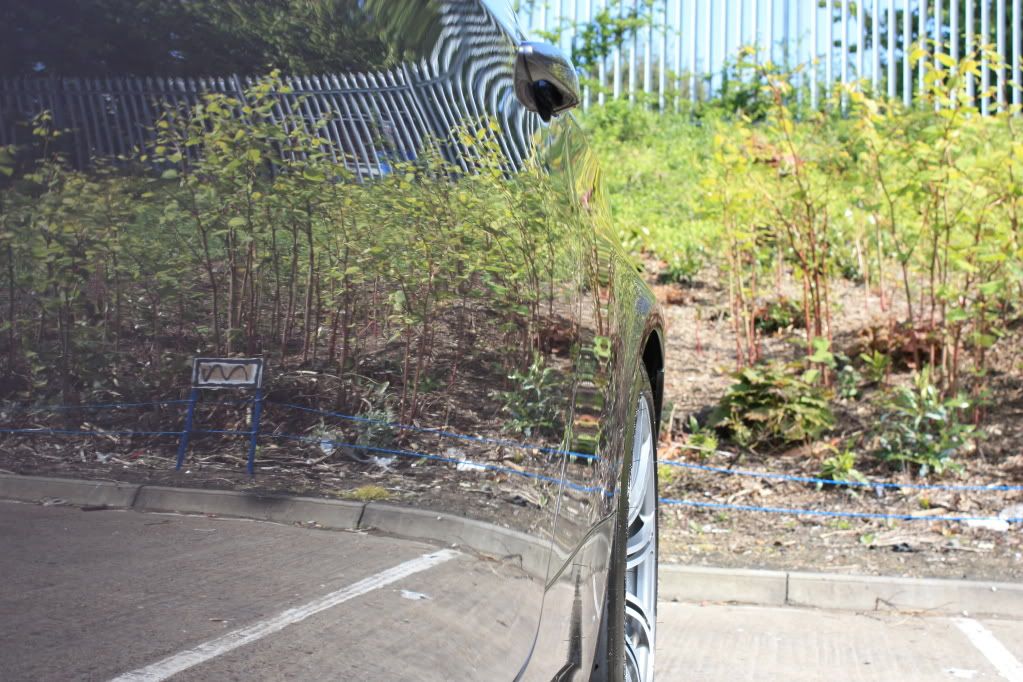
and my favorite shots
![Image]()
![Image]()
![Image]()
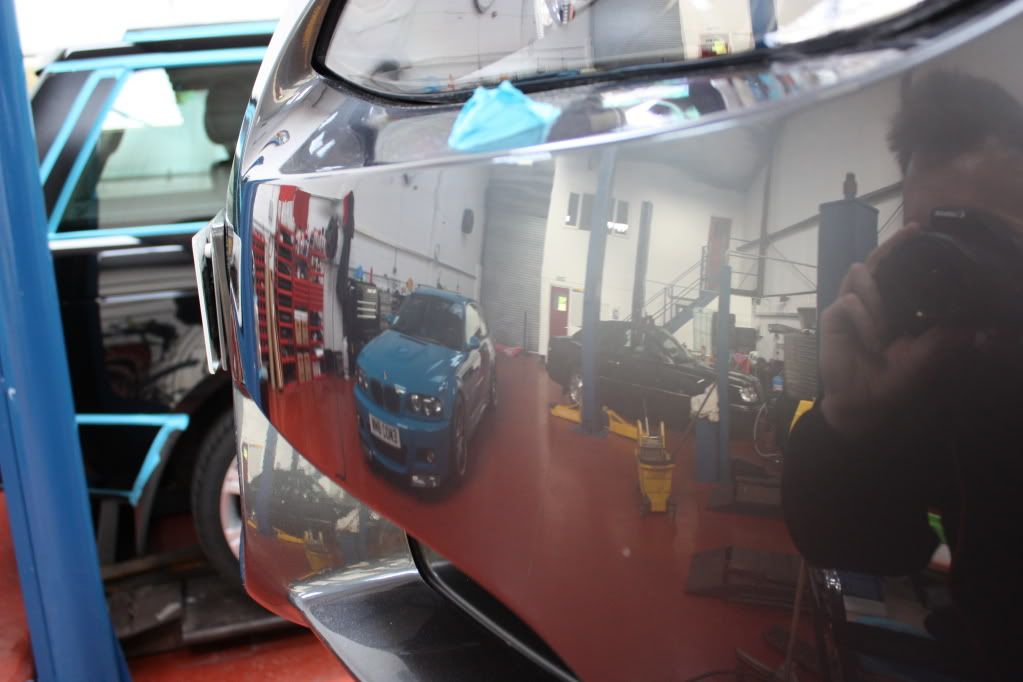
Reflection shot of the workshop (or lack of reflection)
![Image]()
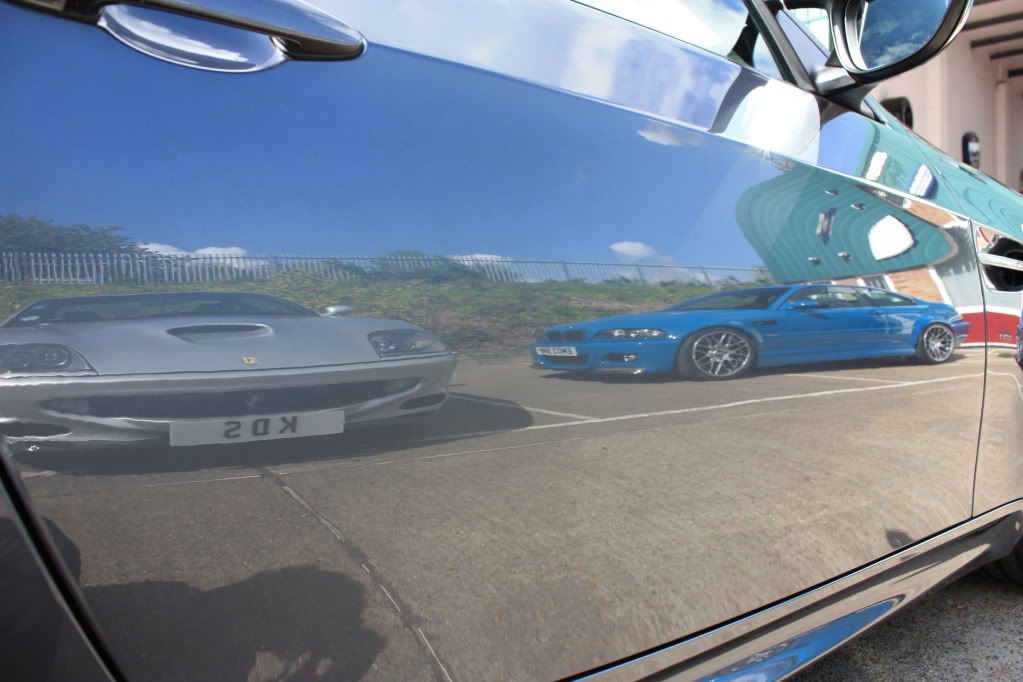
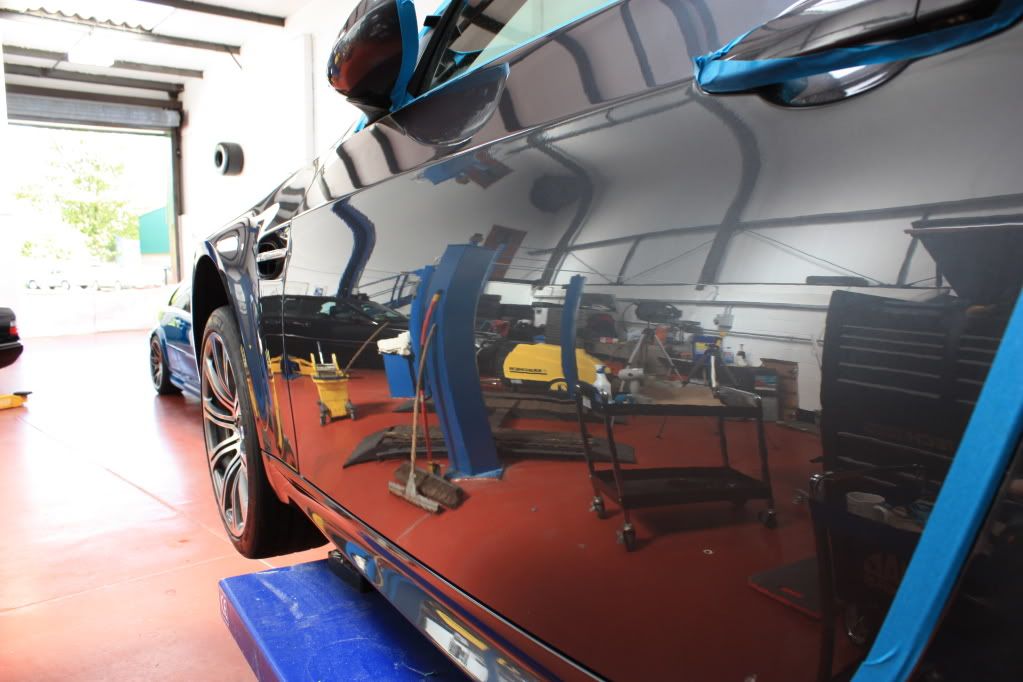
After reflection shot of workshop
![Image]()
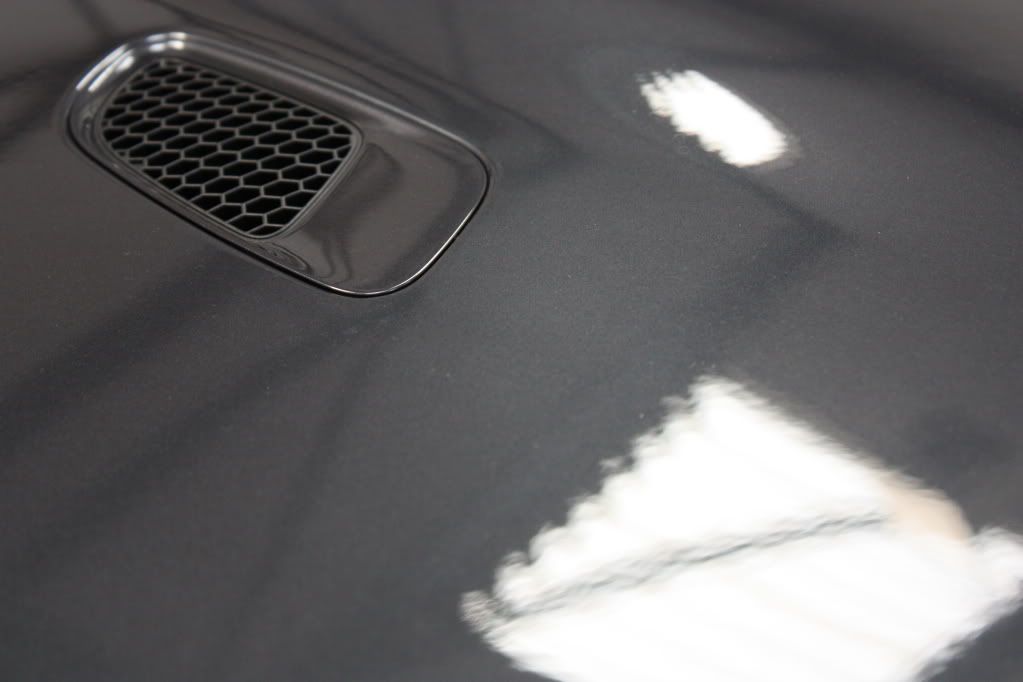
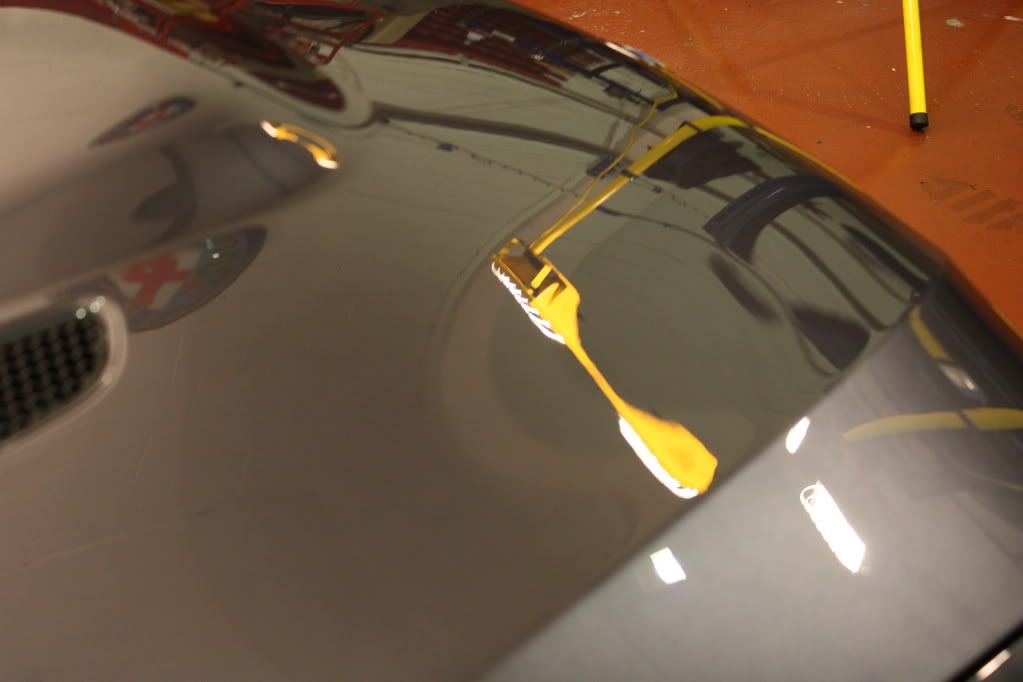
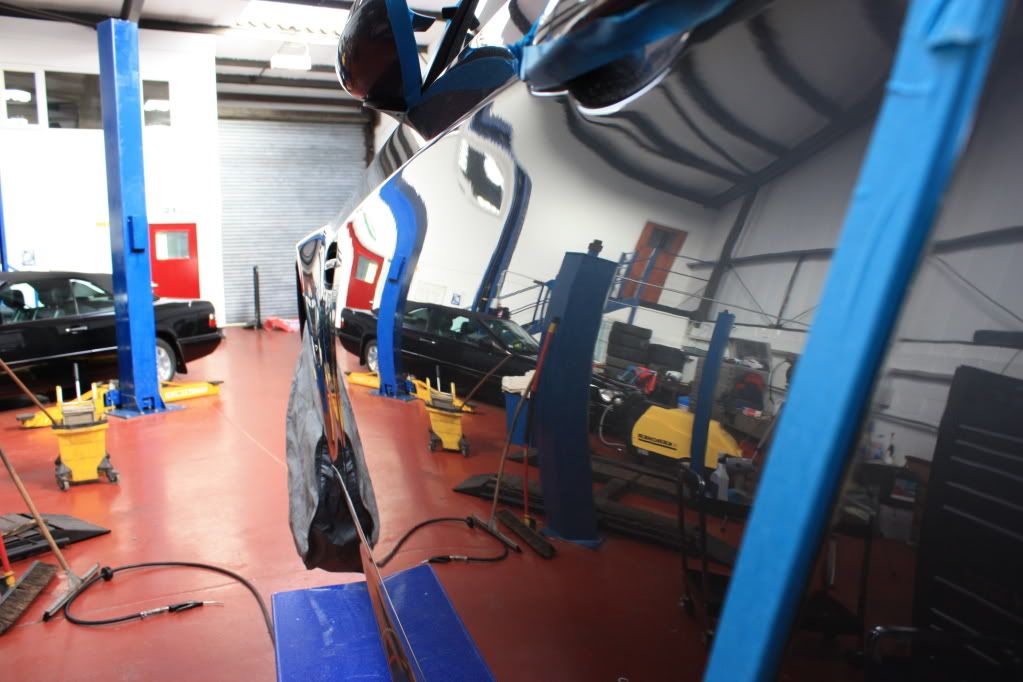
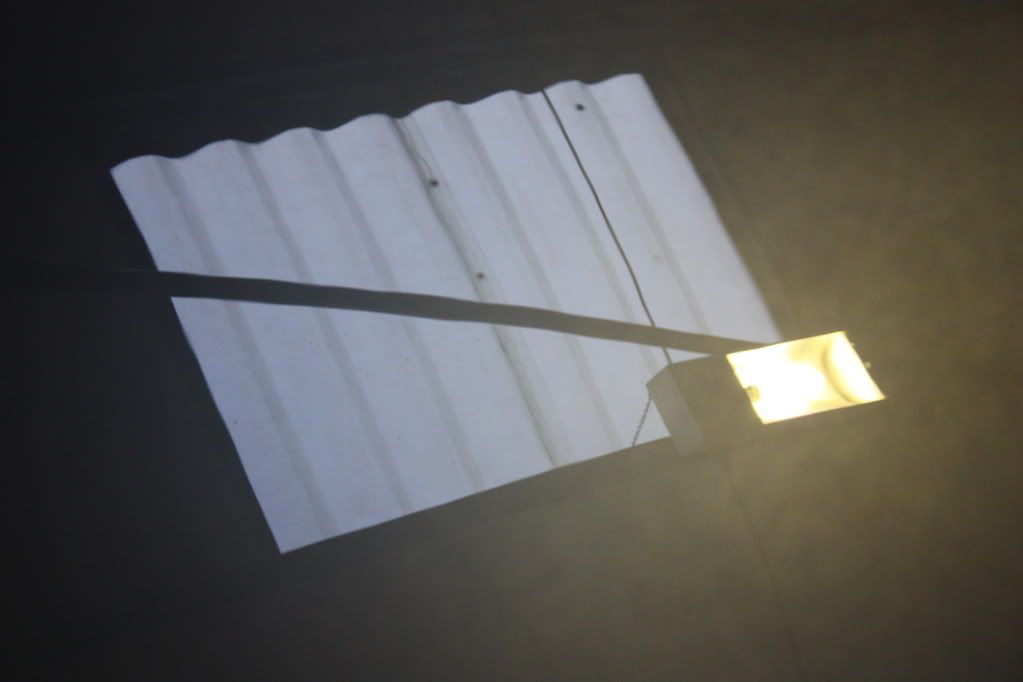
Before reflection shot of bonnet showing skylight
![Image]()
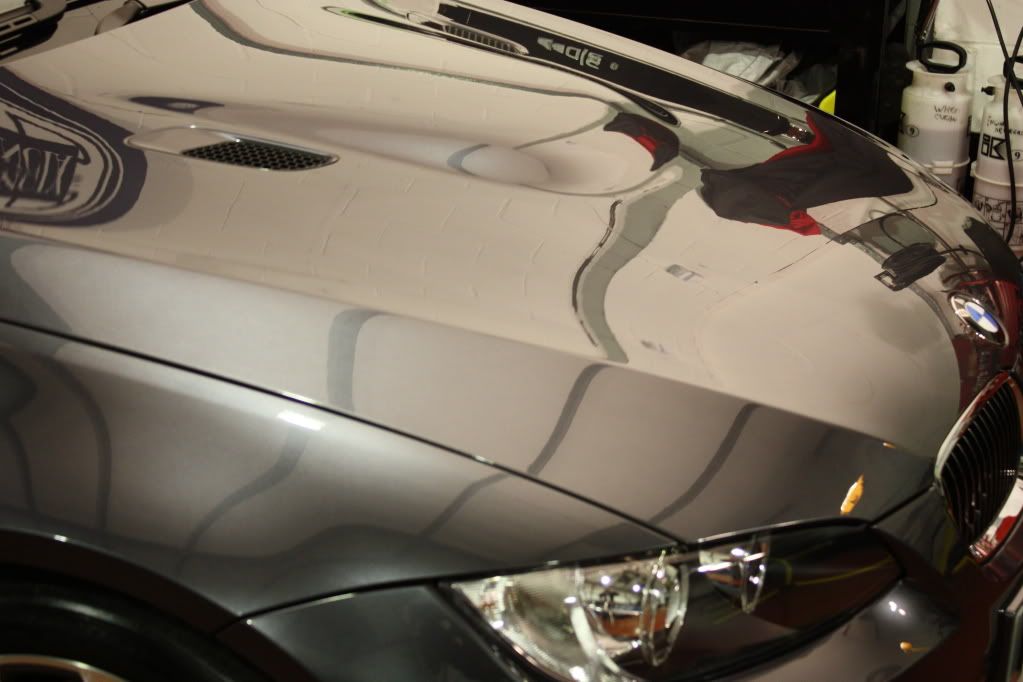
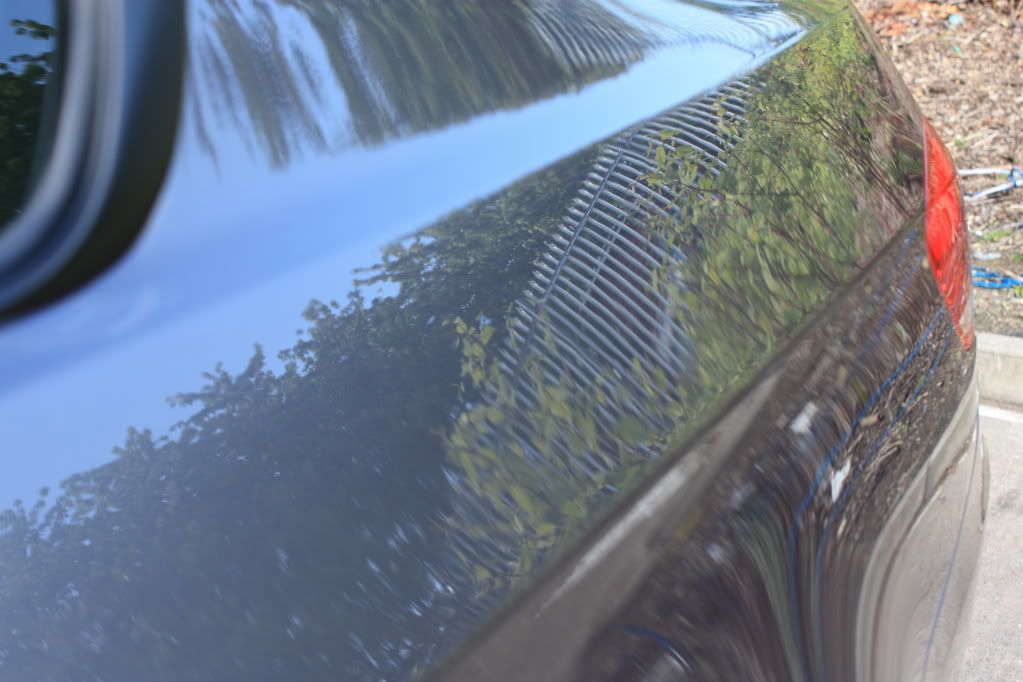
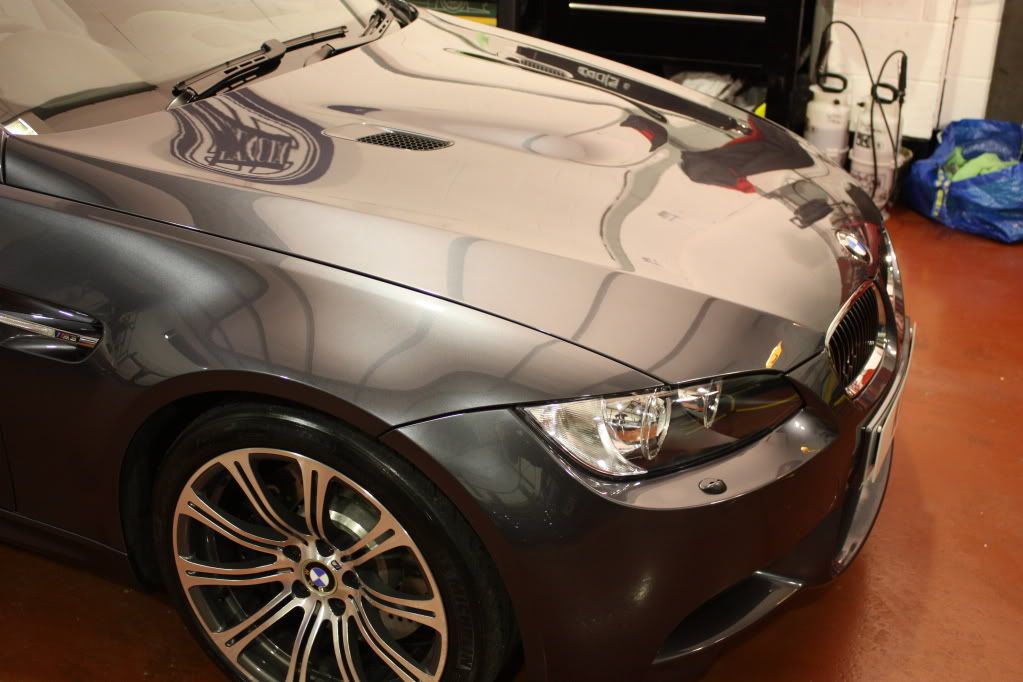
after shot of bonnet
![Image]()
This is what paint can look like after 80 hours work
![Image]()
![Image]()
Here are 2 videos too
I hope you enjoyed my first studio thread and maybe picked up and learnt something along the way :thumb:
KDS Detailing , Kelly
www.kdsdetailing.co.uk
Been around detailing in some form and another for 18 years and only really got into photos and videos some 2 years ago.
Some people will know me very well and never heard of me so,
Firstly i will say Hi to the people and companies i know and spoke too in the past . :wave:
Dom - Dodo Juice,
Clark - Polished Bliss,
Matt - OYM's,
PJS,
Brian - Drive and shine,
Rob - Gleammachine,
Tim - Clean Your Car,
Sorry to anyone i have missed out .
Due to being very busy and working later and later through the night as always, i will post this write up for speed by copying and pasting from a Pistonheads write up many months ago of the E92 M3 wet sand carried out for a pistonhead member.
So here goes, sorry for the lack of description, for the latest details i have starting logging and taking photos in more depth in readiness to post on DW for the future :thumb:
As dropped of by the owner
Dye transfer from blue Jeans on the leather seat's
Gloss readings before any wash process
roof
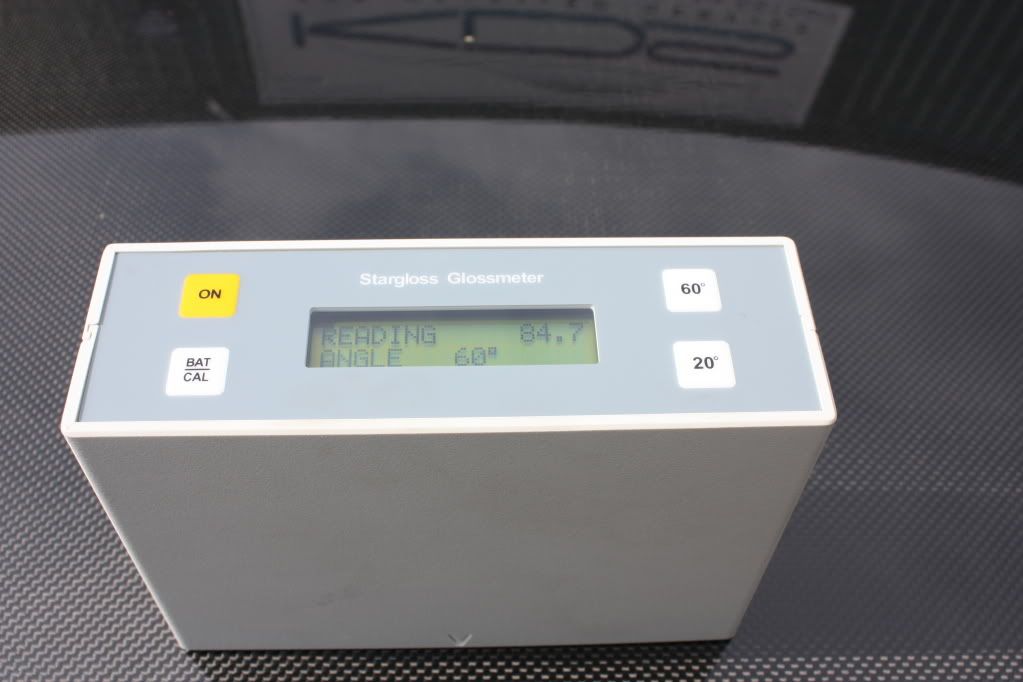
rear bumper
boot lid
bonnet

orange peel before wet sanding
Rear quarter panel
Rear quarter panel
bonnet
some products used to wash car ready for detailing process
First wash down with snow foam
This is after leaving the snowfoam to dwell for 5 minutes
after 7 minutes
complete car was rinsed, then all edges washed with all purpose cleaner and degreaser around grills and badges etc .
Then clean wheels with acid free alloy wheel cleaner .
Then another wash with snowfoam
one final rinse of complete car , then move car indoors and blow dry car with compressed air and drying towels .
The clay section next
Was surprised too find not much debris compared to must cars i detail
Car was drove back outside to have a very close look at the interior mainly the leather , the leather dye transfer cleaned off ok using standard leather cleaning products .
Here you can see the blue dye on the cleaning cloth

Now getting into the reason you pay to have a professional detail , as well as the equipment needed .
First thing is too inspect the paint for flaws and but more important is to measure the paint depth to build up a map of the car's varing paint depth giving the detailer the information needed to be confident the car can have the wet sand and machine polish process.
The measurments where taken all over the cars panels to gain an average figure .
The readings are taken by using 2 different methods of paint depth gauges , one measures on Ferrous and non Ferrous metals only and the total paint depth only
If you only have this gauge then the best way to work out the amount of top coat (laquer) there is , is to measure an area under the bonnet with no top coat take a reading then subtract that from the reading on the outside of the car this would give you a rough guide to the amount of top coat , or you can measure in the door shuts too where there would be one coat of laquer again to gain an idea of how much top coat is on the car !
This gauge measures using ultrasound which can be used on all surfaces as well as measuring in layers too ,

Because the paint depth will vary over a very small area measured the best method of repeated readings is to use this method of marking the panels ,
A mim tripod holding a laser pointer to mark the bonnet
mark where the ultrasound gel has been used to take a reading
and the same for the boot

The wing was measured with a large tripod using this method
Here is the wing reading just the top coat
108 microns of laquer (which is very thick )
here is measuring 2 layers base colour coat and top coat
Now to the wet sanding stage
some of the equipment and materials used for wet sanding
I found the paint too be very hard , i would normally wet sand by hand starting with 1500 grit wet and dry moving through finer grades , but this was so hard that started with 1200 grit , here is a video showing how hard the paint is after using 1200 grit by hand
here is using a machine for wet sanding
again with 1200 grit and did not touch the paint really
After days of work in the first rough sand the car ends up looking like this , and this is when the customer has kittens if they see their car ,

The car was sanded in 1200, 1500 , 2000 , 4000 grit .
before the machine polishing stage started i took more reading round the entire car to show how much material has been remove to lose the orange peel ,
bonnet before reading again
bonnet after wet sanding readings
bonnet after machine polish final stage
100 microns in depth is the same as an expensive sheet of A4 paper , so a removal of 10 microns of top coat was needed on that measurment to get perfect flat paint , which really shows the small amount of materail that was removed .
here shows the average amount of material taken from each panel to get no orange peel , you will notice that the rear bumper had a much lower reading than the rest of the car so was machined polished only not wet sanded , you will also notice that say wing to wing , door to door the after paint depths are closer than before the wet sanding .
now to the best pictures the results
gloss readings after
roof
rear bumper
boot lid
bonnet
after shots
and my favorite shots
Reflection shot of the workshop (or lack of reflection)
After reflection shot of workshop
Before reflection shot of bonnet showing skylight
after shot of bonnet
This is what paint can look like after 80 hours work
Here are 2 videos too
I hope you enjoyed my first studio thread and maybe picked up and learnt something along the way :thumb:
KDS Detailing , Kelly
www.kdsdetailing.co.uk
")


