This is copied over from another forum I visit. So apologies for the strange formatting.
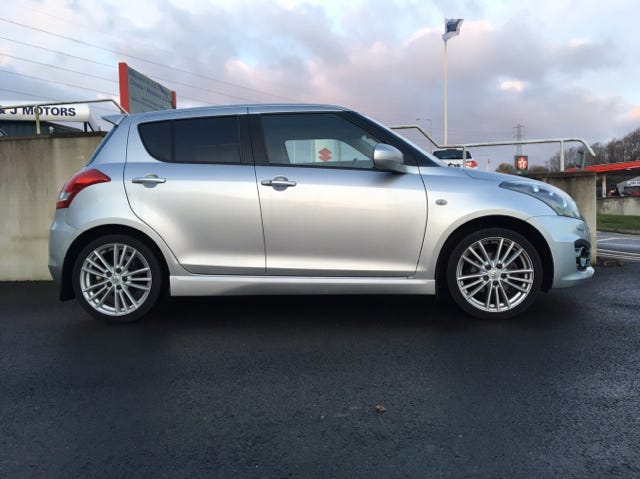
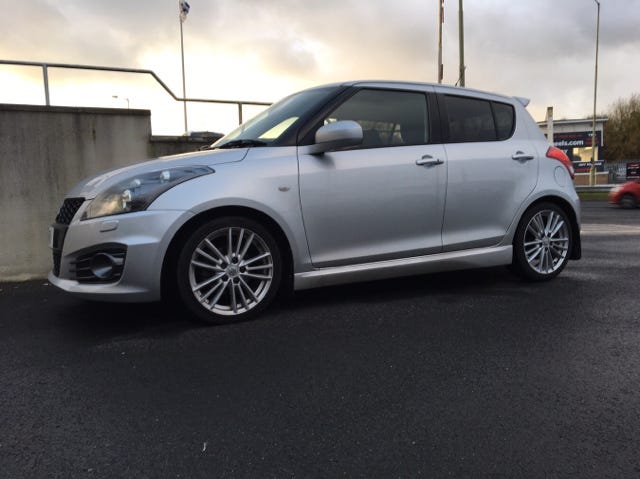
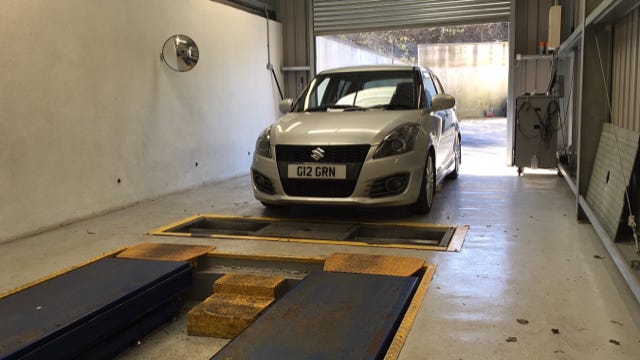
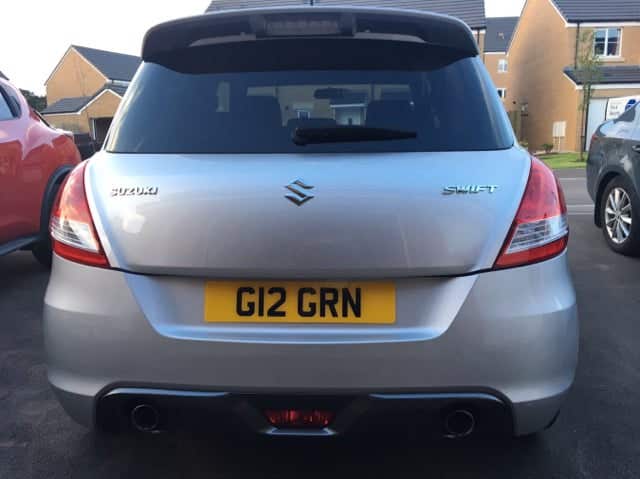
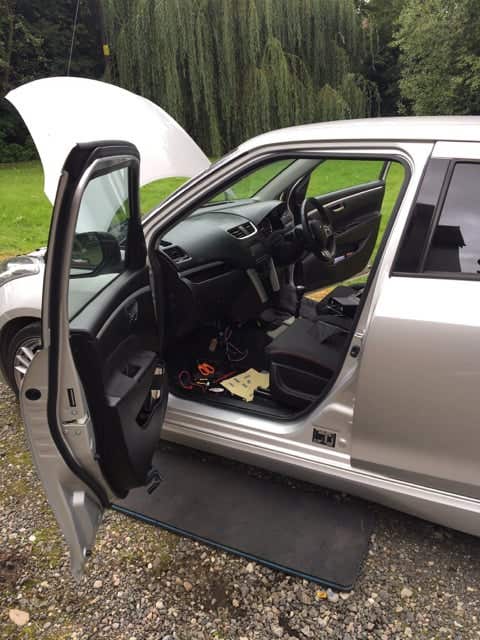
The time had come, and about a few months back and I moved the Suzuki Vitara S on. Sad to see it go as I did really enjoy it but I've gone back to my roots and got myself another Swift Sport.
Standard kit boasts;
Keyless entry and push button start
Auto Xenon headlamps
Power fold/heated mirrors
Touch screen infotainment system with Garmin sat have
Cruise control
Climate control w/auto air conditioning
6spd manual box
![Image]()
![Image]()
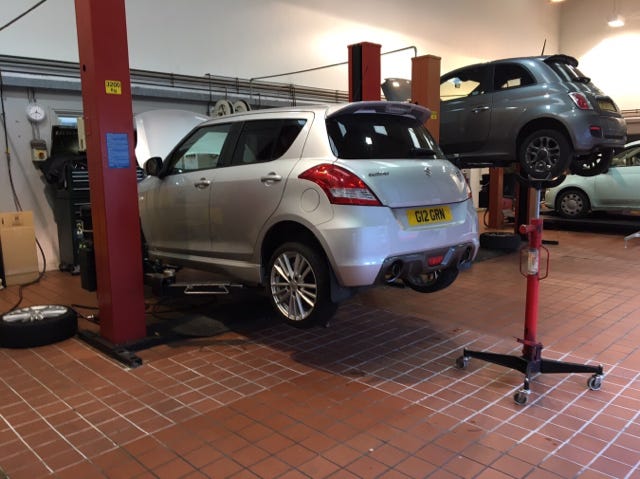
I'd been looking for a while for something and I just so happened to come across this. (BETTER PHOTOS TO FOLLOW)
I like to think I know the cars pretty well and there were a few boxes I needed to tick in order to pull the trigger.
1 Owner
Full Dealer History
Low to average miles
Five door
+NAV model (2014 on)
And most importanty
NOT RED
Would you believe it, this one ticked every box. Currently on 25K it's covered 3K since April 2017. Mileage before this was pretty bang on at around 7-8K per year. I had to have it, and the deal was done.
After a week of "I'm not touching it" it happened....again...
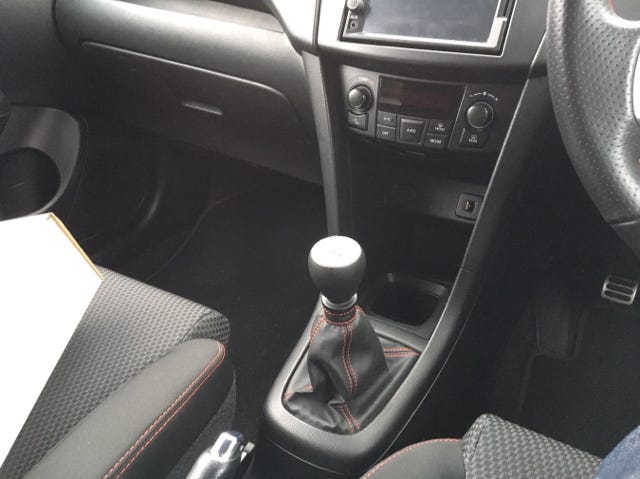
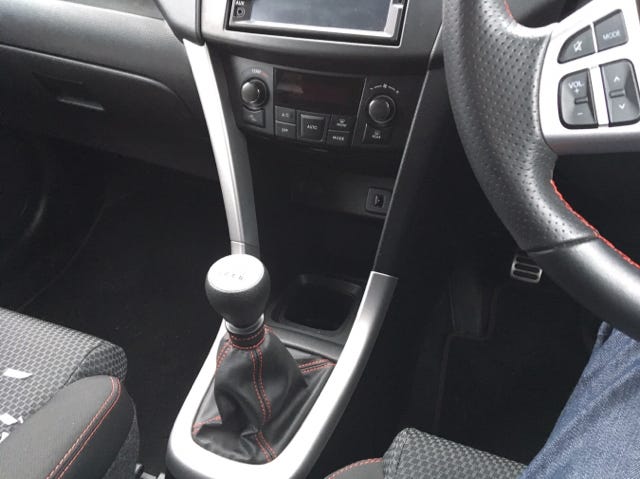
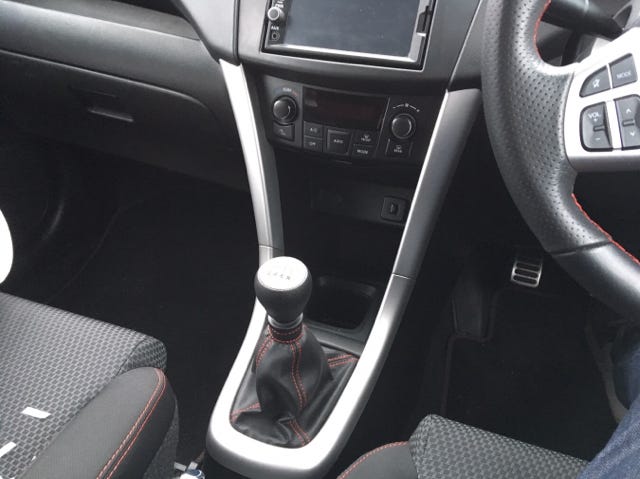
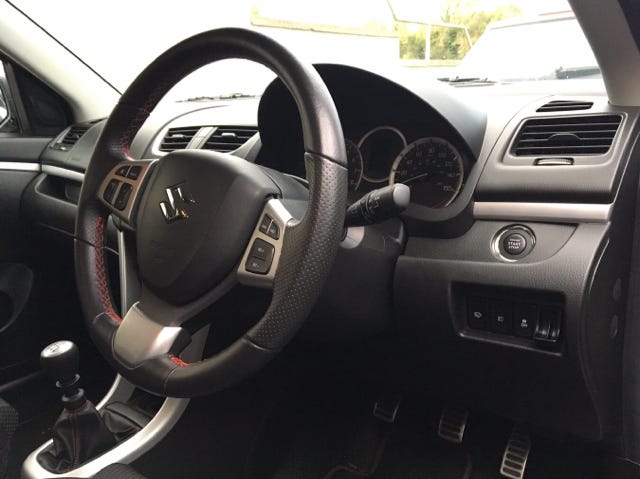
First things first, I needed to brighten up the interior, Same thing I did on my previous Sport. I fitted the accessory Silver dash trim, which I think pulls it all together nicely.
![Image]()
![Image]()
![Image]()
![Image]()
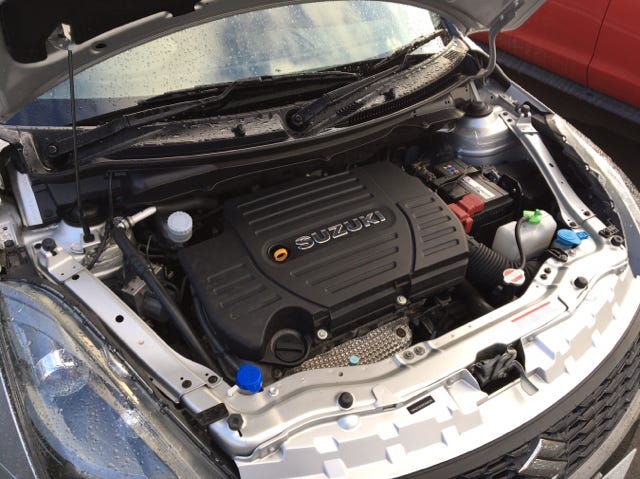
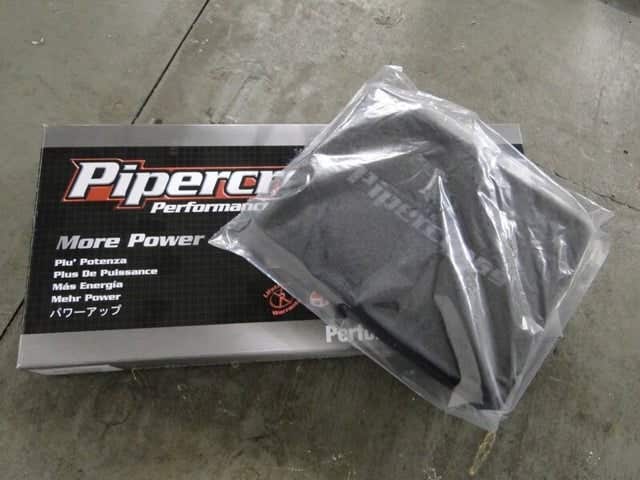
I know it had only done 3K but that standard air filter had to go, Picked up a Pipercross panel filter at a right bargain.
![Image]()
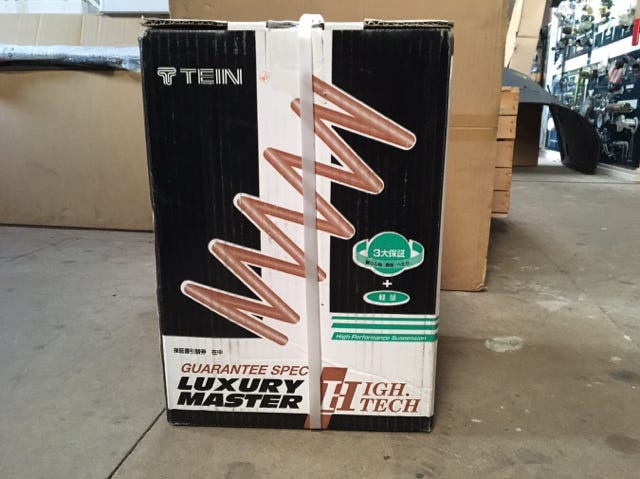
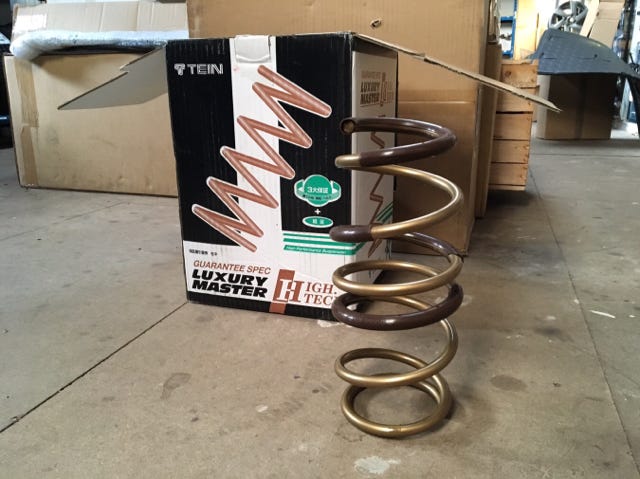
Next up was a bit of a bigger step. Bettering the ride. I thought long and hard about what to do and after a chat with Chris at CTC Performance
http://www.ctc-performance.co.uk
I decided to go for a set of -30mm Tein Springs.
![Image]()
![Image]()
![Image]()
![Image]()
![Image]()
![Image]()
I have a list of things to do, mostly tidy the car up. The OE silver callipers are looking tired so will get re painted, just odd jobs like that. Luckily the car came with a well kept set of OE Sport mats which are a few quid so that was a nice bonus and genuine mud flaps all round which I'm currently a little unsure of at the moment.
I'll be honest, I haven't been documenting the progress on the car as I should which I'm now regretting. The Swift as benefitted from many new OE parts to restore it to as new as it can be.
1.Removed OE mud flaps and replaced both rear arch liners.
2.Both wiper arms replaced due to signs of corrosion.
3.N/S/R door seal replaced due to sagging, along with the lower sill panel that I damaged in the process. Doh.
4.Replaced both wing side repeaters due to water ingress.
5.Replaced air box mounts and collars due to a slight knock.
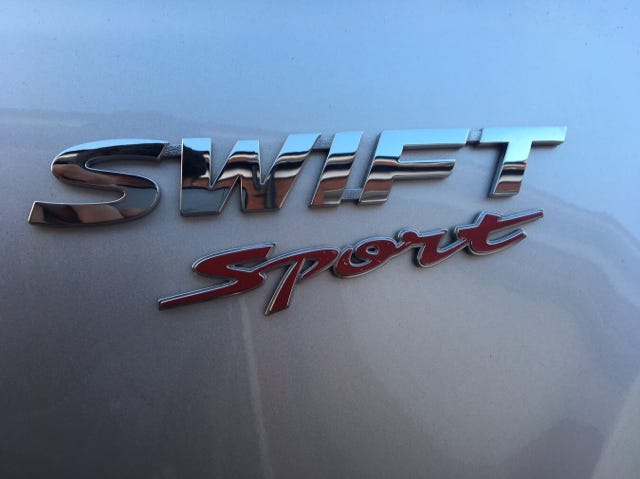
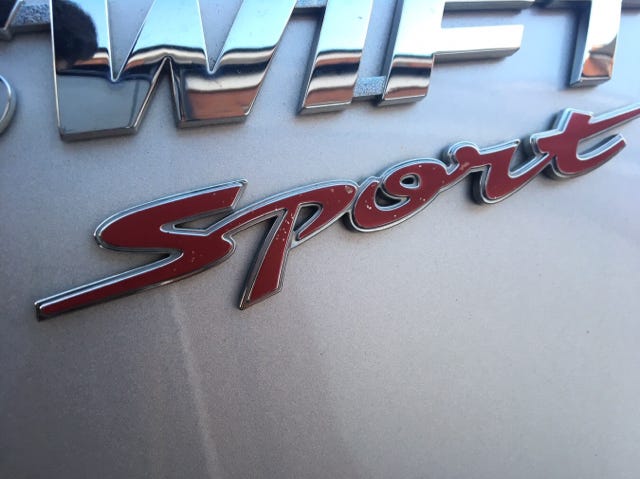
6.Repleaced "Sport" badge due to red paint flaking.
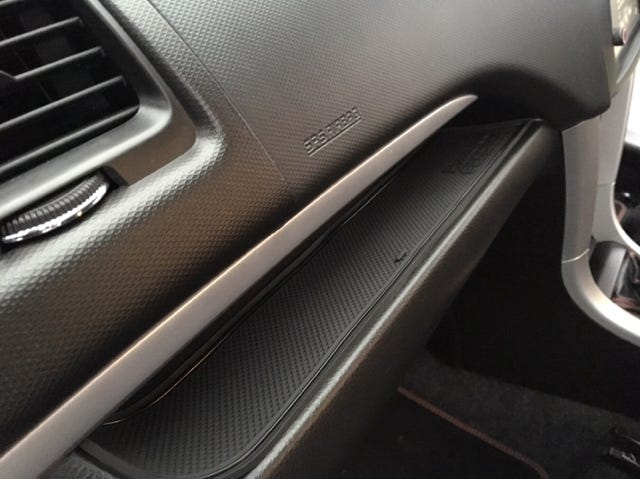
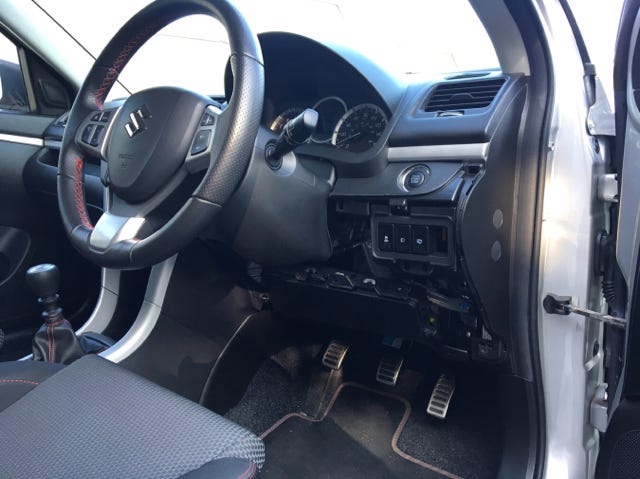
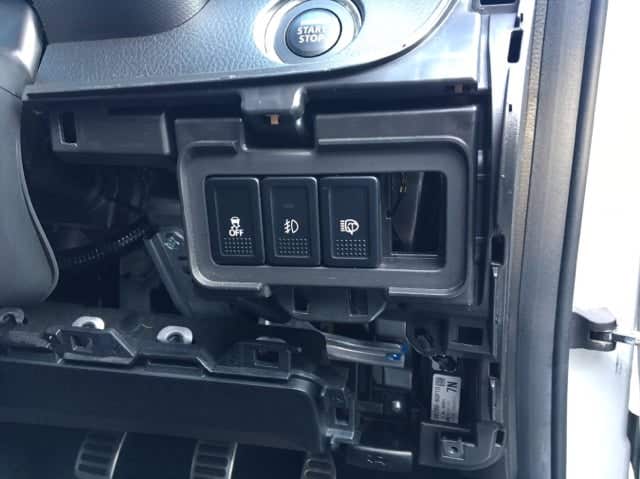
7.Replaced glove box due to damage from previous owner.
8.Replaced engine battery due to lazy starting.
9.Replaced front bumper and apron securing bolts due to corrosion.
10. Replaced O/S/R sill trim.
11. Replaced knee airbag trim.
I do however, have images of the replacement badge
![Image]()
![Image]()
![Image]()
![Image]()
Some of you may have noticed there is a small dent in the Swift badge too. I have one ready to go on, just need the time to do it.
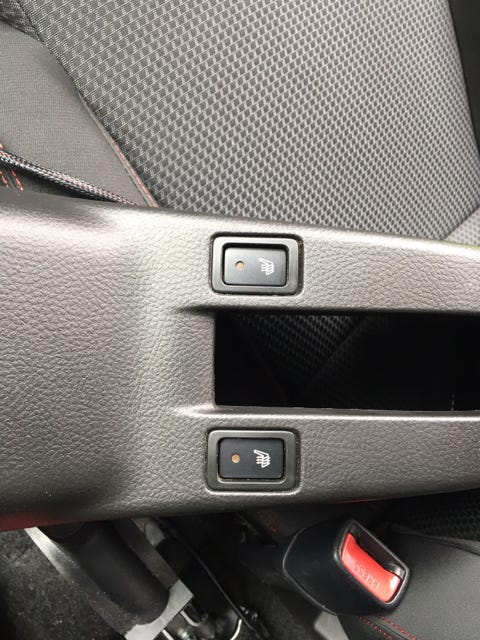
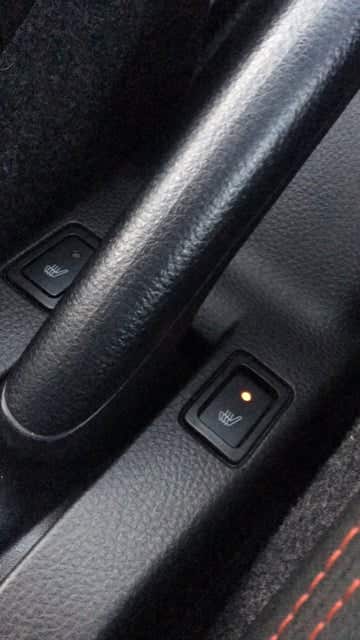
On to bigger things, got my heated seat kit fitted. It's been greatly anticipated and the results did not disappoint. In keeping with my "Everything as OE as possible" mantra, sourced my some genuine heated seat switches which I believe came from a German Swift Sport. I was absolutely thrilled as you can imagine.
Again not so many photos but the workmanship is second to none. A big big thank you to Karl, his coffee and his doughnuts for helping out.
![Image]()
![Image]()
![Image]()
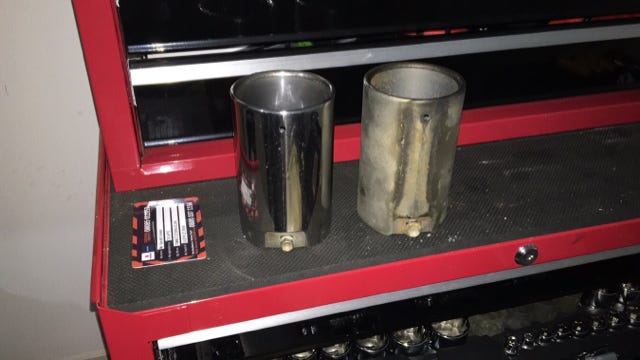
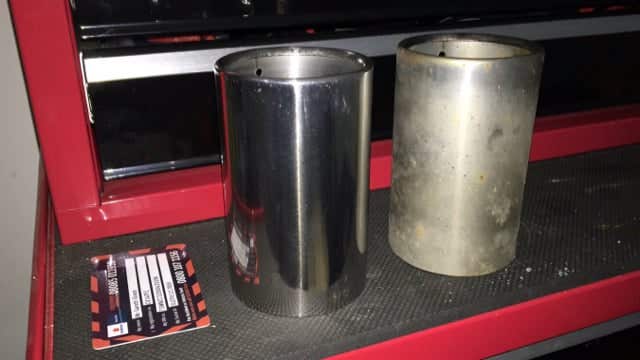
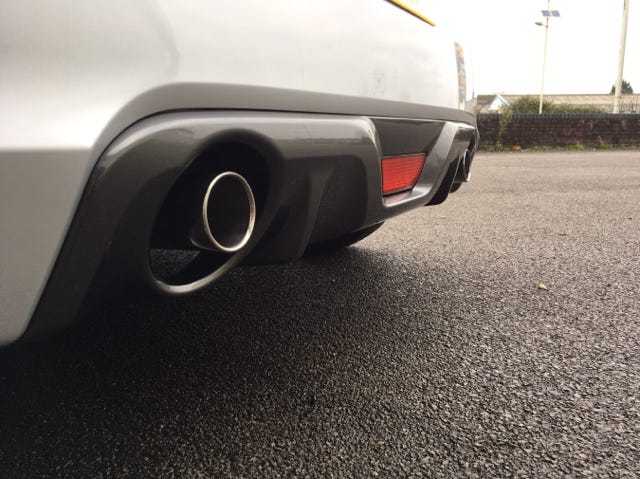
Shortly after the exhaust tips were removed and given some much needed love. Used some trusty autosol and wire wool for this.
![Image]()
![Image]()
![Image]()
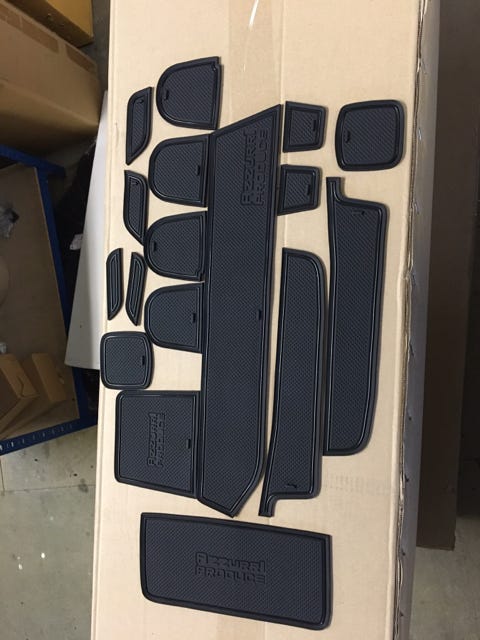
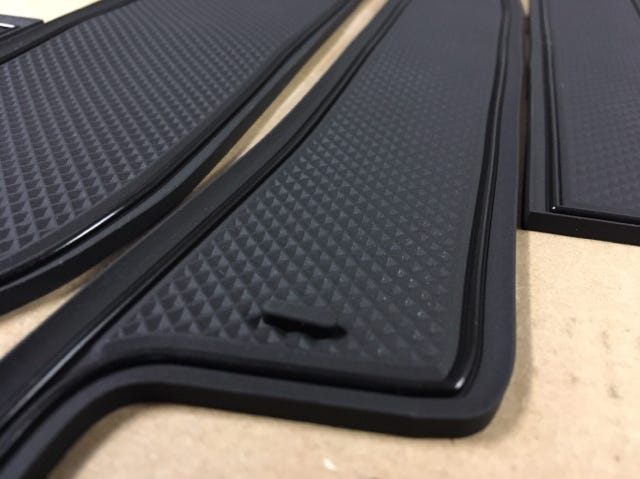
Interior protection was then sourced and fitted. Subtle enough and does a good job of keeping the plastics scratch free. A good little find.
![Image]()
![Image]()
![Image]()
![Image]()
![Image]()
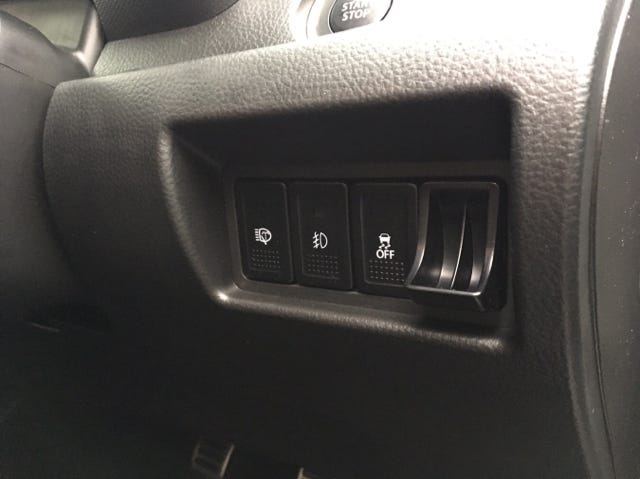
Annoyed with the blank on the switch bank by the start button a JDM coin holder sourced and fitted.
![Image]()
![Image]()
![Image]()
![Image]()
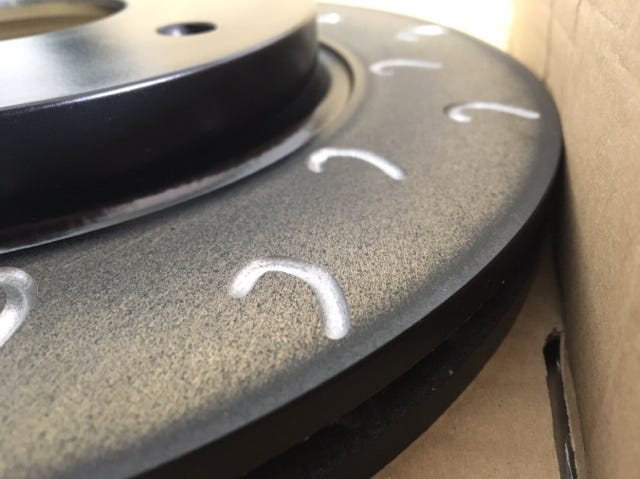
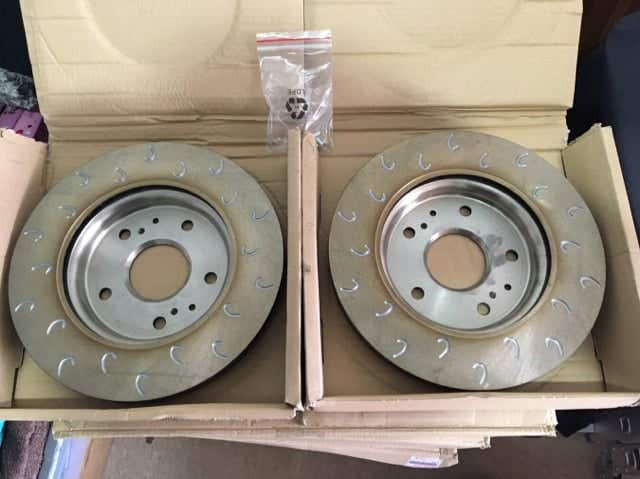
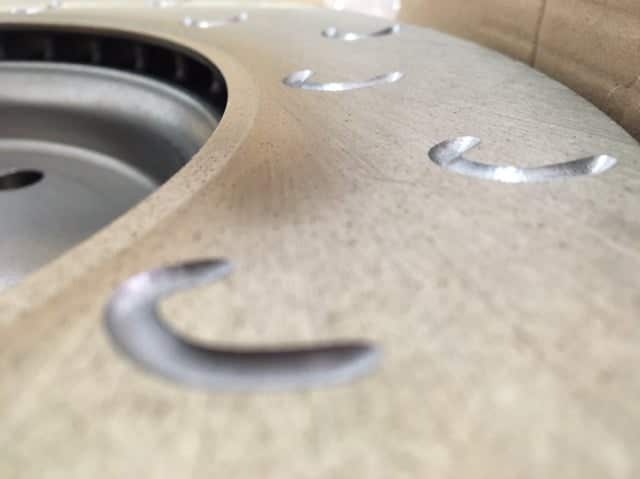
Big thanks to Ben at GodSpeed Brakes for getting my OE Suzuki Discs grooved with their G-Hook technology.
There's a bit of life in the current set so these are in the garage for now. OE pads to match are also to be fitted
http://www.godspeedbrakes.co.uk
![Image]()
![Image]()
![Image]()
![Image]()
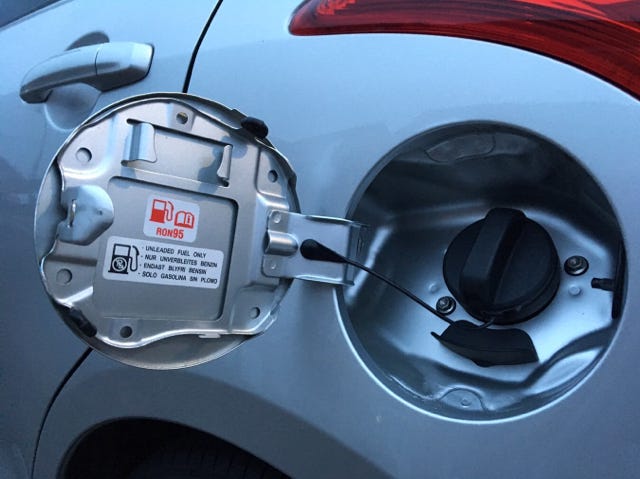
Another small update. The guideline stickers inside the fuel cap we're looking very tired, so I've replaced them.
Afraid I forgot before images but looking a lot more tidy now
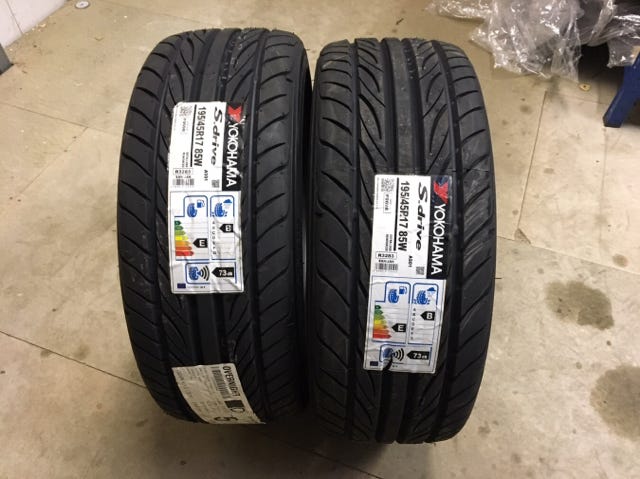
Also, New tyres arrived today, Yokohama S Drive In 195/45r17. Just the pair for now but will be matching the tears to them very soon, finds permitting. My only reservation with them is the DB rating of 73 a big jump up from the 69DB on my current Goodyear Eagle F1's. We'll see how it goes.
![Image]()
![Image]()
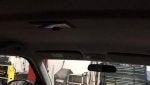
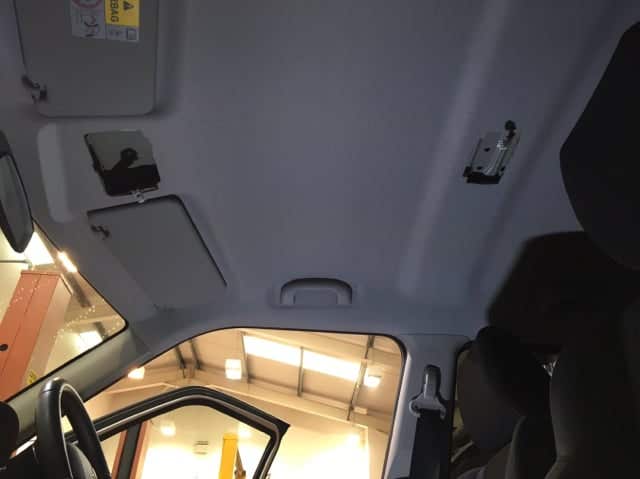
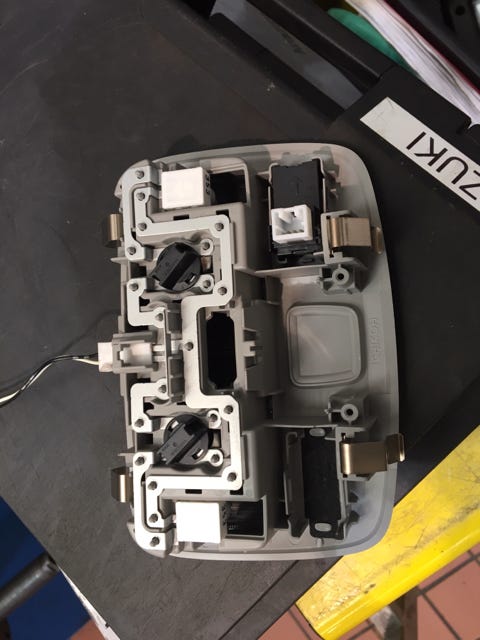
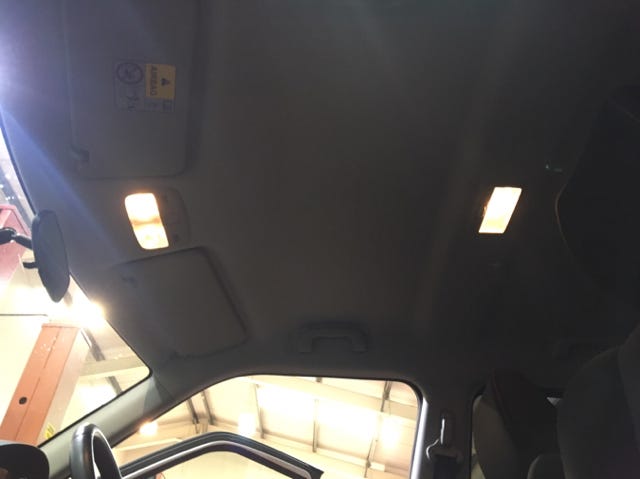
Got around to a minor adaptation today. The centre maps lights do not come on via door open/ignition, which is quite annoying really.
I've taken a feed from the centre interior light to the maps so they will mimic the operation a fade when turning off.
GIF of it working in link below
![]()
![Image]()
![Image]()
![Image]()
The time had come, and about a few months back and I moved the Suzuki Vitara S on. Sad to see it go as I did really enjoy it but I've gone back to my roots and got myself another Swift Sport.
Standard kit boasts;
Keyless entry and push button start
Auto Xenon headlamps
Power fold/heated mirrors
Touch screen infotainment system with Garmin sat have
Cruise control
Climate control w/auto air conditioning
6spd manual box
I'd been looking for a while for something and I just so happened to come across this. (BETTER PHOTOS TO FOLLOW)
I like to think I know the cars pretty well and there were a few boxes I needed to tick in order to pull the trigger.
1 Owner
Full Dealer History
Low to average miles
Five door
+NAV model (2014 on)
And most importanty
NOT RED
Would you believe it, this one ticked every box. Currently on 25K it's covered 3K since April 2017. Mileage before this was pretty bang on at around 7-8K per year. I had to have it, and the deal was done.
After a week of "I'm not touching it" it happened....again...
First things first, I needed to brighten up the interior, Same thing I did on my previous Sport. I fitted the accessory Silver dash trim, which I think pulls it all together nicely.

I know it had only done 3K but that standard air filter had to go, Picked up a Pipercross panel filter at a right bargain.
Next up was a bit of a bigger step. Bettering the ride. I thought long and hard about what to do and after a chat with Chris at CTC Performance
http://www.ctc-performance.co.uk
I decided to go for a set of -30mm Tein Springs.
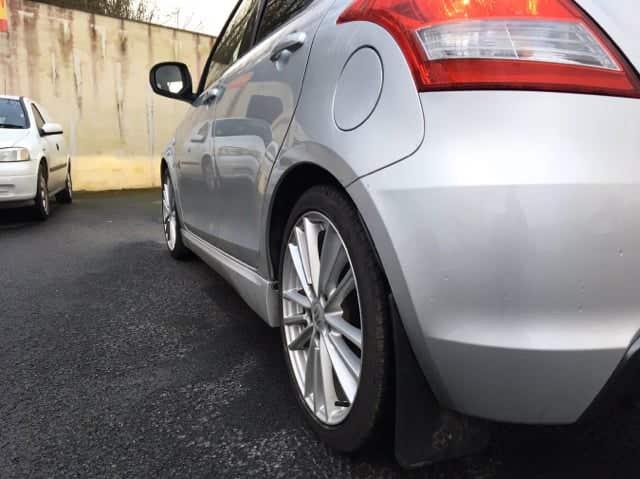
I have a list of things to do, mostly tidy the car up. The OE silver callipers are looking tired so will get re painted, just odd jobs like that. Luckily the car came with a well kept set of OE Sport mats which are a few quid so that was a nice bonus and genuine mud flaps all round which I'm currently a little unsure of at the moment.
I'll be honest, I haven't been documenting the progress on the car as I should which I'm now regretting. The Swift as benefitted from many new OE parts to restore it to as new as it can be.
1.Removed OE mud flaps and replaced both rear arch liners.
2.Both wiper arms replaced due to signs of corrosion.
3.N/S/R door seal replaced due to sagging, along with the lower sill panel that I damaged in the process. Doh.
4.Replaced both wing side repeaters due to water ingress.
5.Replaced air box mounts and collars due to a slight knock.
6.Repleaced "Sport" badge due to red paint flaking.
7.Replaced glove box due to damage from previous owner.
8.Replaced engine battery due to lazy starting.
9.Replaced front bumper and apron securing bolts due to corrosion.
10. Replaced O/S/R sill trim.
11. Replaced knee airbag trim.
I do however, have images of the replacement badge
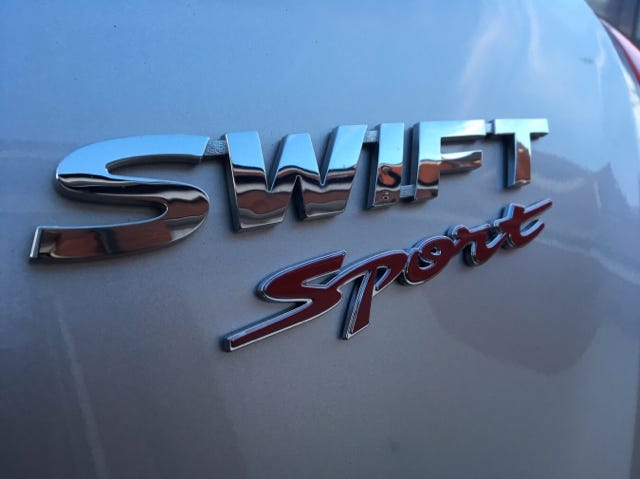
Some of you may have noticed there is a small dent in the Swift badge too. I have one ready to go on, just need the time to do it.
On to bigger things, got my heated seat kit fitted. It's been greatly anticipated and the results did not disappoint. In keeping with my "Everything as OE as possible" mantra, sourced my some genuine heated seat switches which I believe came from a German Swift Sport. I was absolutely thrilled as you can imagine.
Again not so many photos but the workmanship is second to none. A big big thank you to Karl, his coffee and his doughnuts for helping out.
Shortly after the exhaust tips were removed and given some much needed love. Used some trusty autosol and wire wool for this.
Interior protection was then sourced and fitted. Subtle enough and does a good job of keeping the plastics scratch free. A good little find.

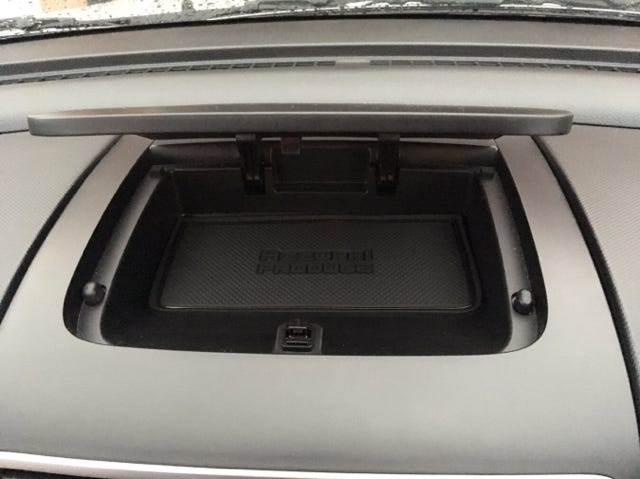
Annoyed with the blank on the switch bank by the start button a JDM coin holder sourced and fitted.
Big thanks to Ben at GodSpeed Brakes for getting my OE Suzuki Discs grooved with their G-Hook technology.
There's a bit of life in the current set so these are in the garage for now. OE pads to match are also to be fitted
http://www.godspeedbrakes.co.uk

Another small update. The guideline stickers inside the fuel cap we're looking very tired, so I've replaced them.
Afraid I forgot before images but looking a lot more tidy now
Also, New tyres arrived today, Yokohama S Drive In 195/45r17. Just the pair for now but will be matching the tears to them very soon, finds permitting. My only reservation with them is the DB rating of 73 a big jump up from the 69DB on my current Goodyear Eagle F1's. We'll see how it goes.
Got around to a minor adaptation today. The centre maps lights do not come on via door open/ignition, which is quite annoying really.
I've taken a feed from the centre interior light to the maps so they will mimic the operation a fade when turning off.
GIF of it working in link below